DIY Train Audio Kit
The DIY Train Audio Kit is a perfect weekend project for the whole family that can be completed in less than 30 minutes. The audio kit provides everything from the button switches to the battery tray and speaker. All you need are soldering iron and solder to finish the job. Furthermore, you can add an Arduino and nRF24 to the project to make it wireless.
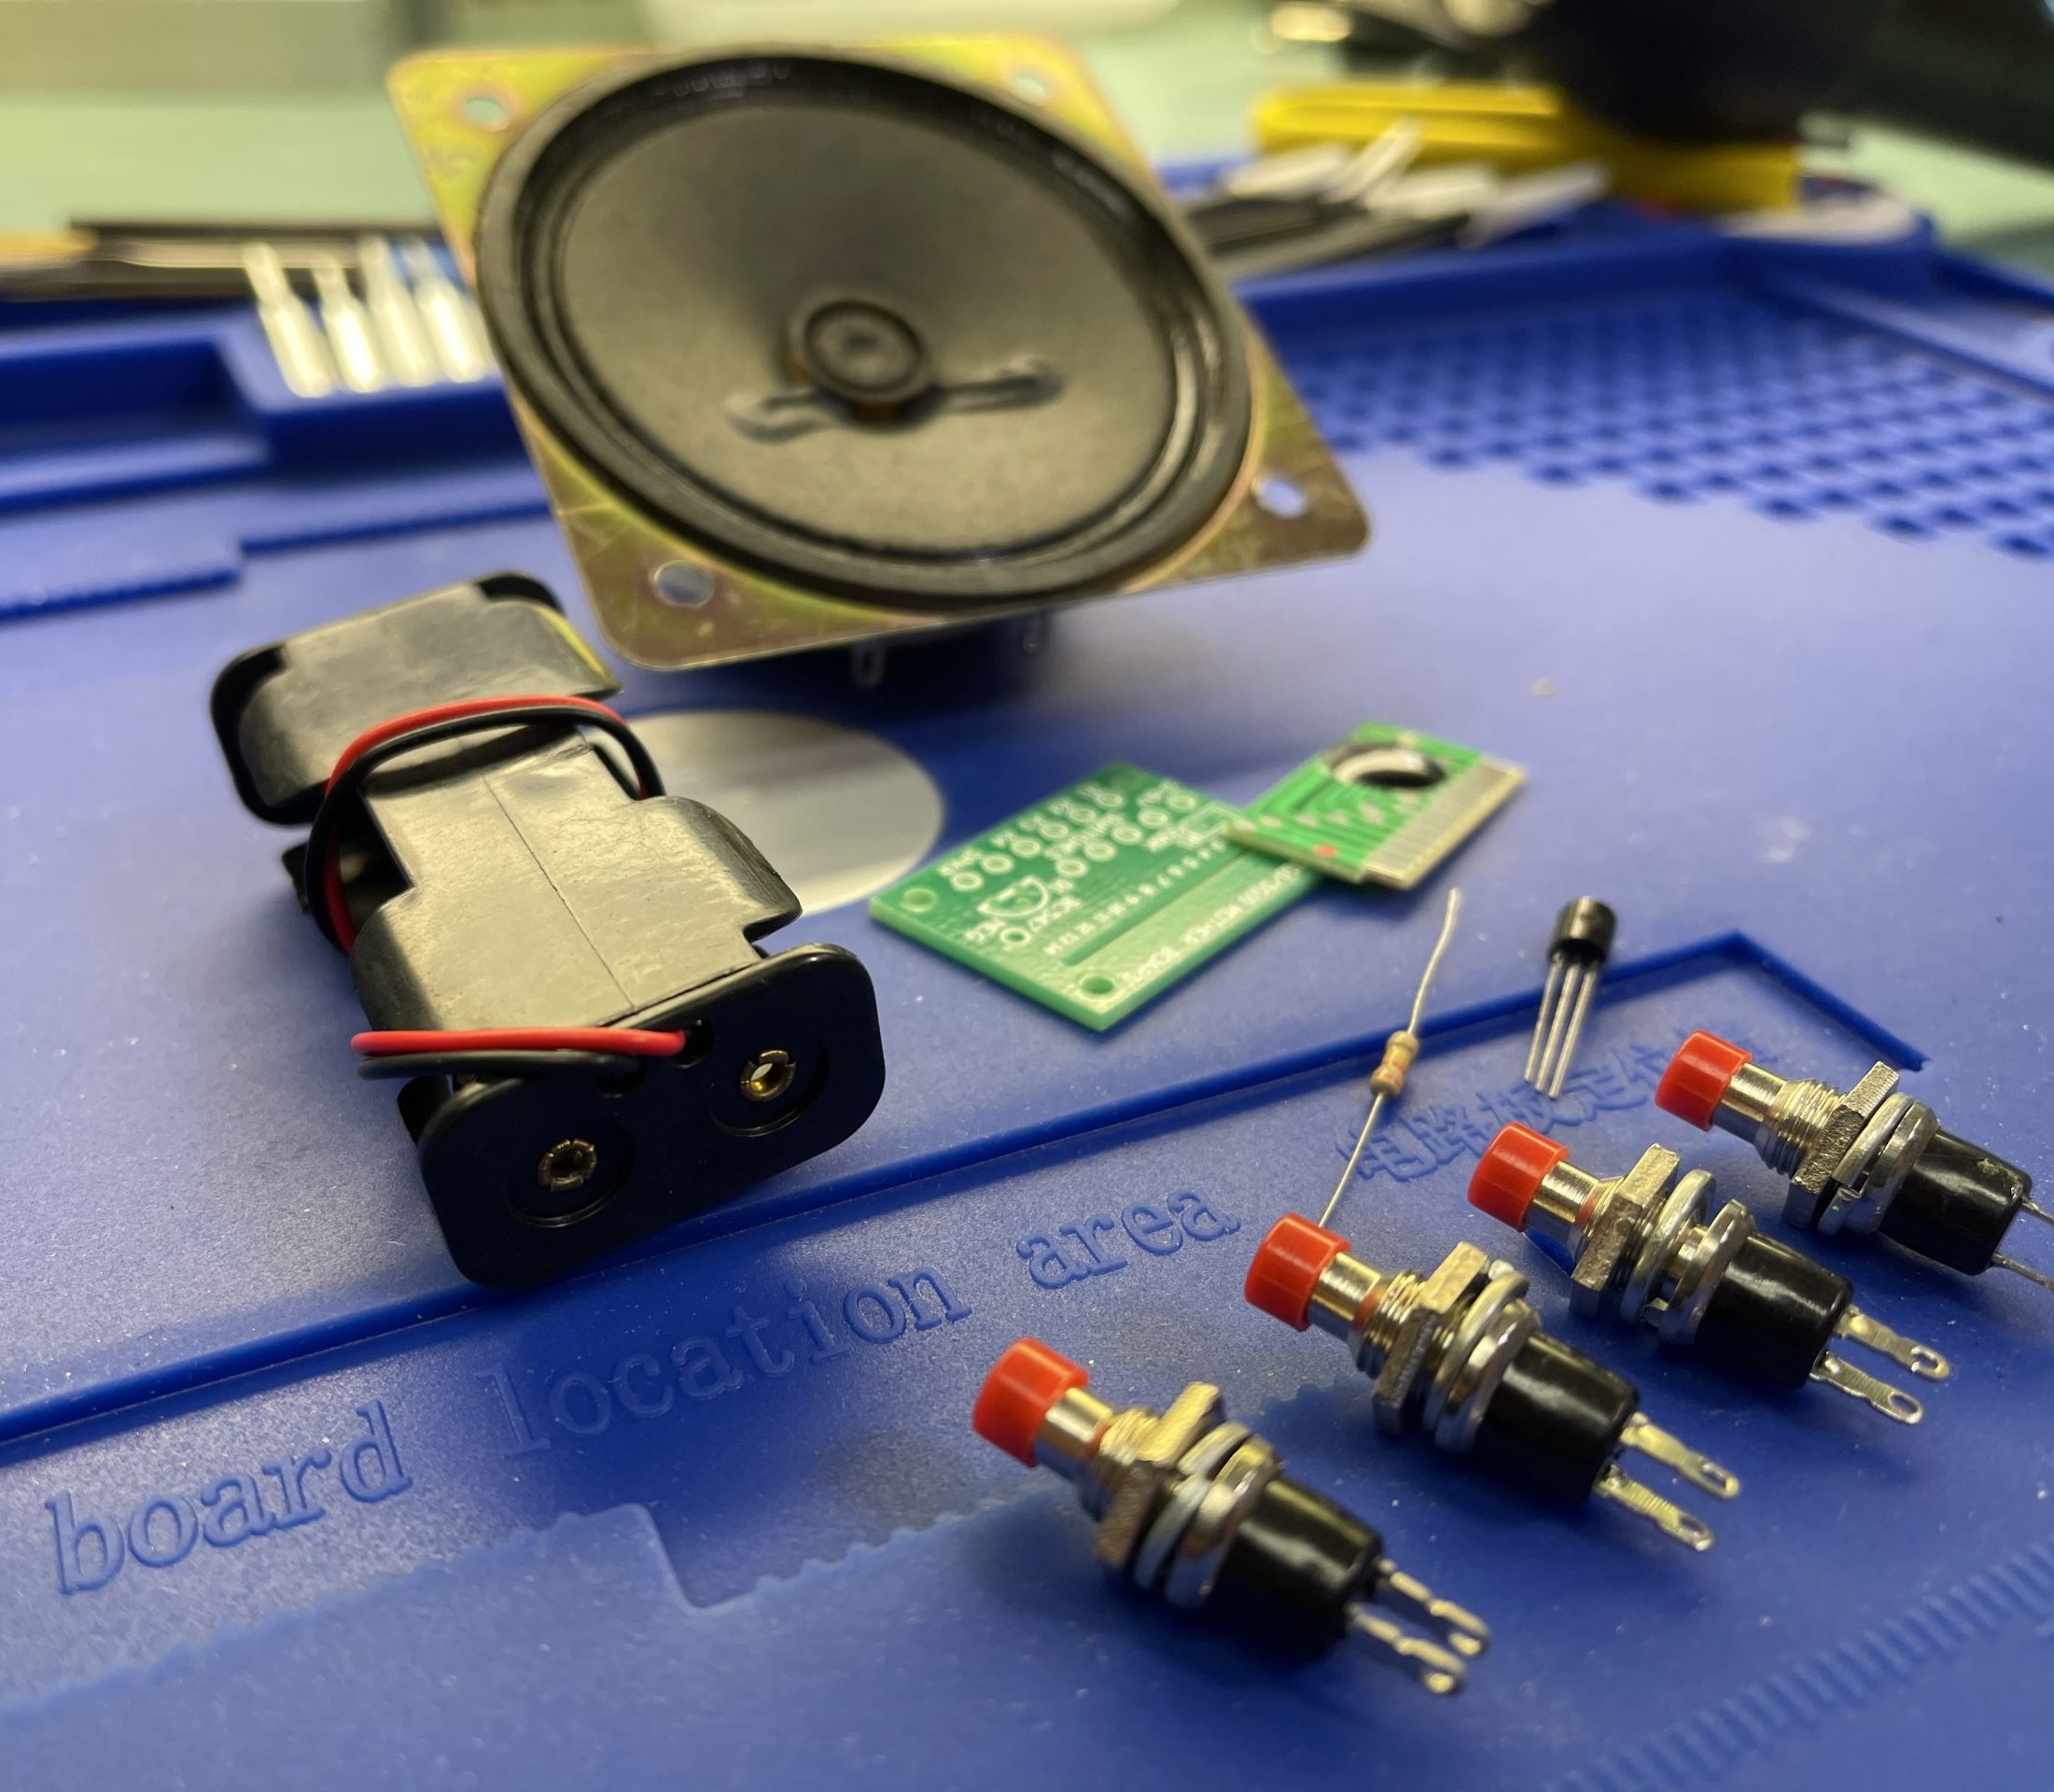
Table of Content
- What is Train Audio Kit?
- Part List.
- Schematic.
- Assembly Process
- Conclusion.
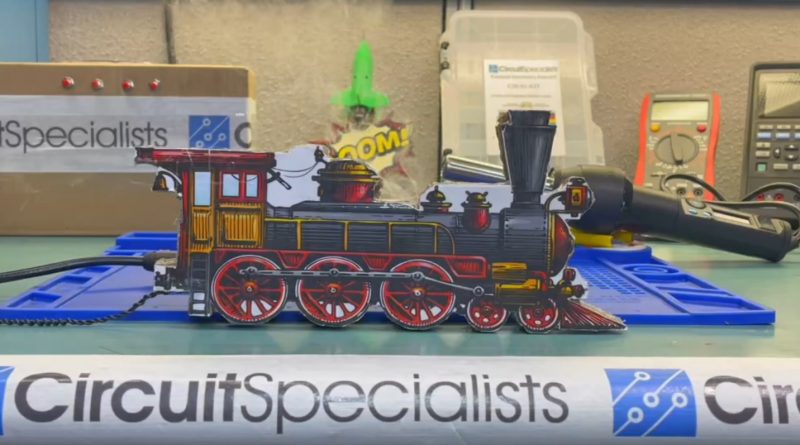
What is Train Audio Kit?
Below will be the demonstration video for the DIY Train Audio Kit.
Part list: (all included)
8 Ohm speaker.
3V battery tray.
Push-on button
330K resistor
BC547 transistor
SG1 Chip on board PCB
SG1 motherboard.
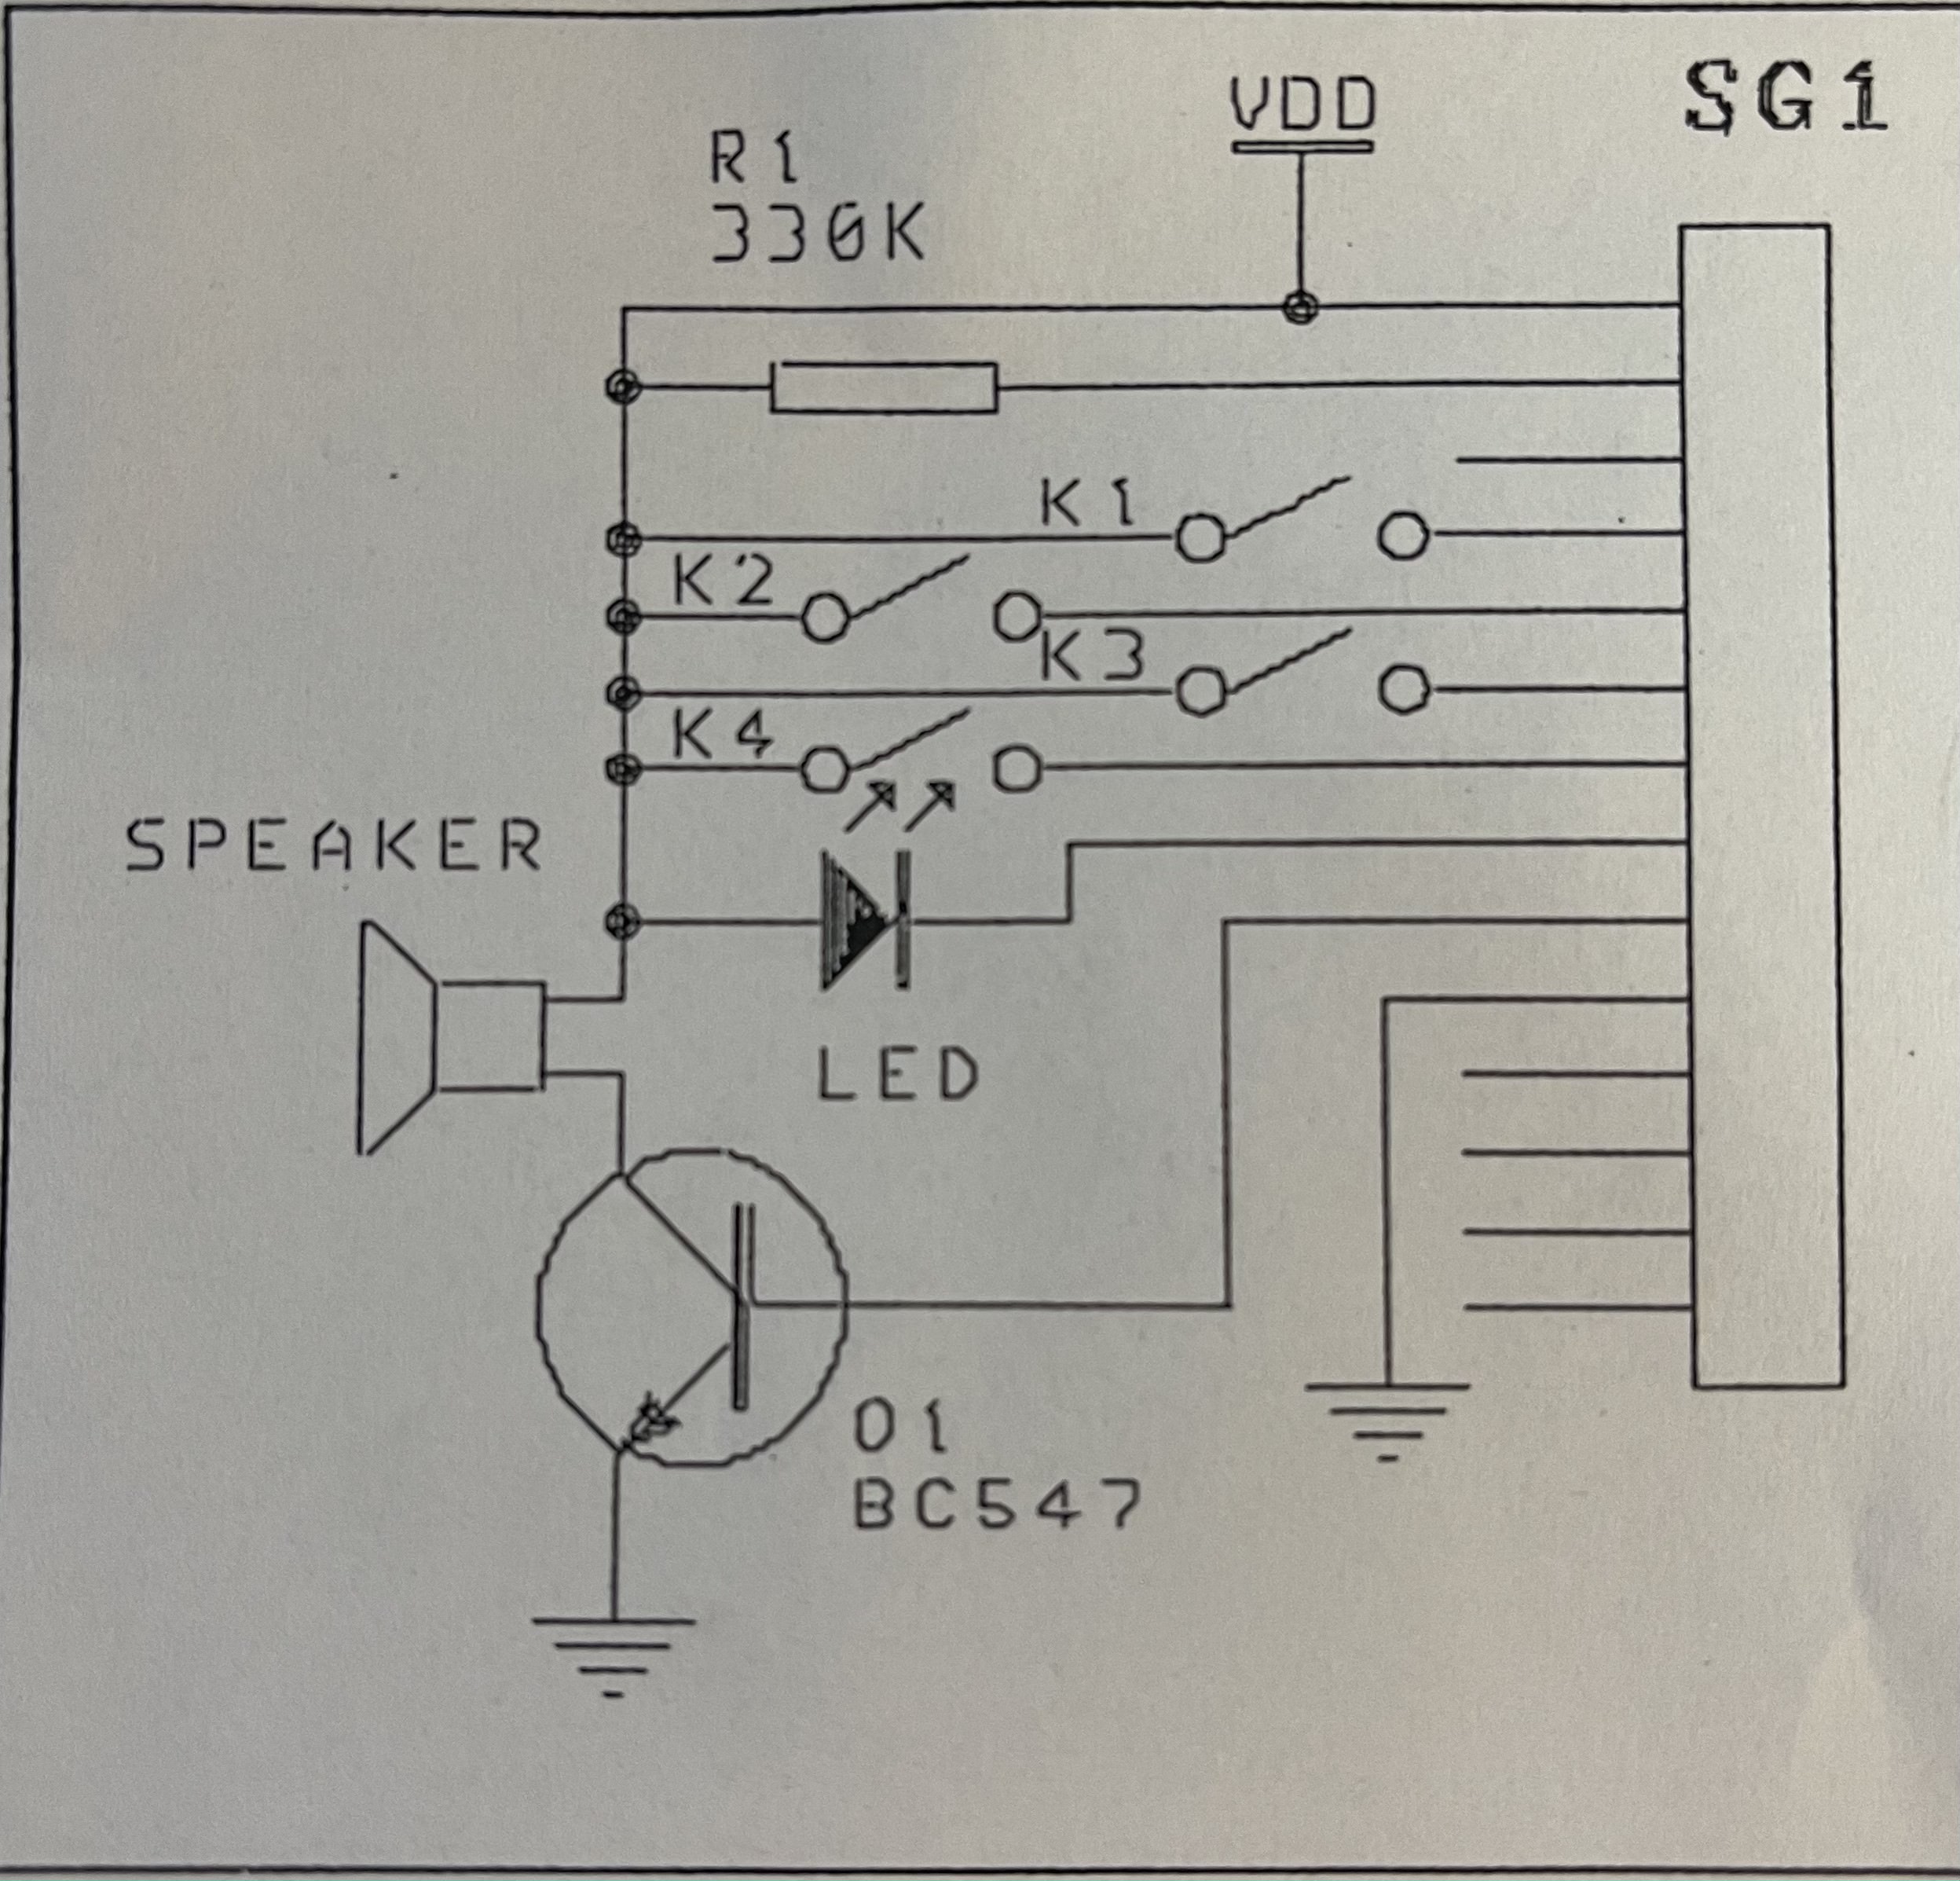
Schematic
Assembly Process
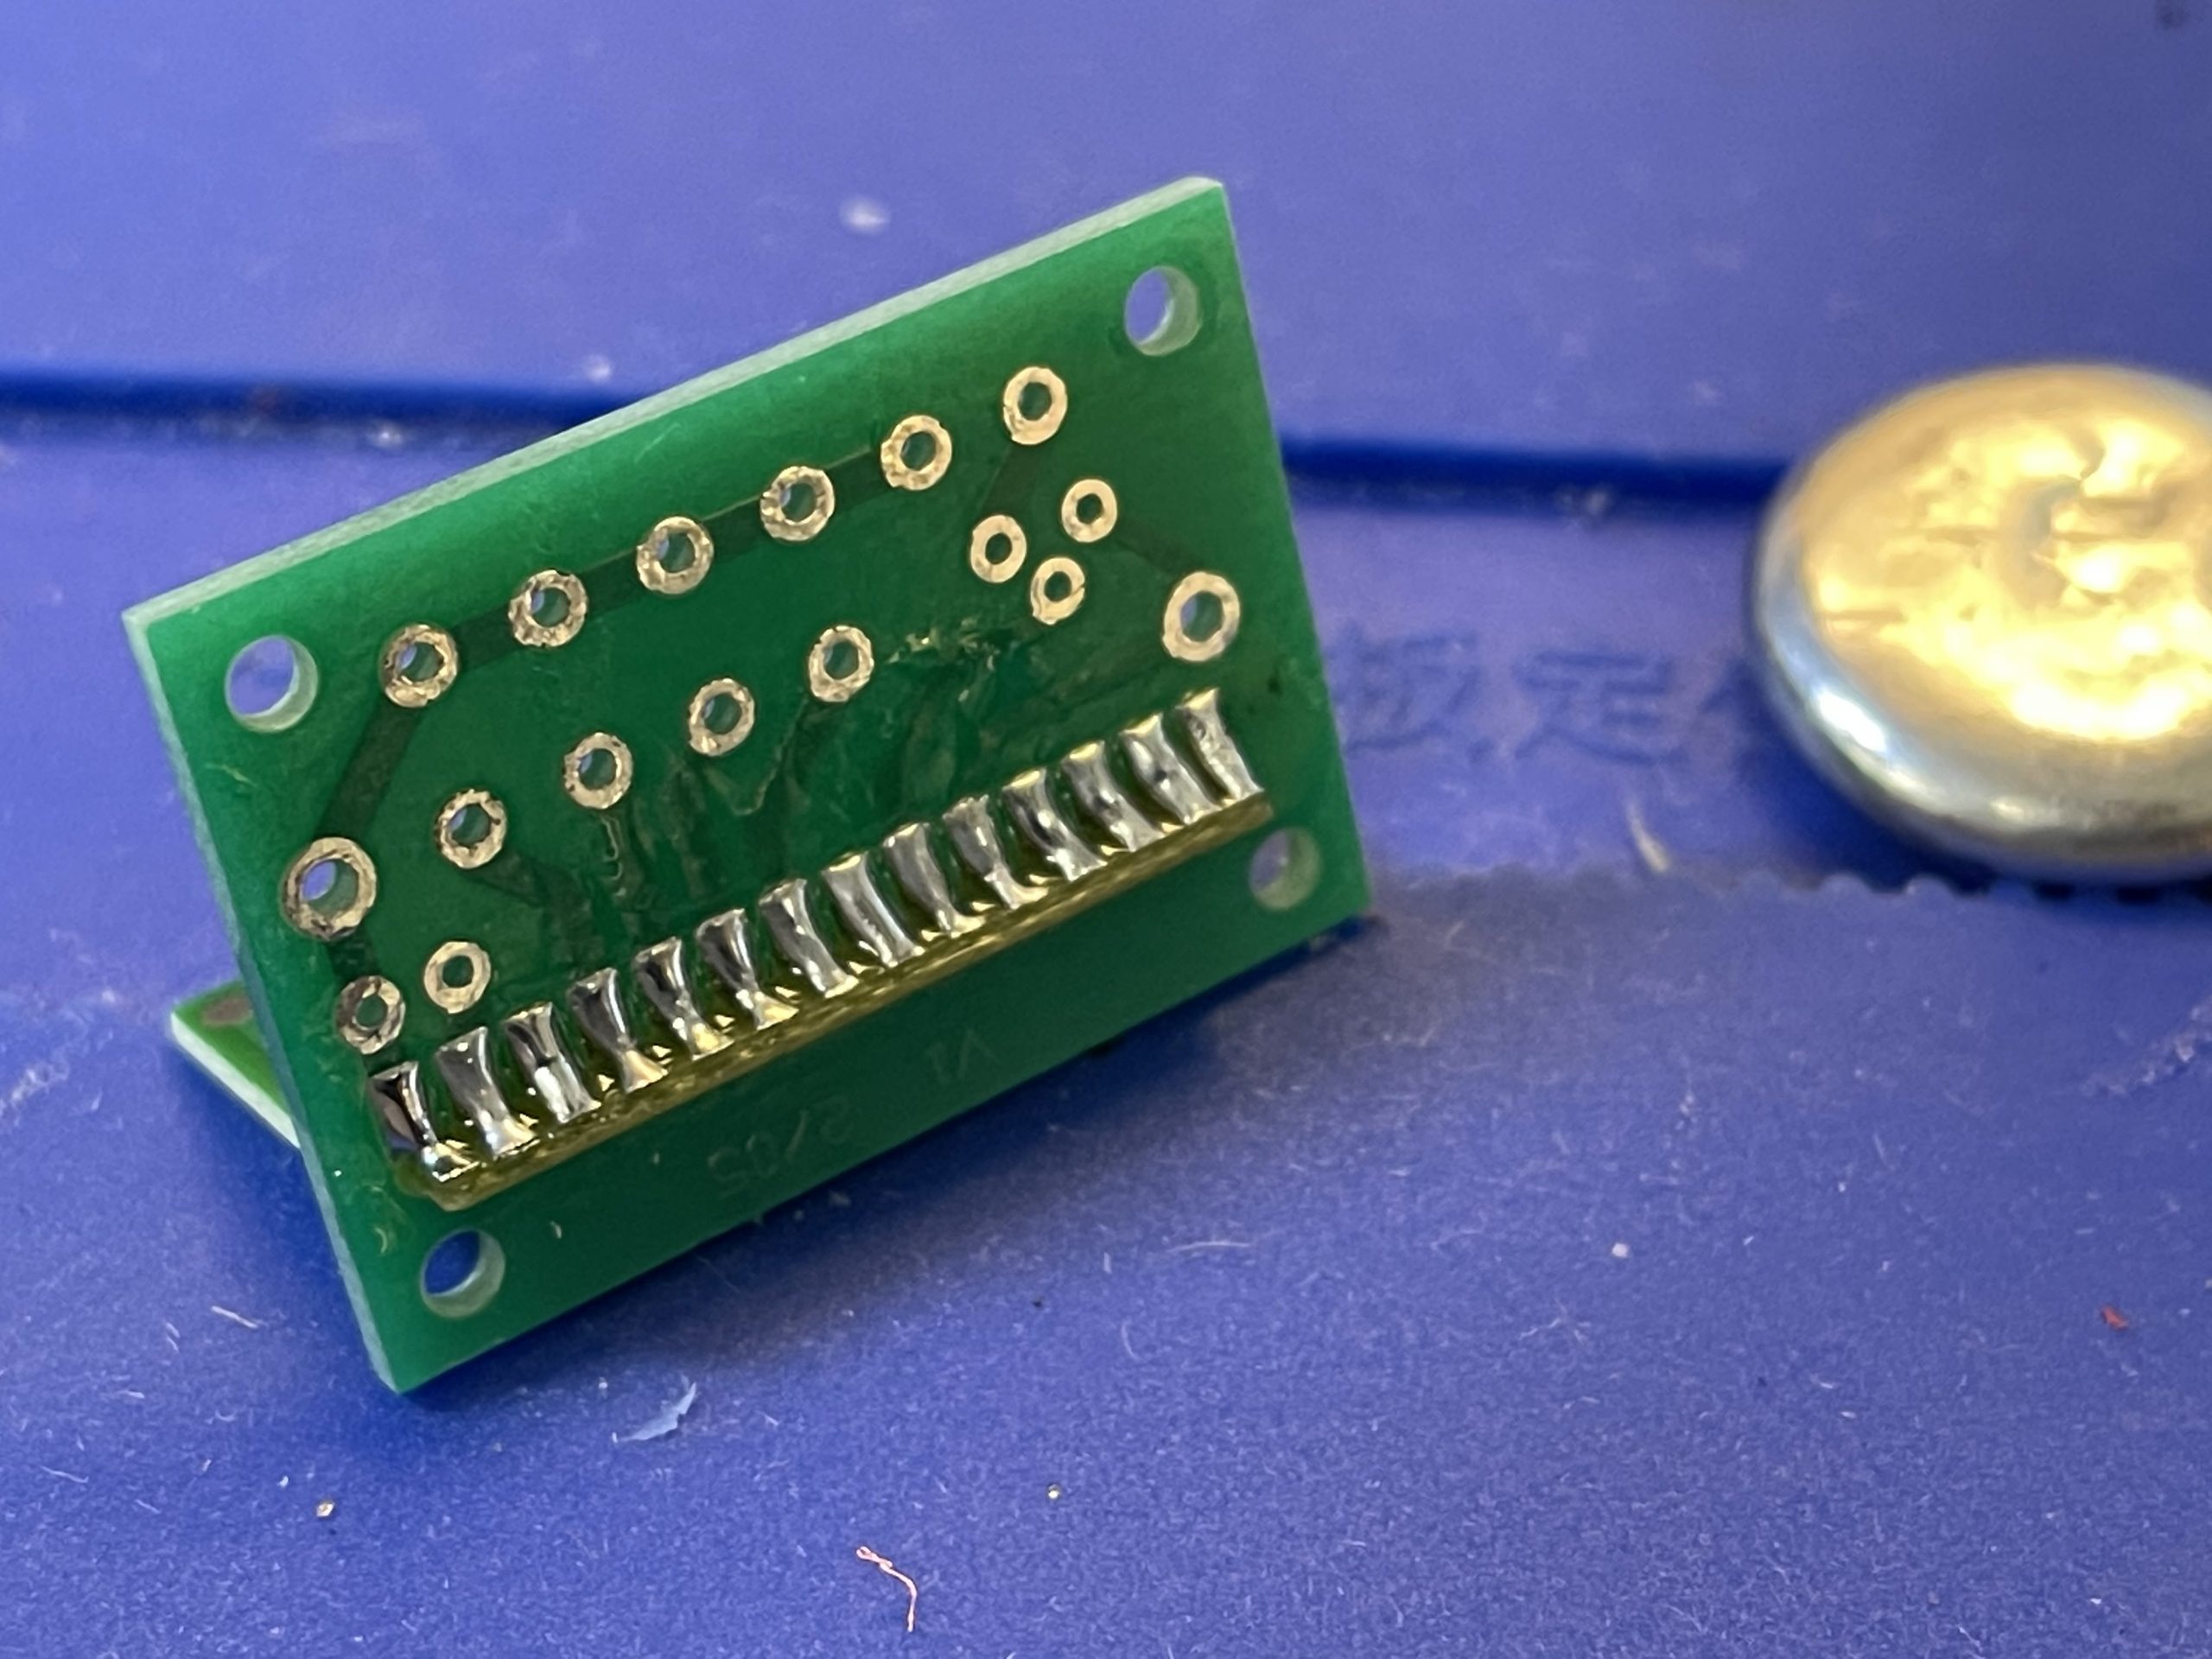
First, you need to solder the SG1 motherboard and the SG1 Chip PCB together. Simply slide COB PCB into the slot and solder the contact tabs as shown below. If you want to learn more about soldering, you can check out Soldering 101 – An Intro to Soldering.
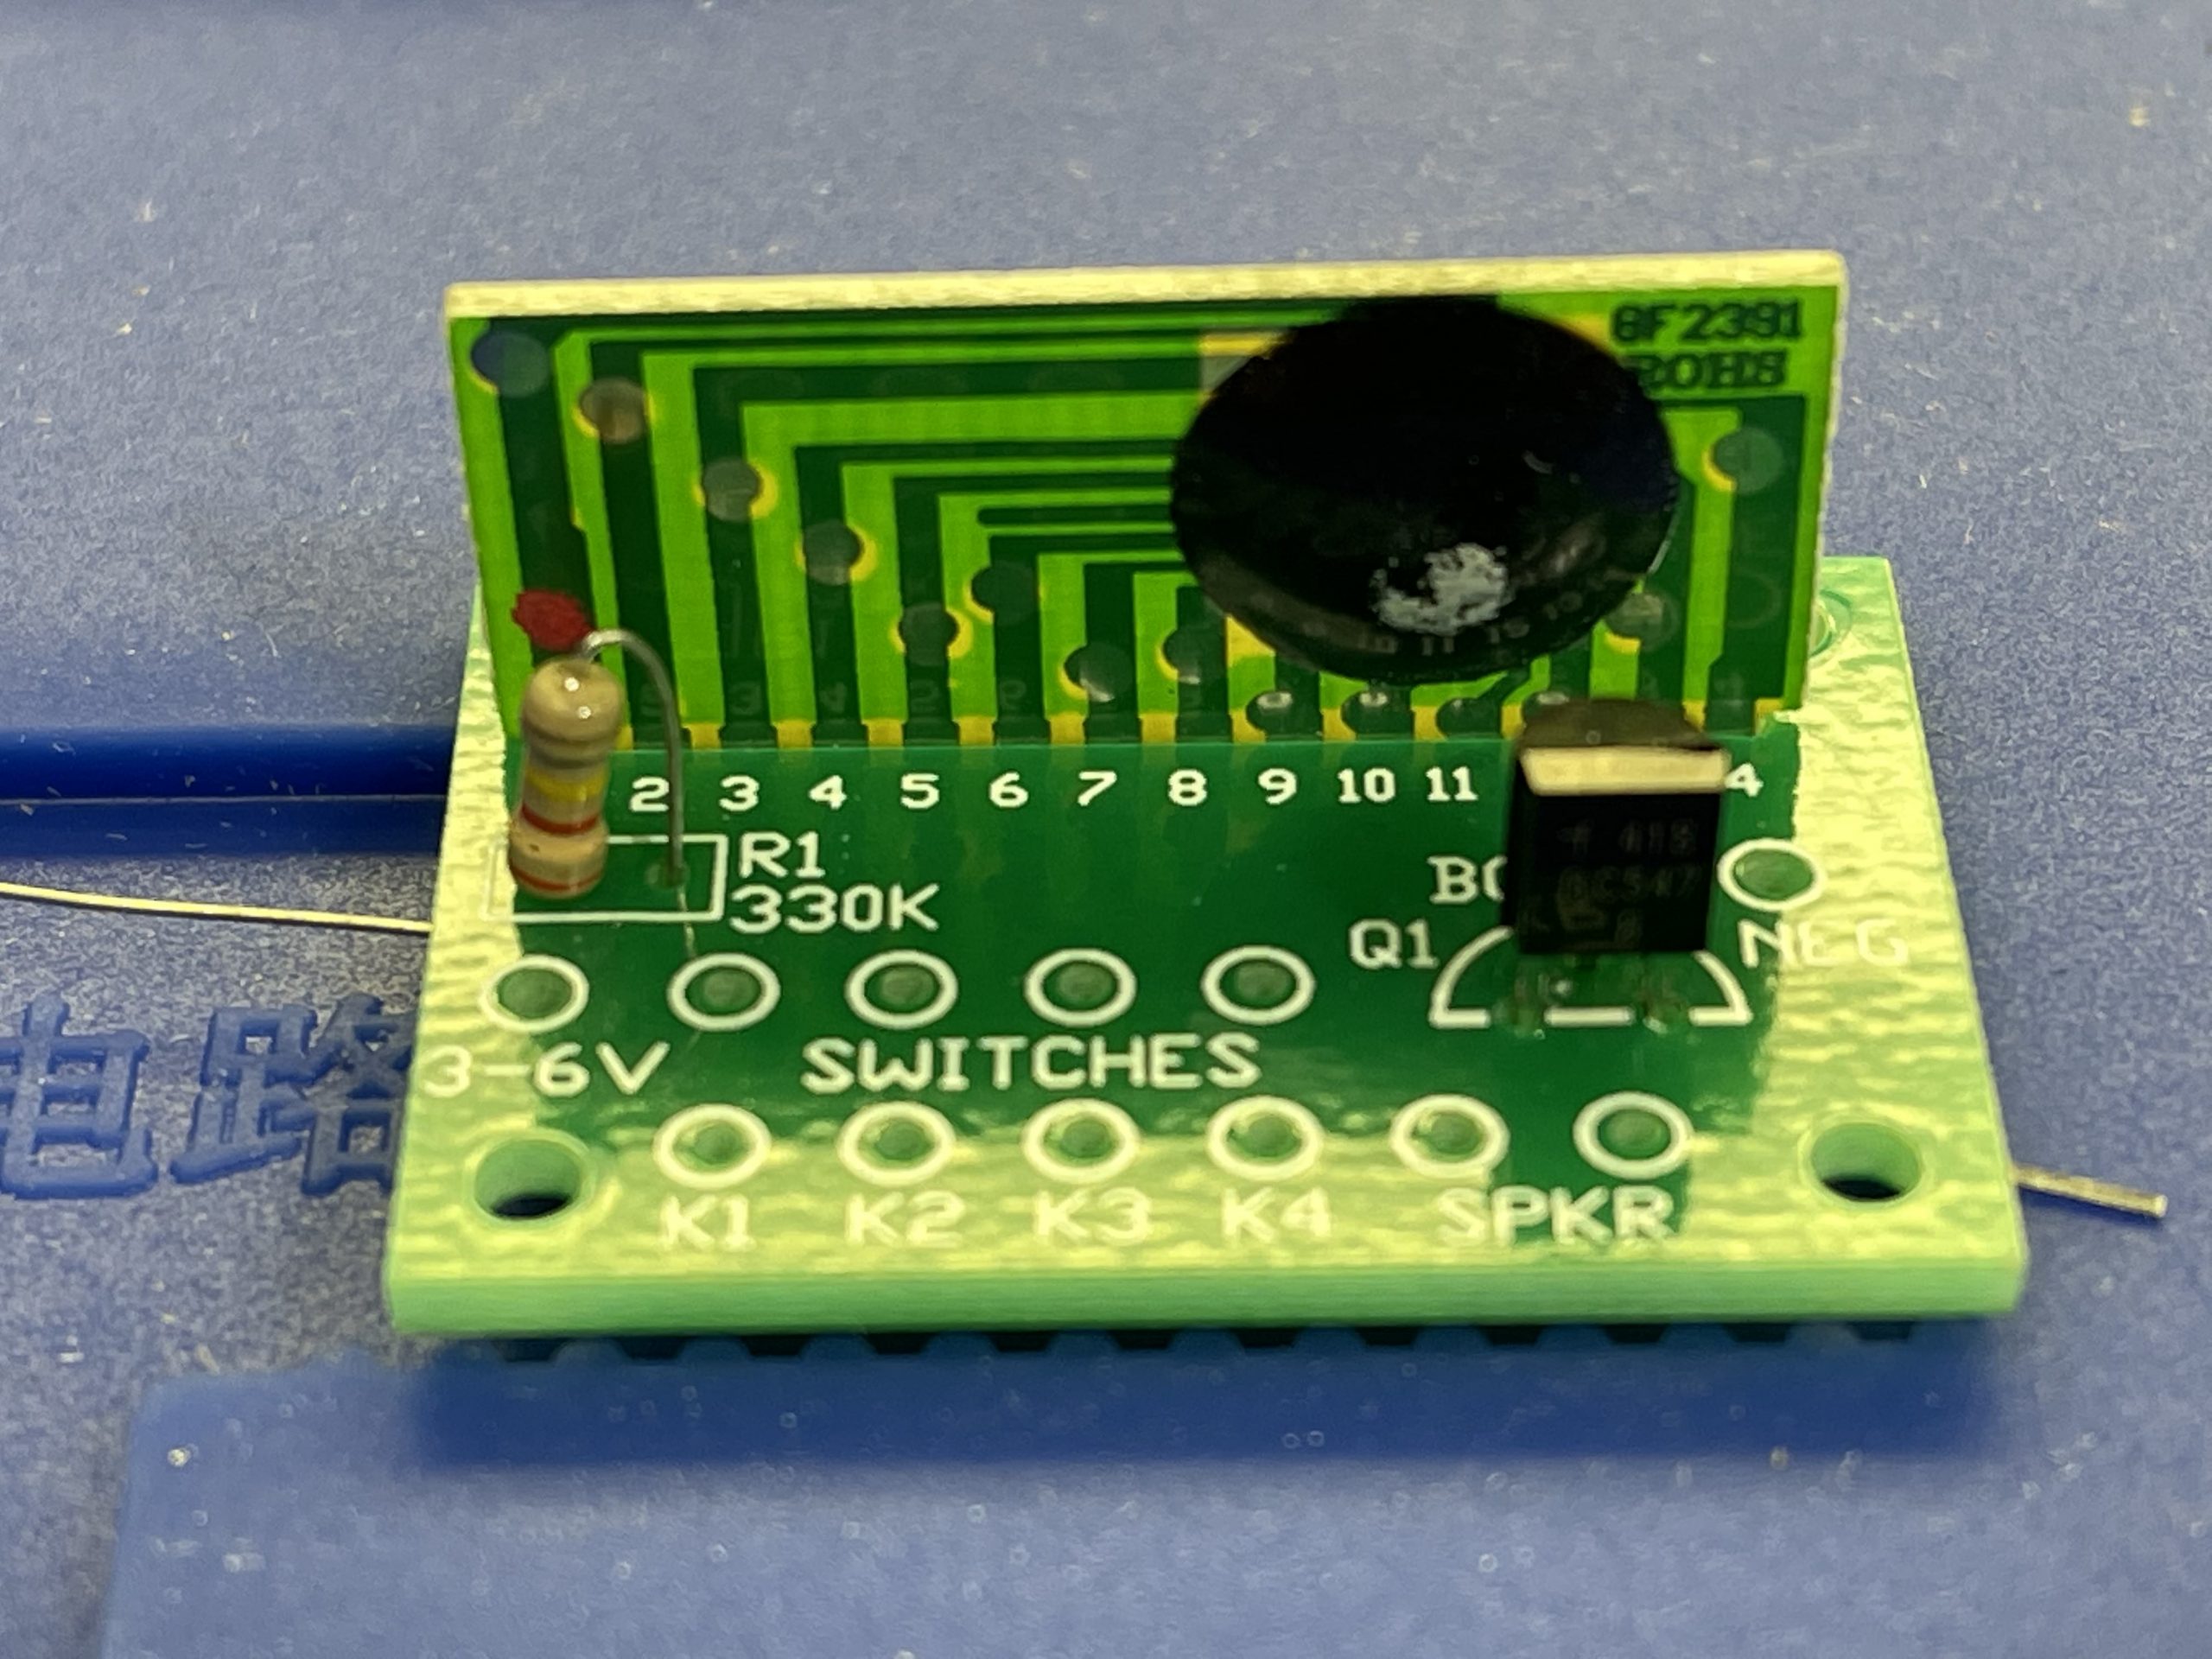
Next, you can place the BC547 transistor and the 330K resistor in their location, making sure the part matches the drawing on the board.
Next, solder wires onto the switches, then solder the wires onto the board. You can solder longer wires if your project requires so.

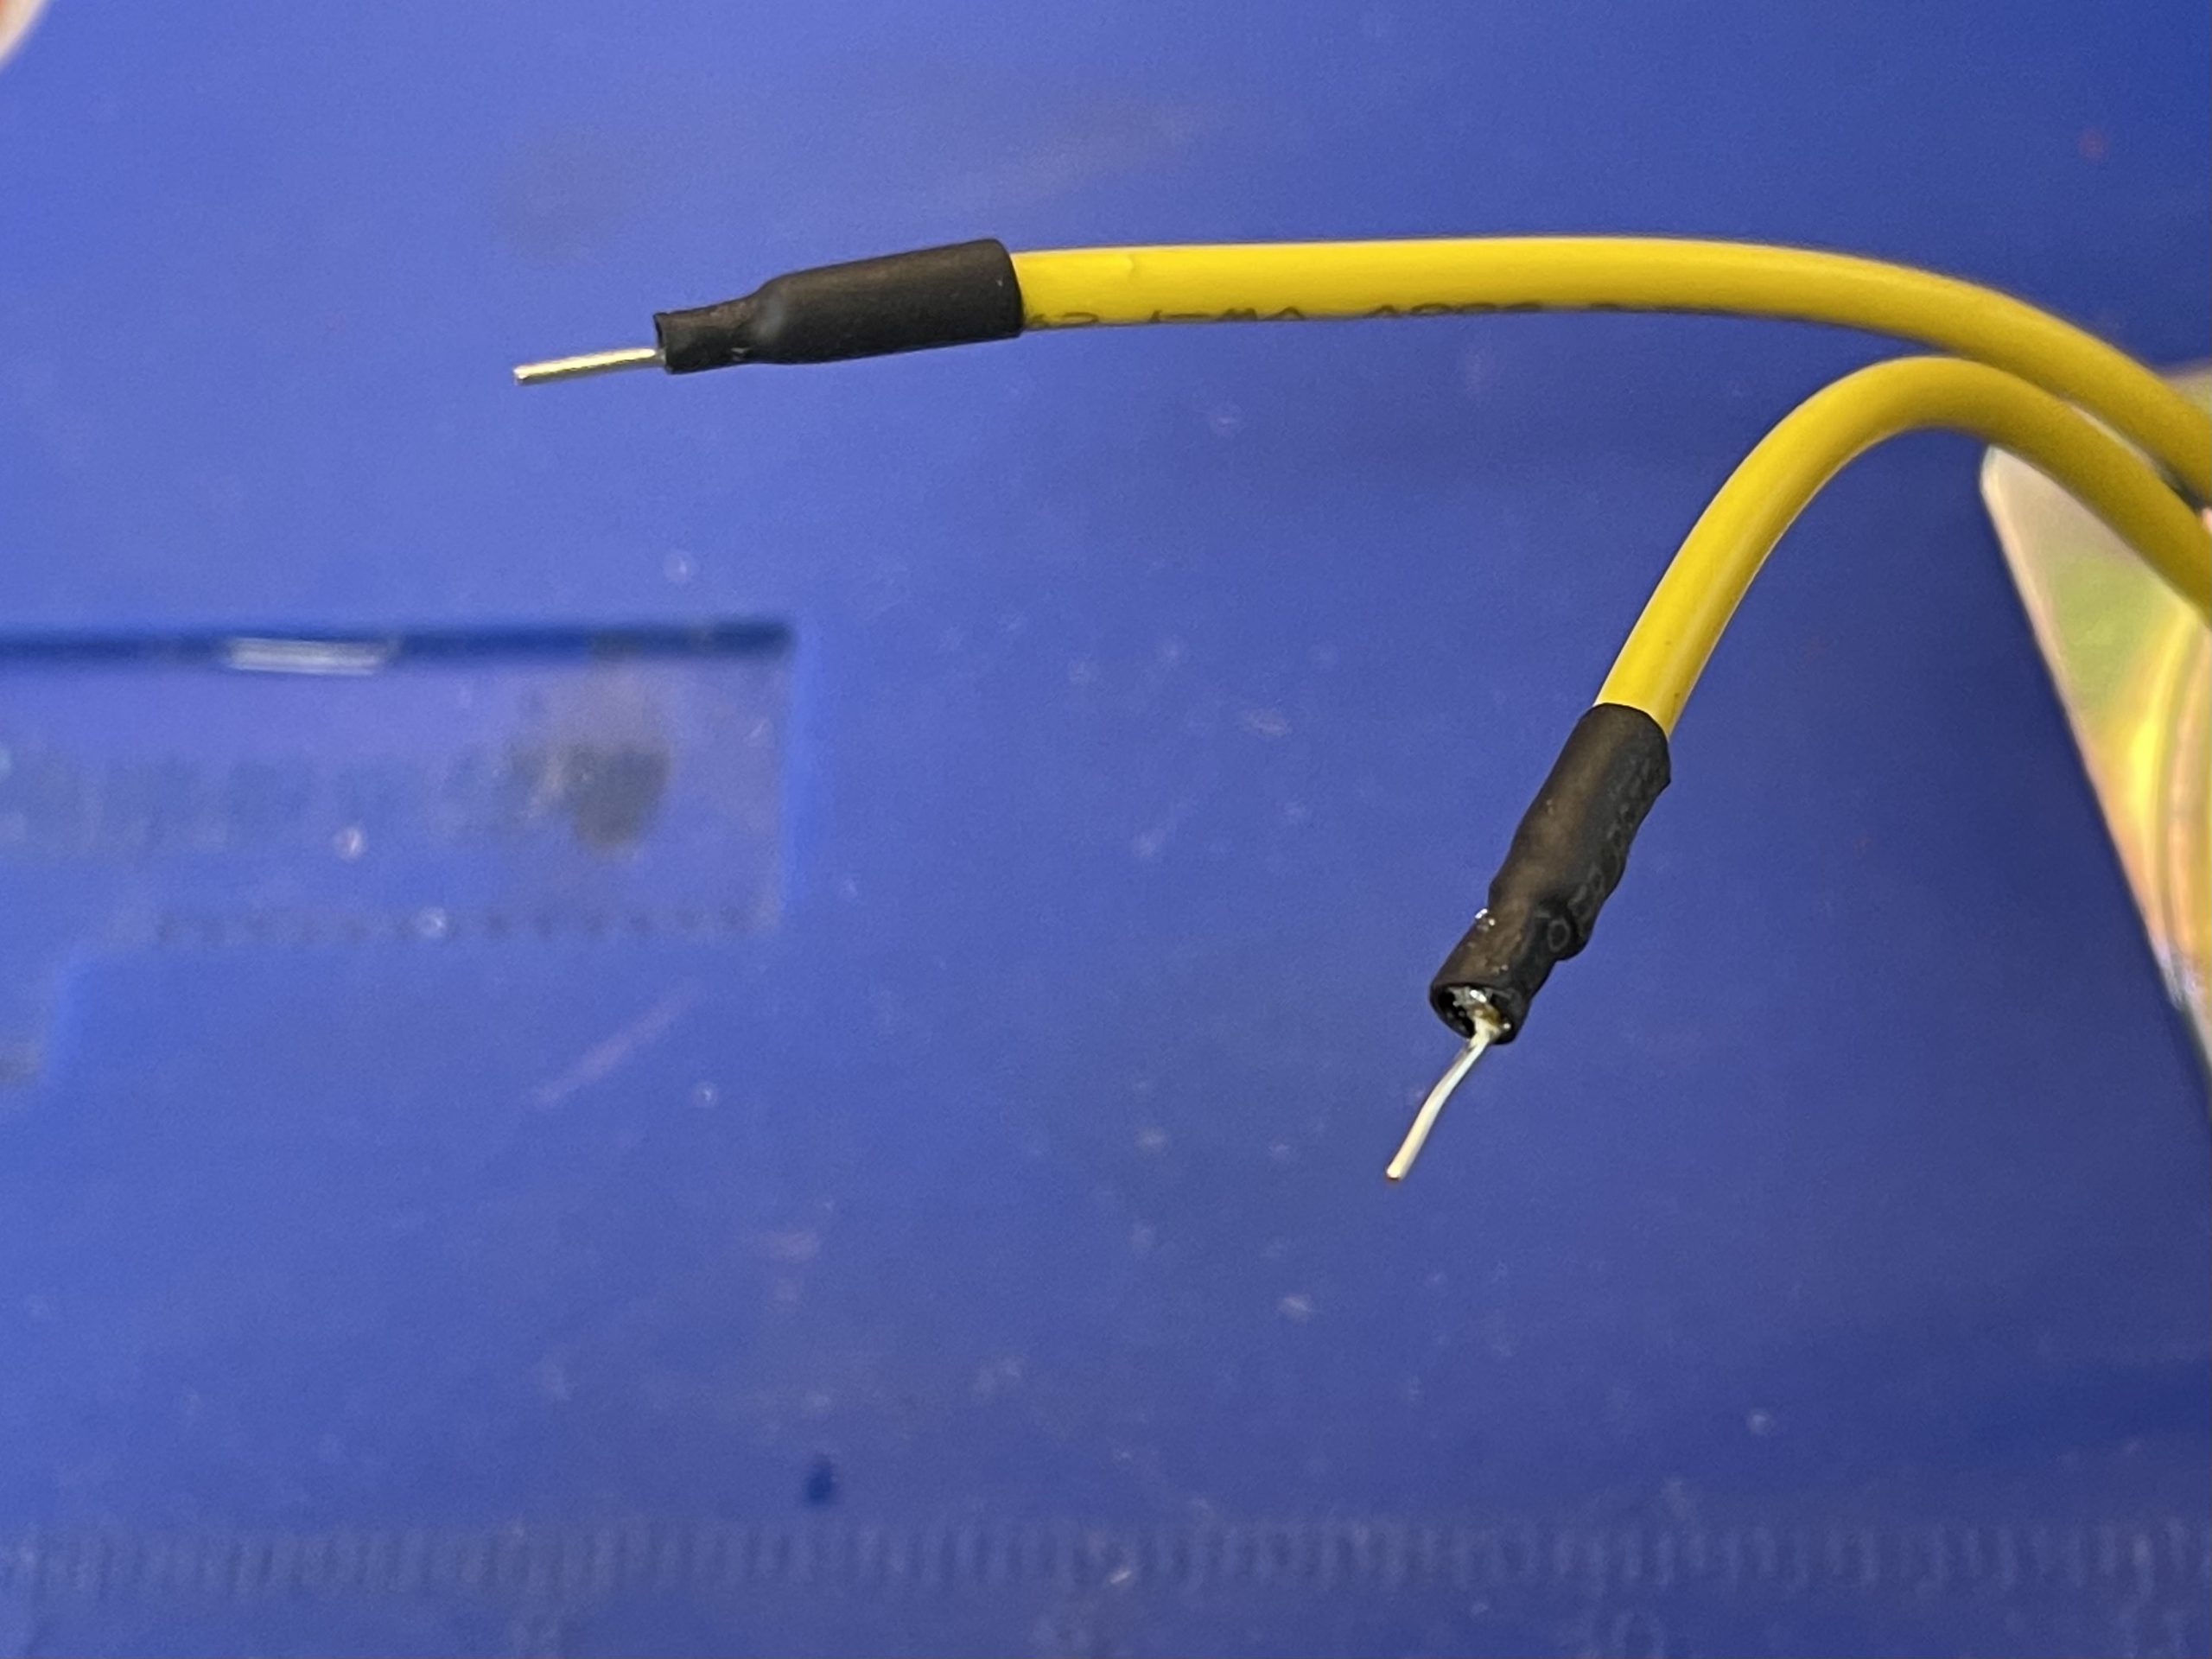
For the speaker, I used a larger wire gauge, but a 22 gauge wire would also work.
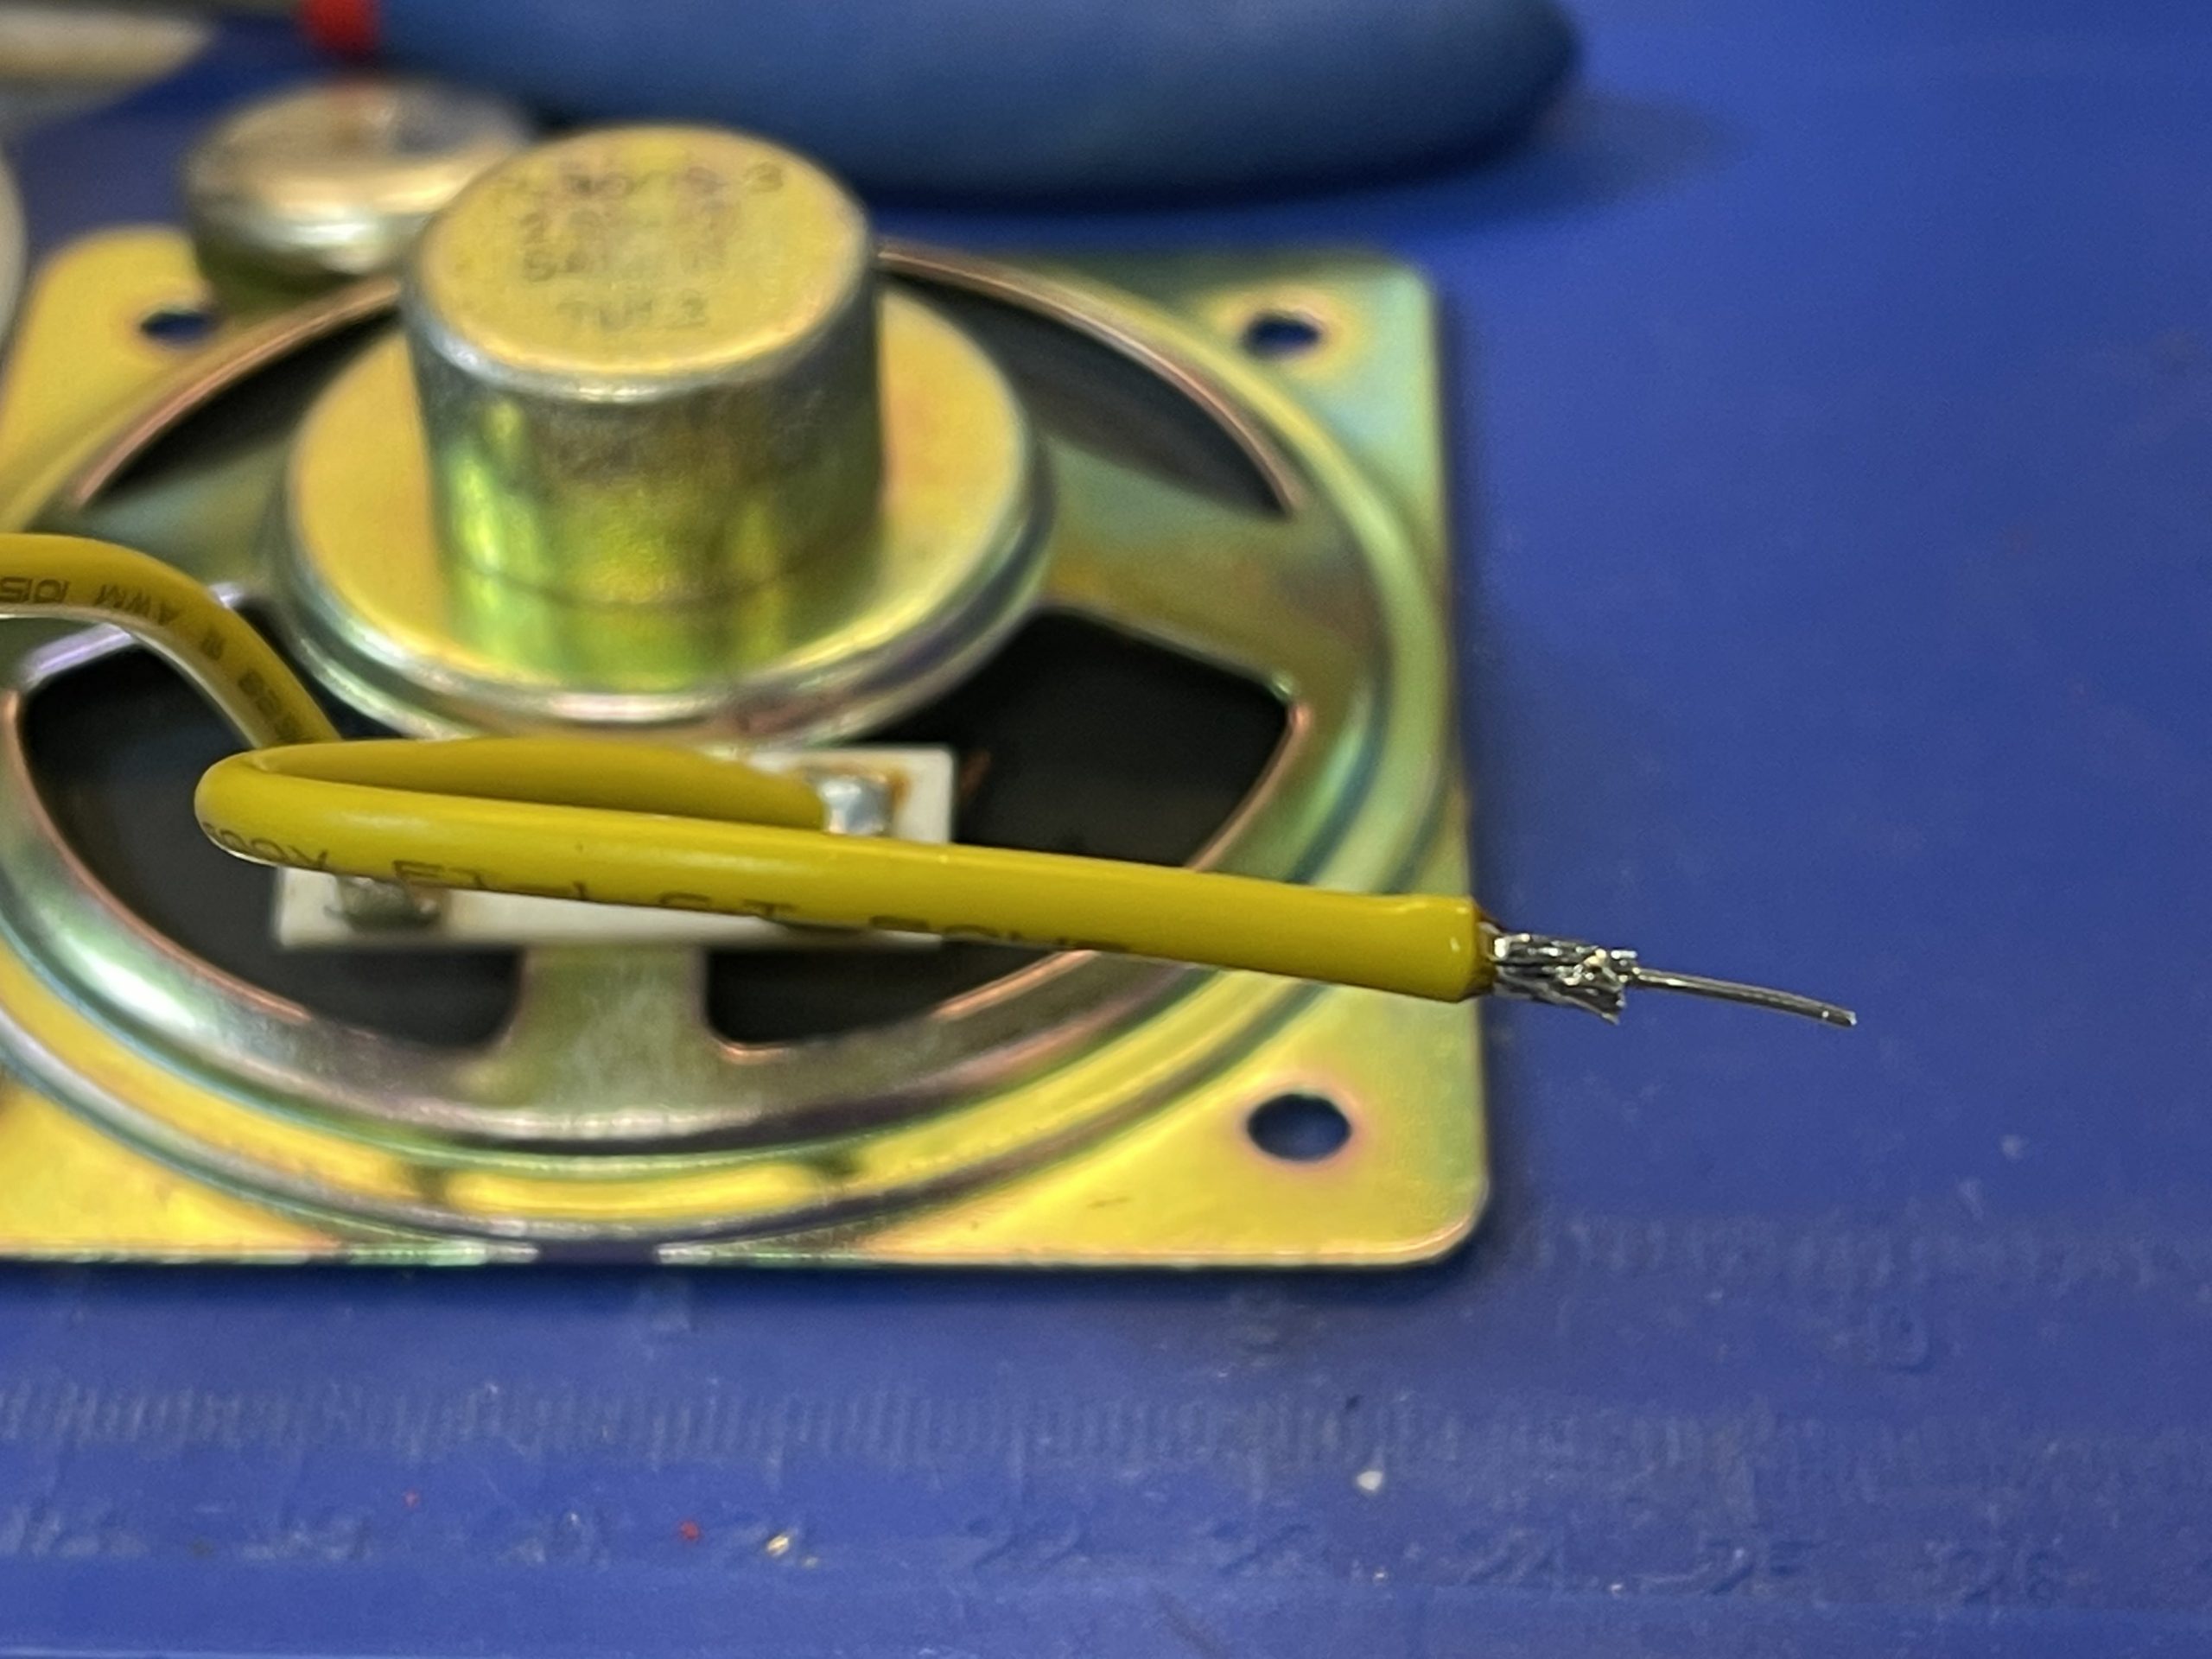
Furthermore, I wrapped the end with some heat shrink to prevent exposure.
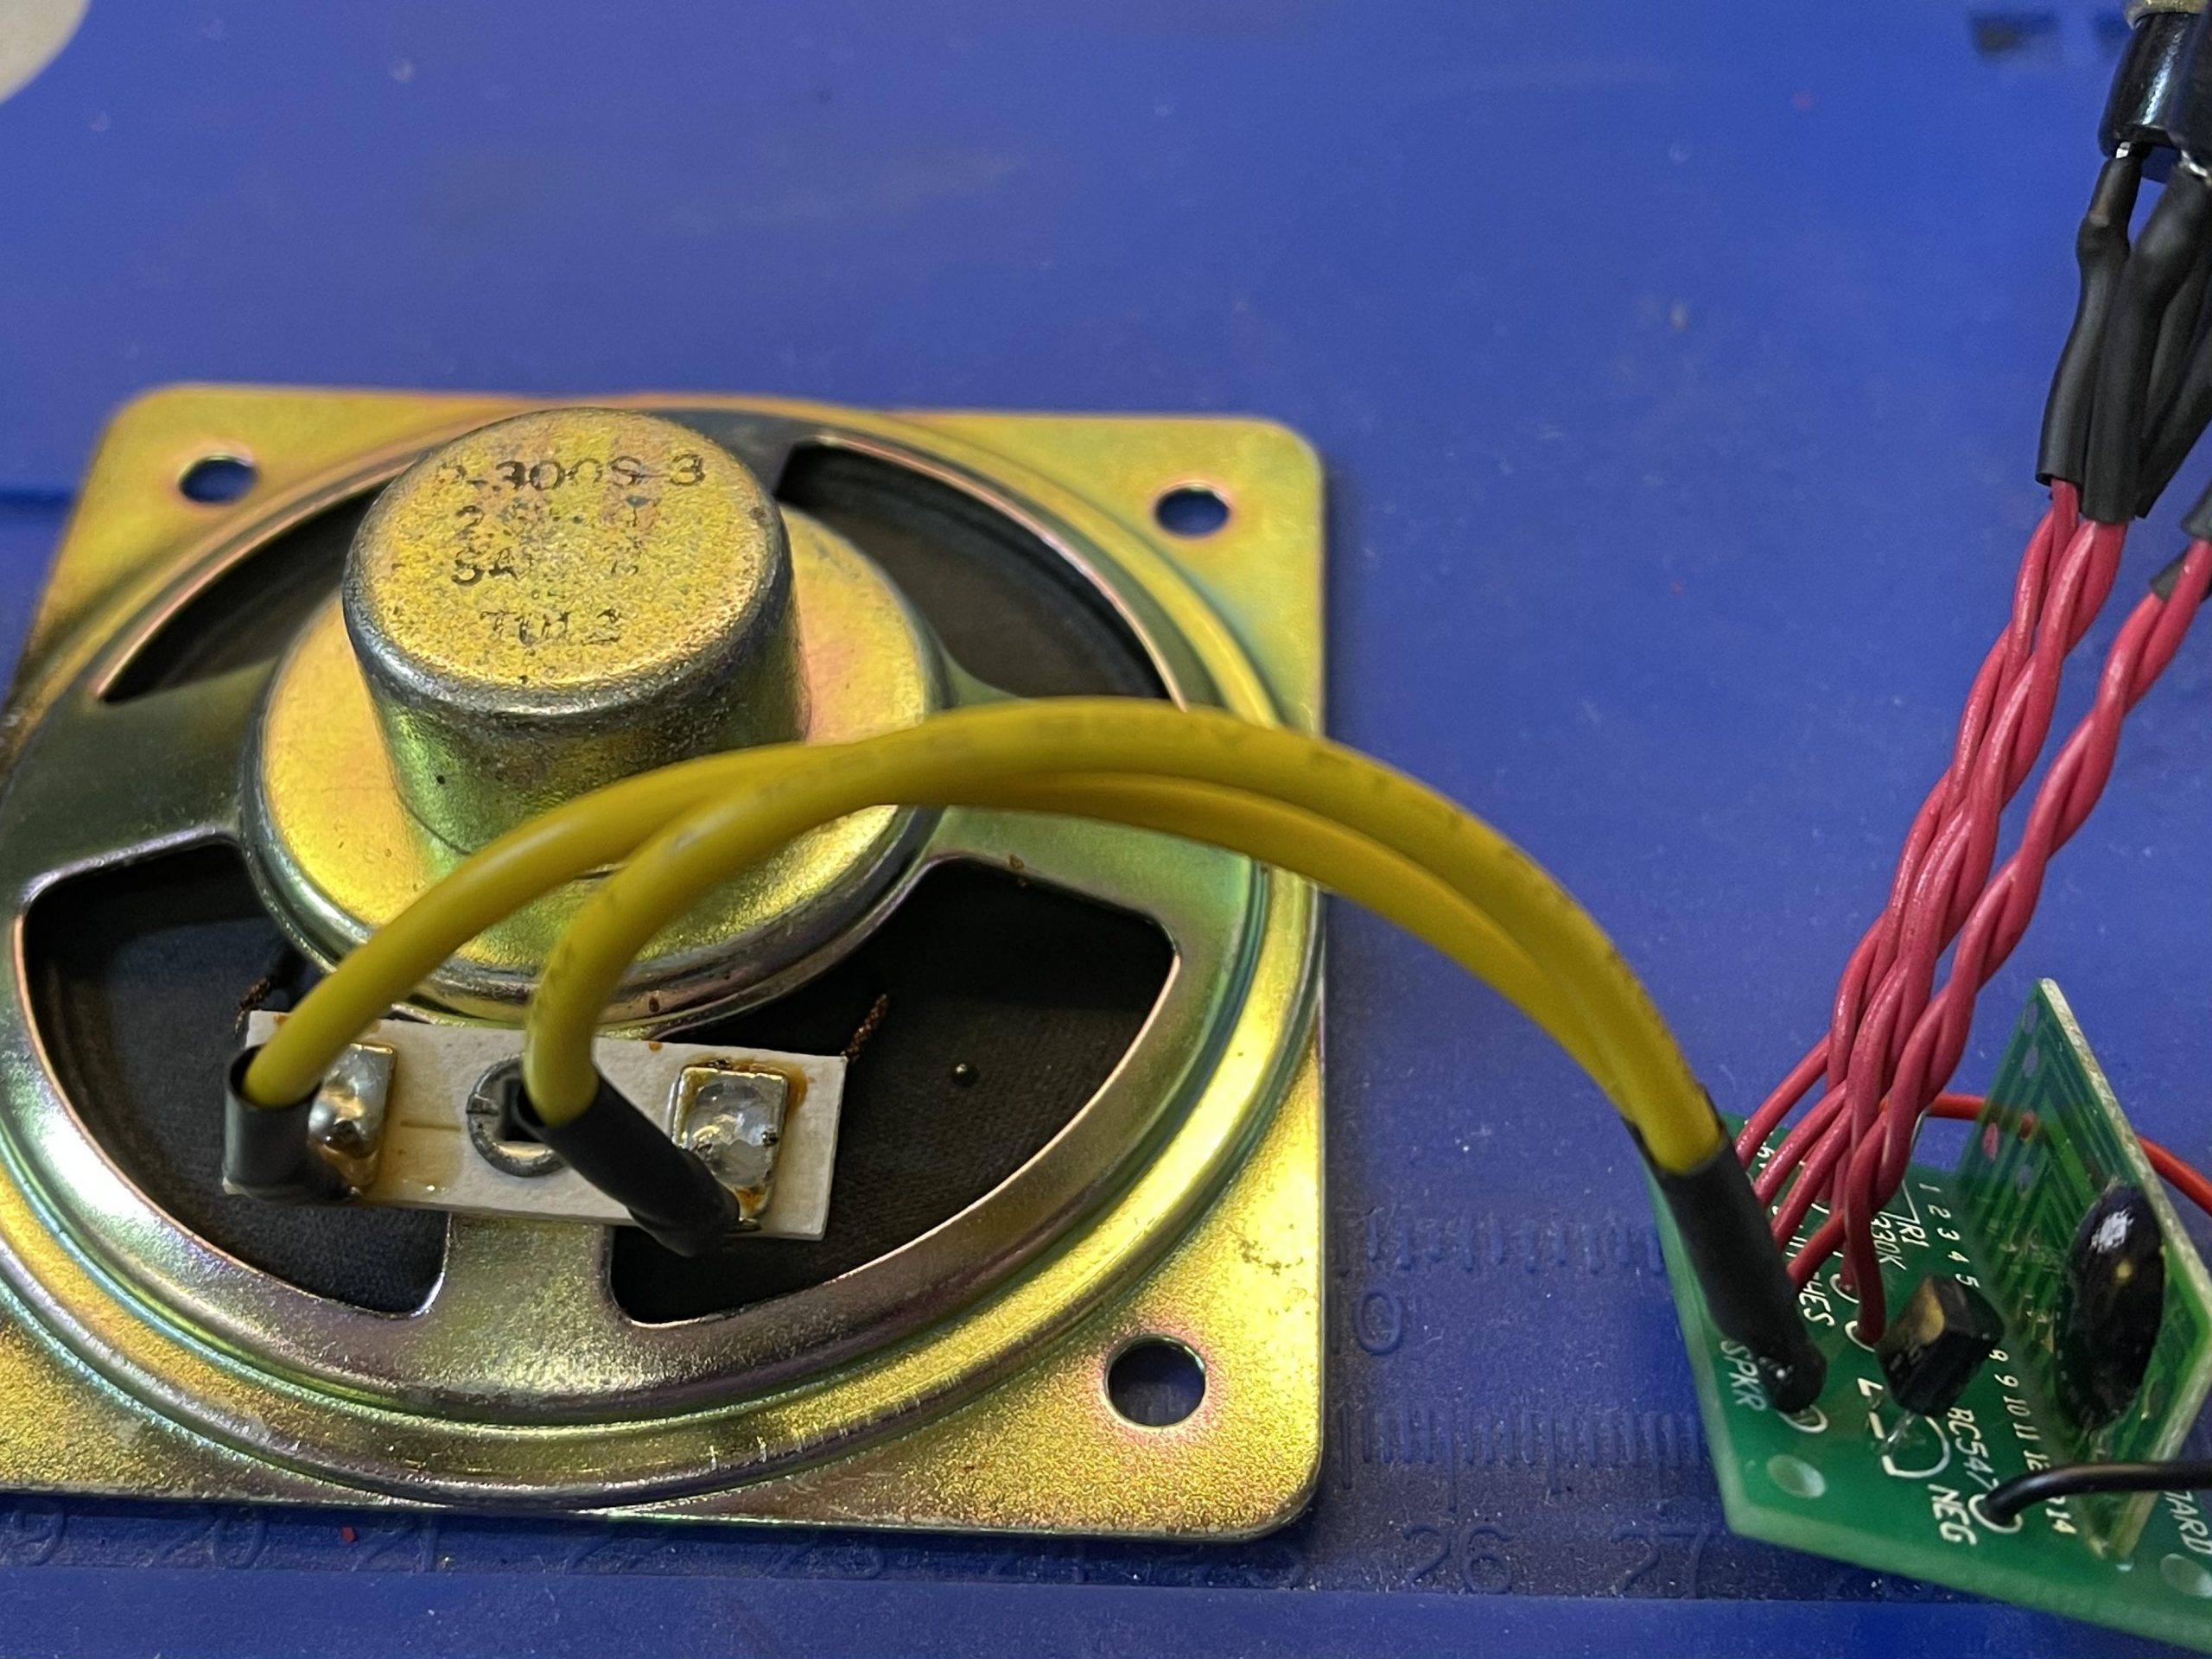
Now, we can solder the speaker and the battery tray onto the board.
Finally, I cut a couple of holes out of a cardboard box for the speaker and switches, so that everything fits neatly inside.
Conclusion
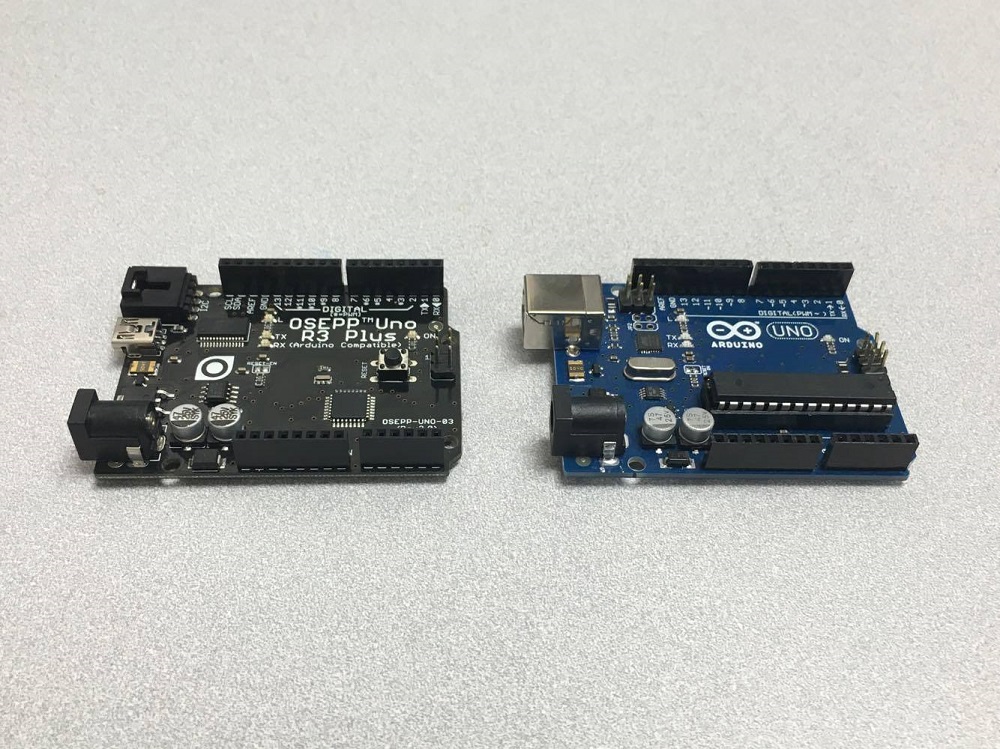
You can also have fun with it and fit it in an actual train and control the sound wireless with a couple of Arduino, I will attach the link to the NRF24-Wireless Communication Developer Kit if you want to learn more about the project.