A Perfect Graduation Gift for Arduino Lover
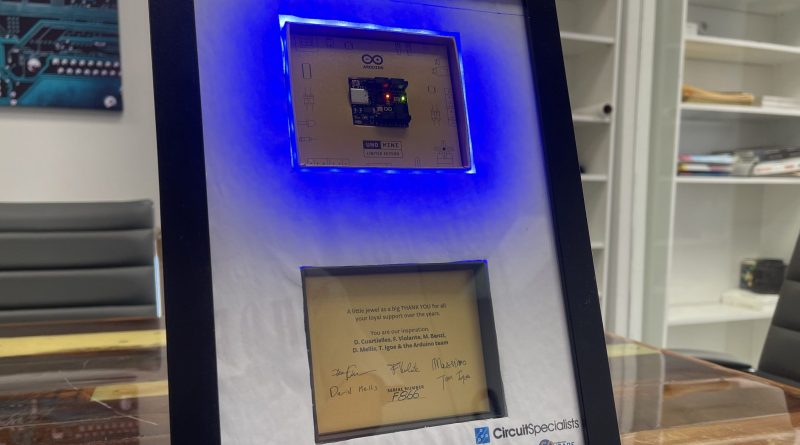
This will be a perfect Graduation Gift for Arduino Lover, especially with the Limited Miniature Arduino Uno with all founder signatures. This Arduino version was created to celebrate the 10 million projects based on (official) Uno boards. Therefore, I cannot find a better project but to frame this amazing board and share its inspiring story with the next generation.
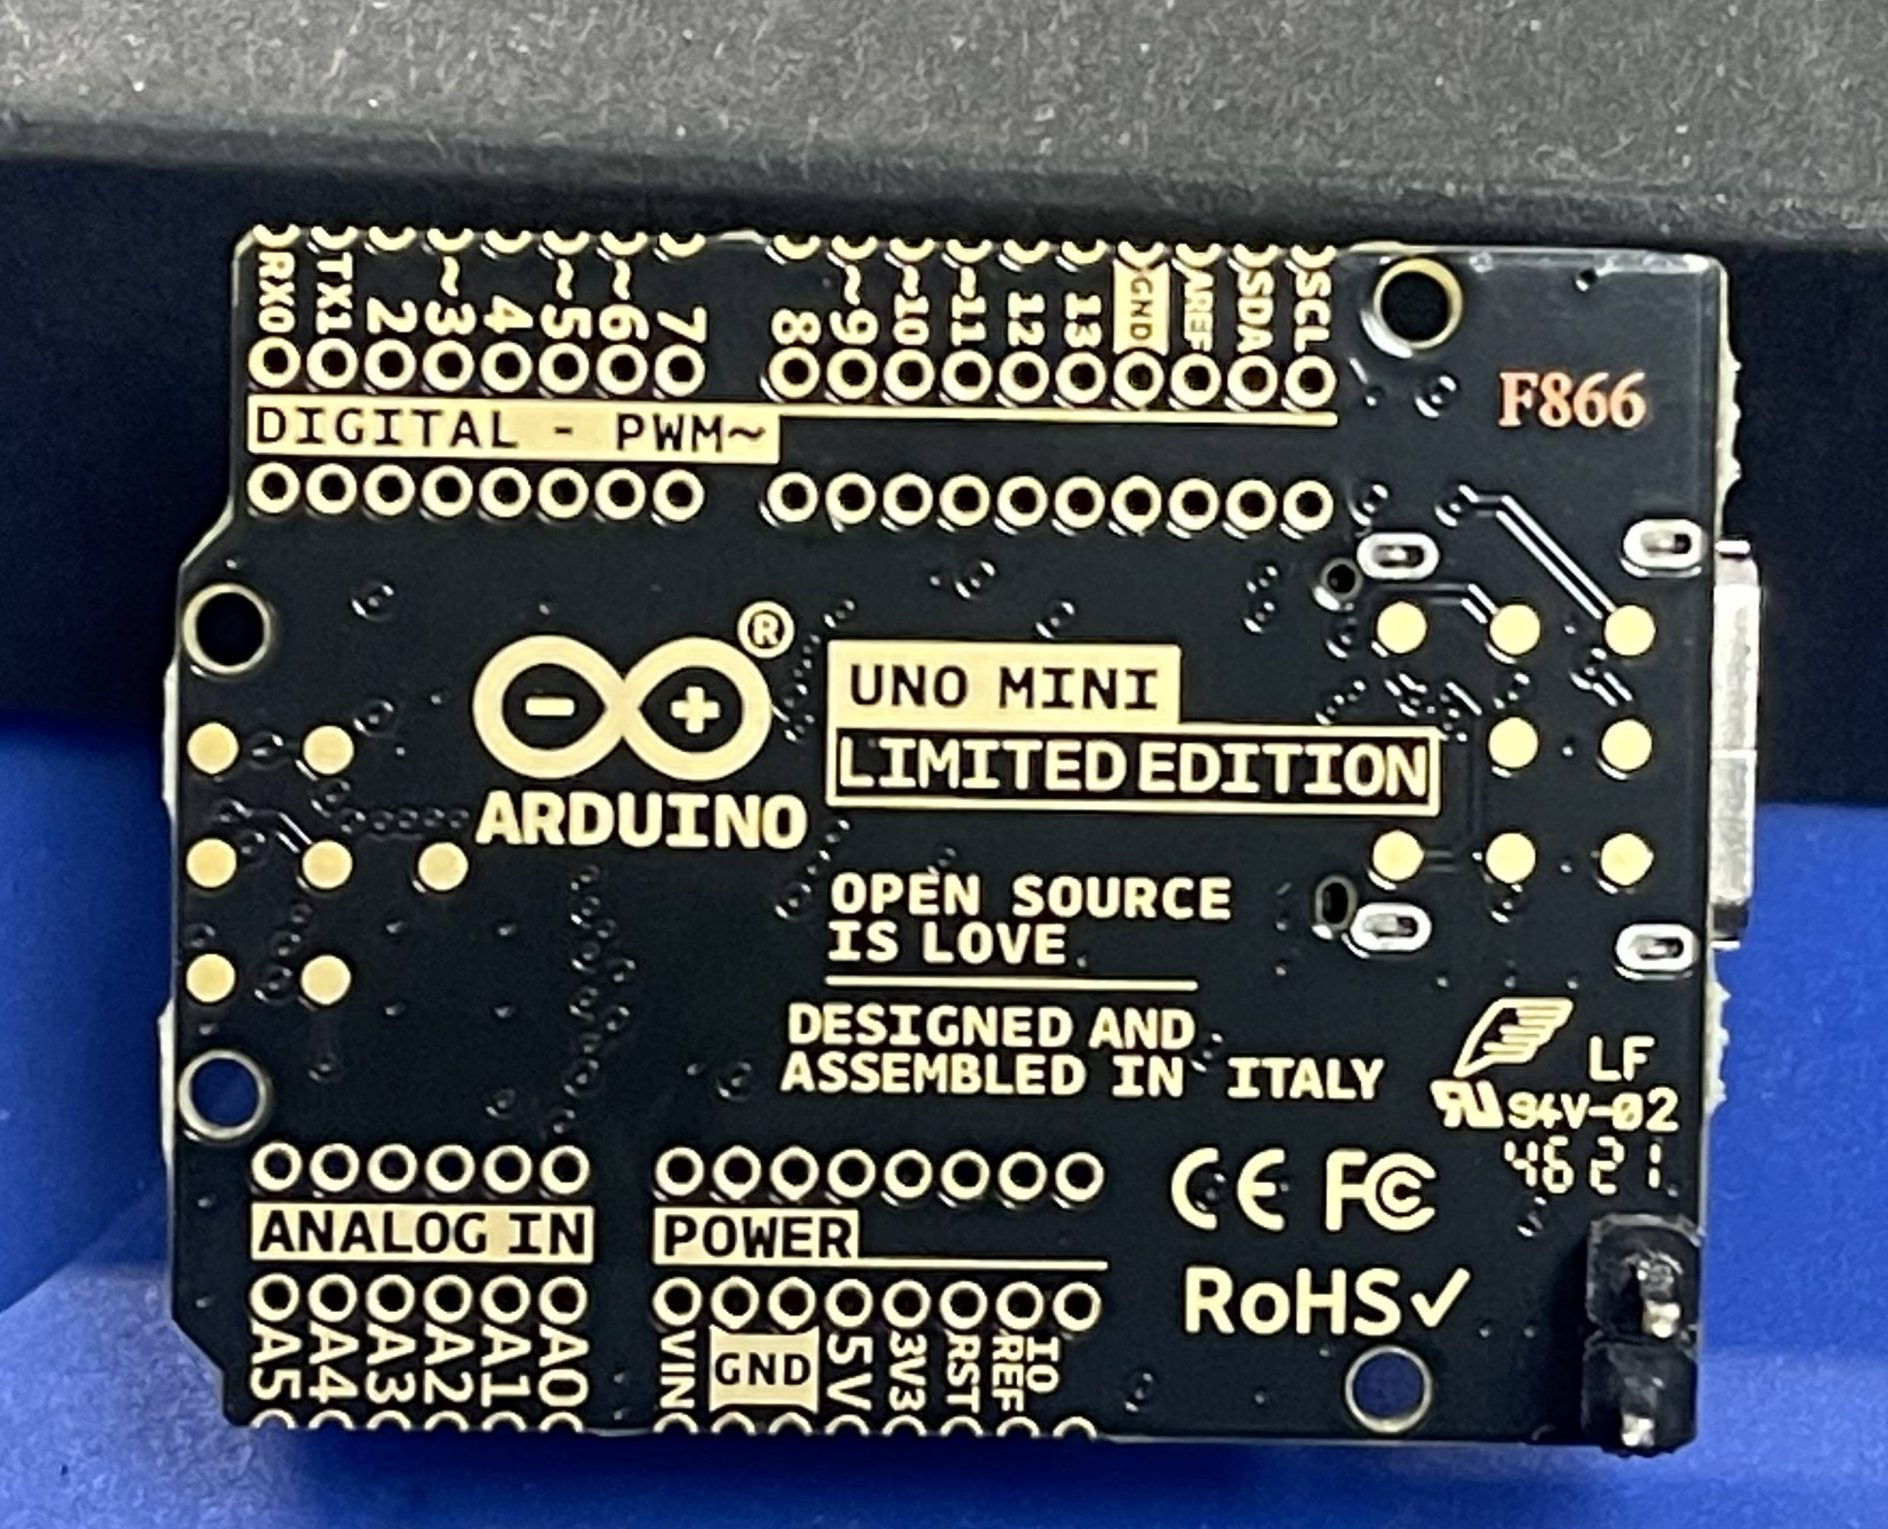
Table of Content
- Part List
- What is this Limited Miniature Arduino Uno?
- How to prepare the frame.
- How to prepare the LED strip.
- How to install the On/Off Switch with the battery.
- How to build the frame extension.
- Conclusion.
Part List
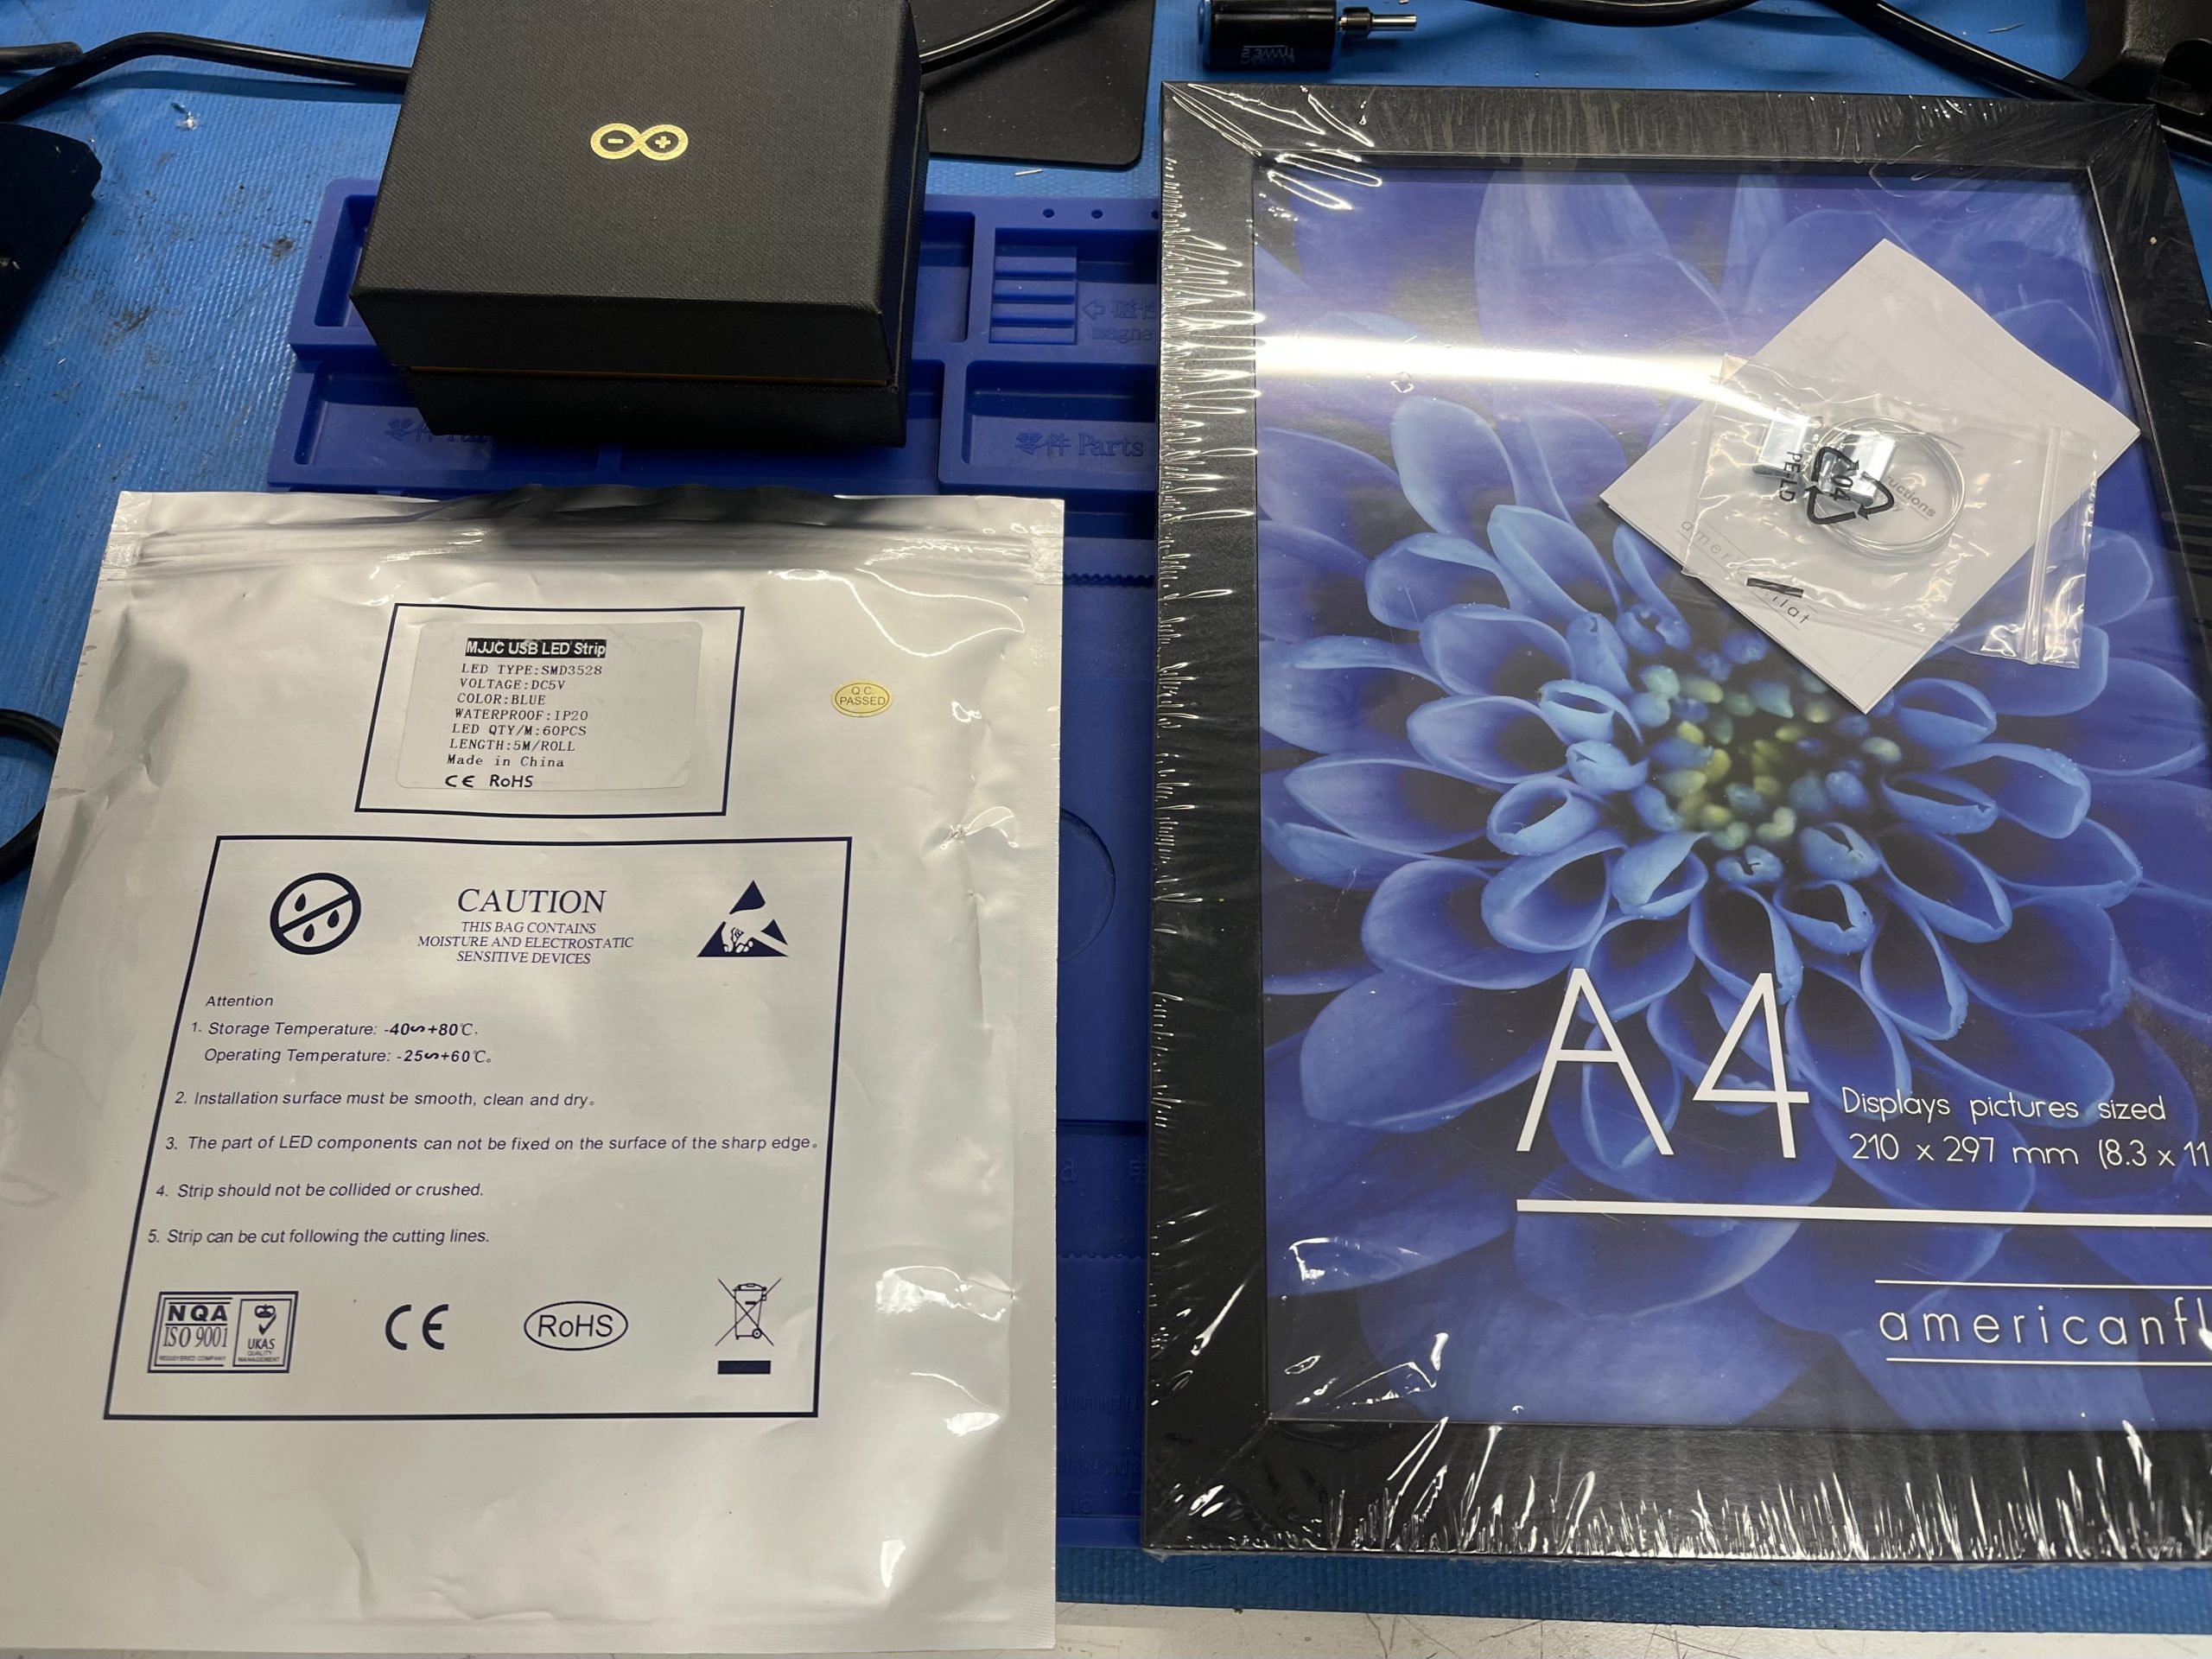
- Limited Miniature Arduino Uno
- On/Off switch
- 9V battery connector
- Picture Frame
- LED Strip
- Hot Glue
- Foamboard
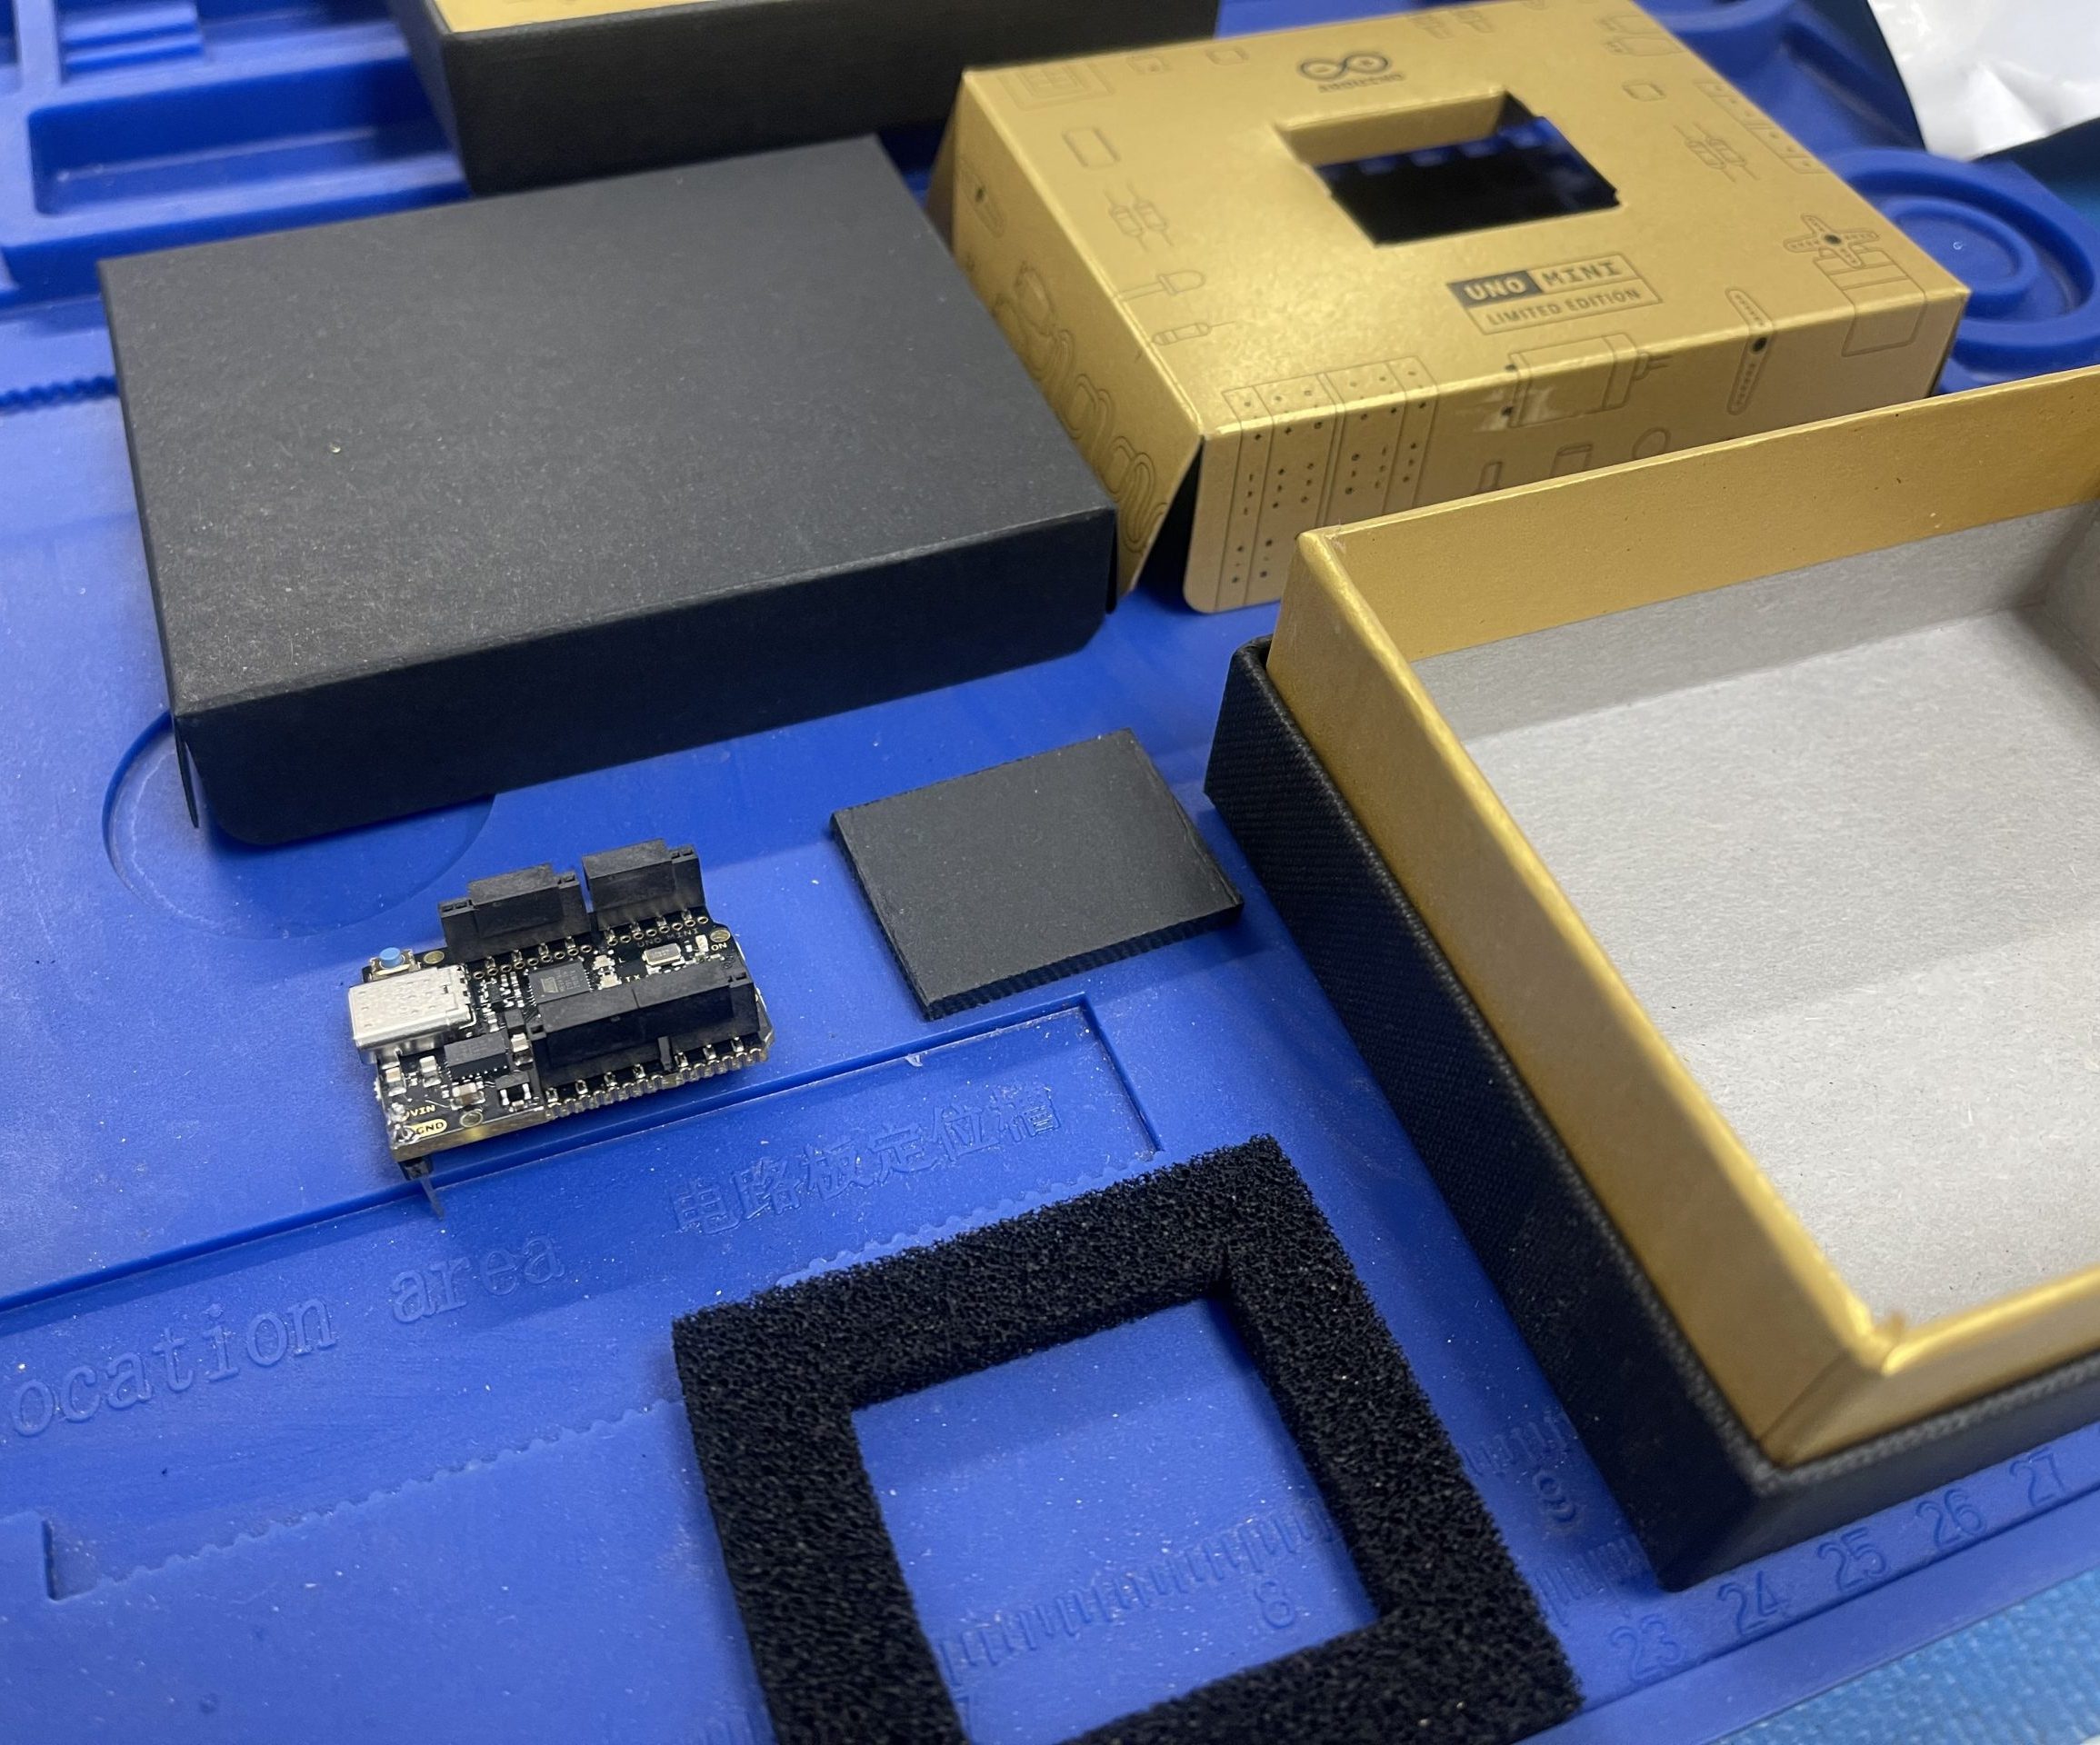
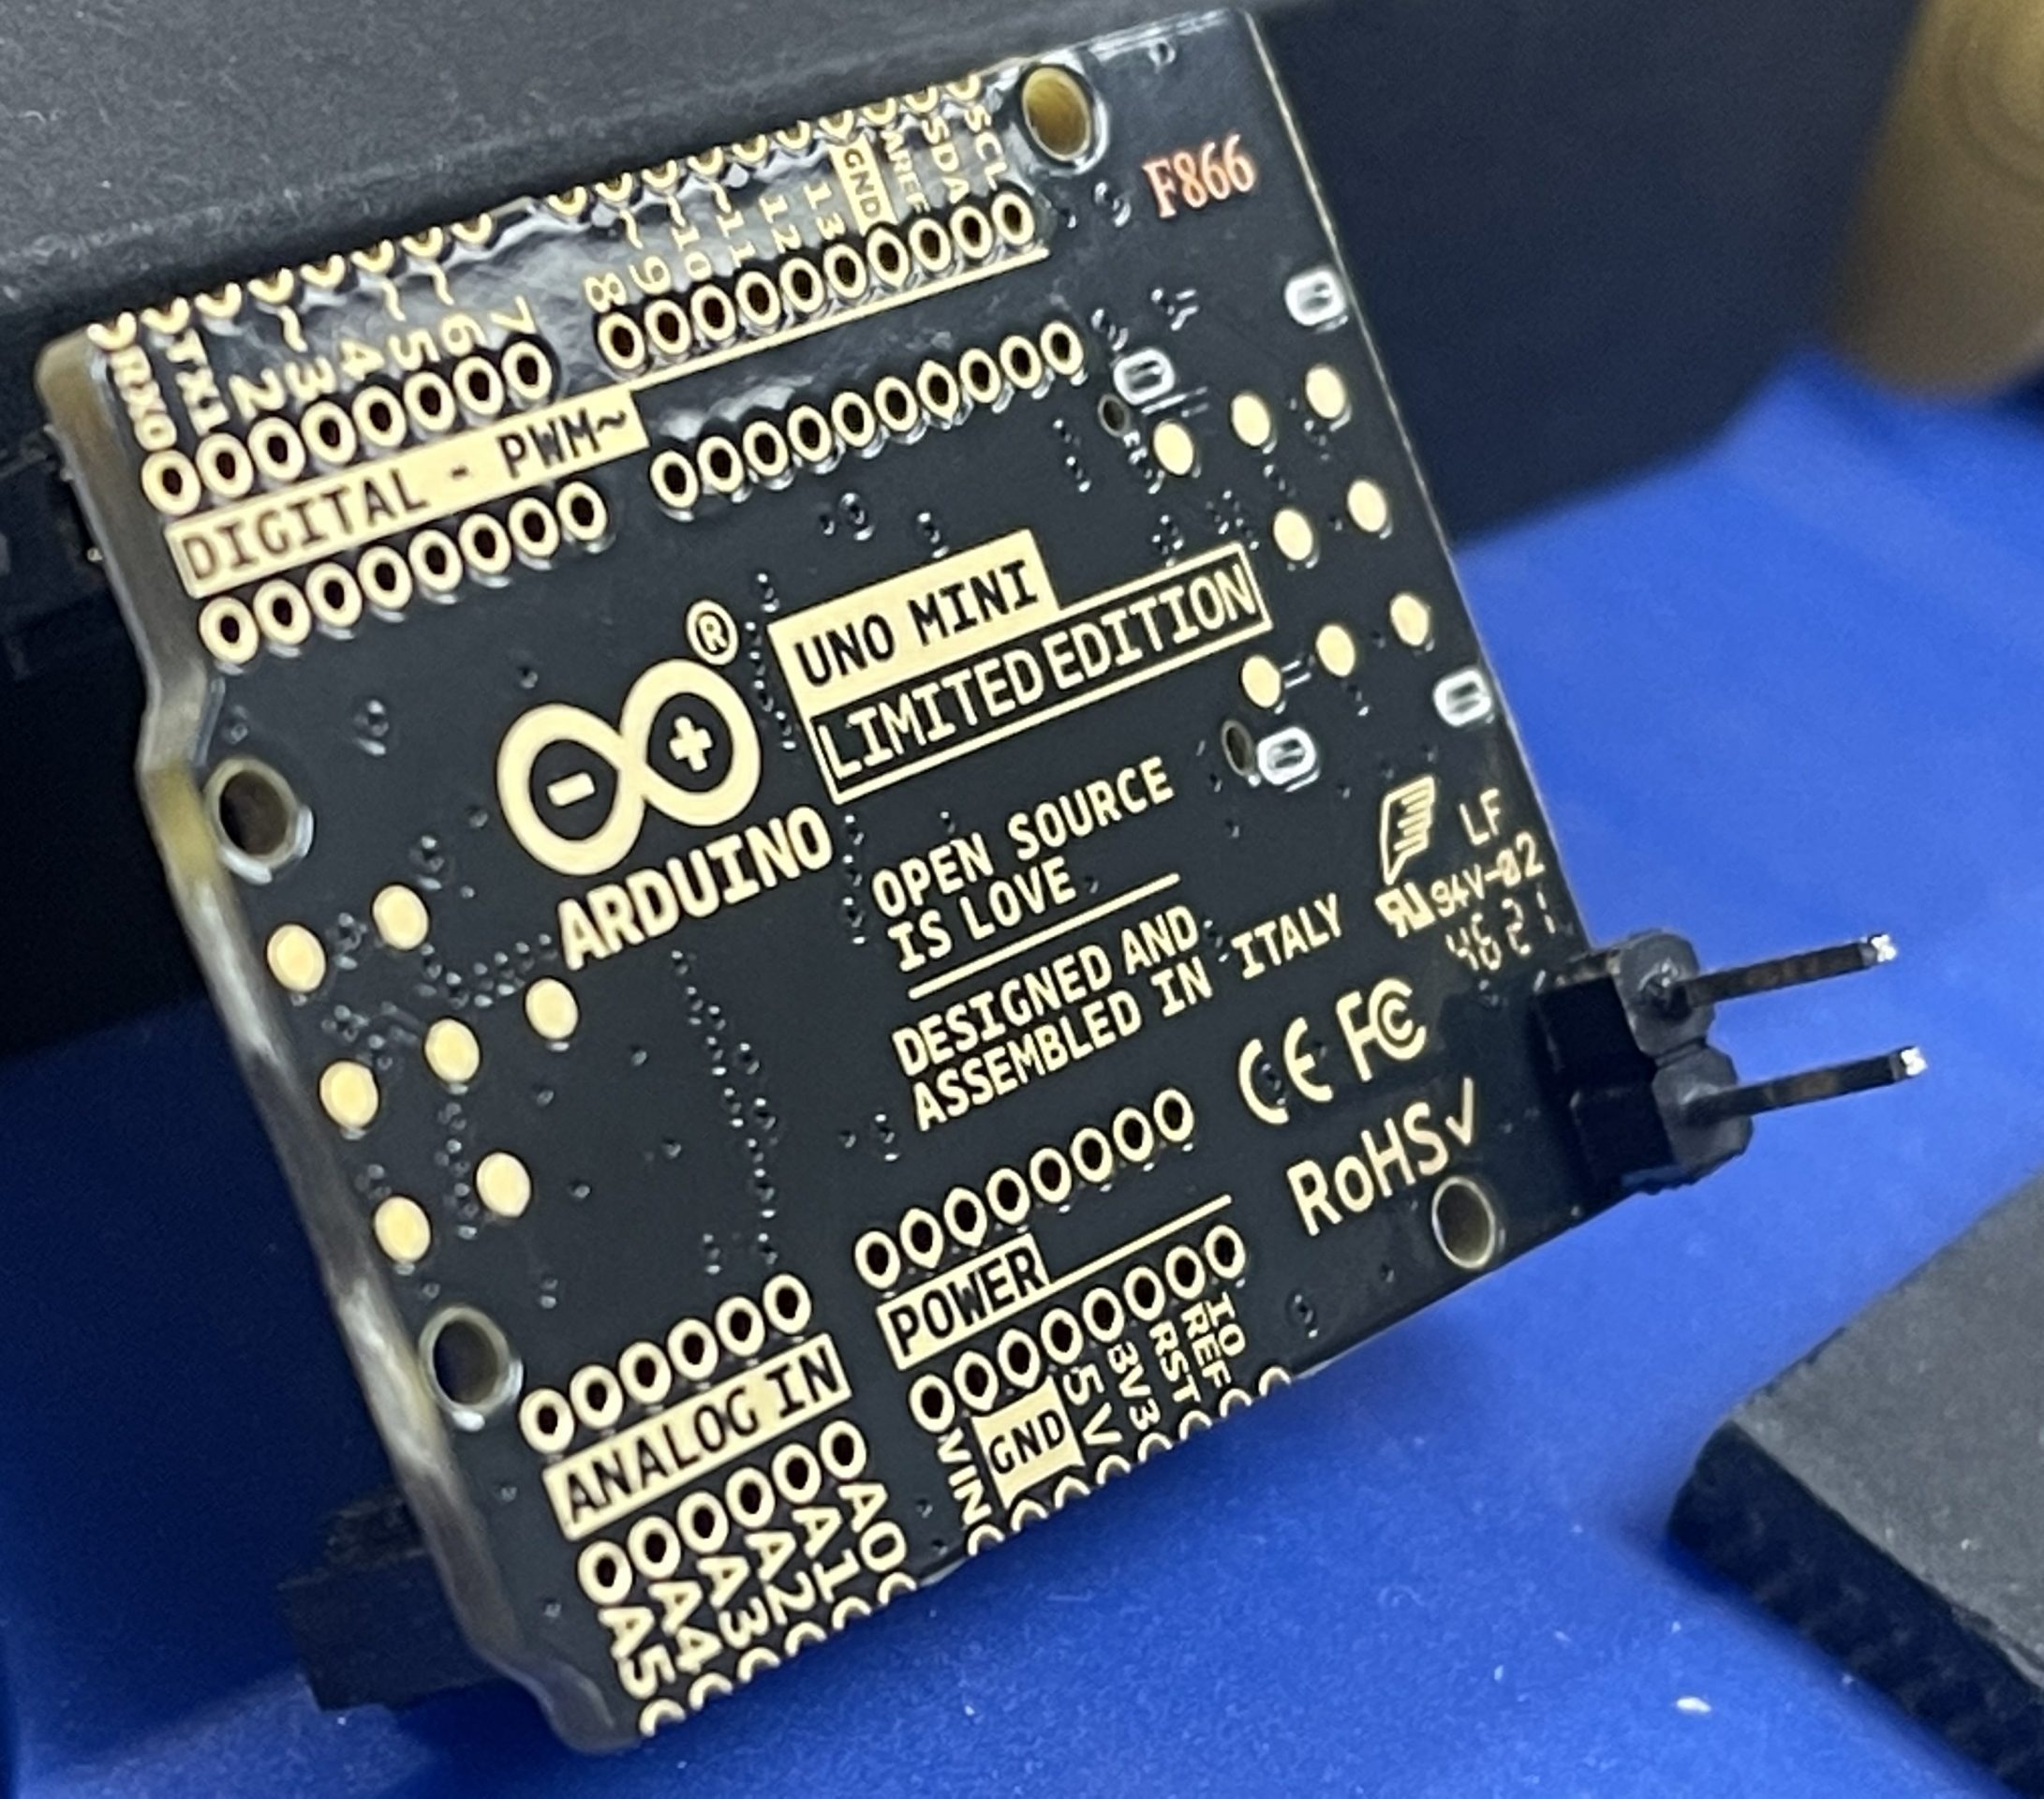
What is this Limited Miniature Arduino Uno?
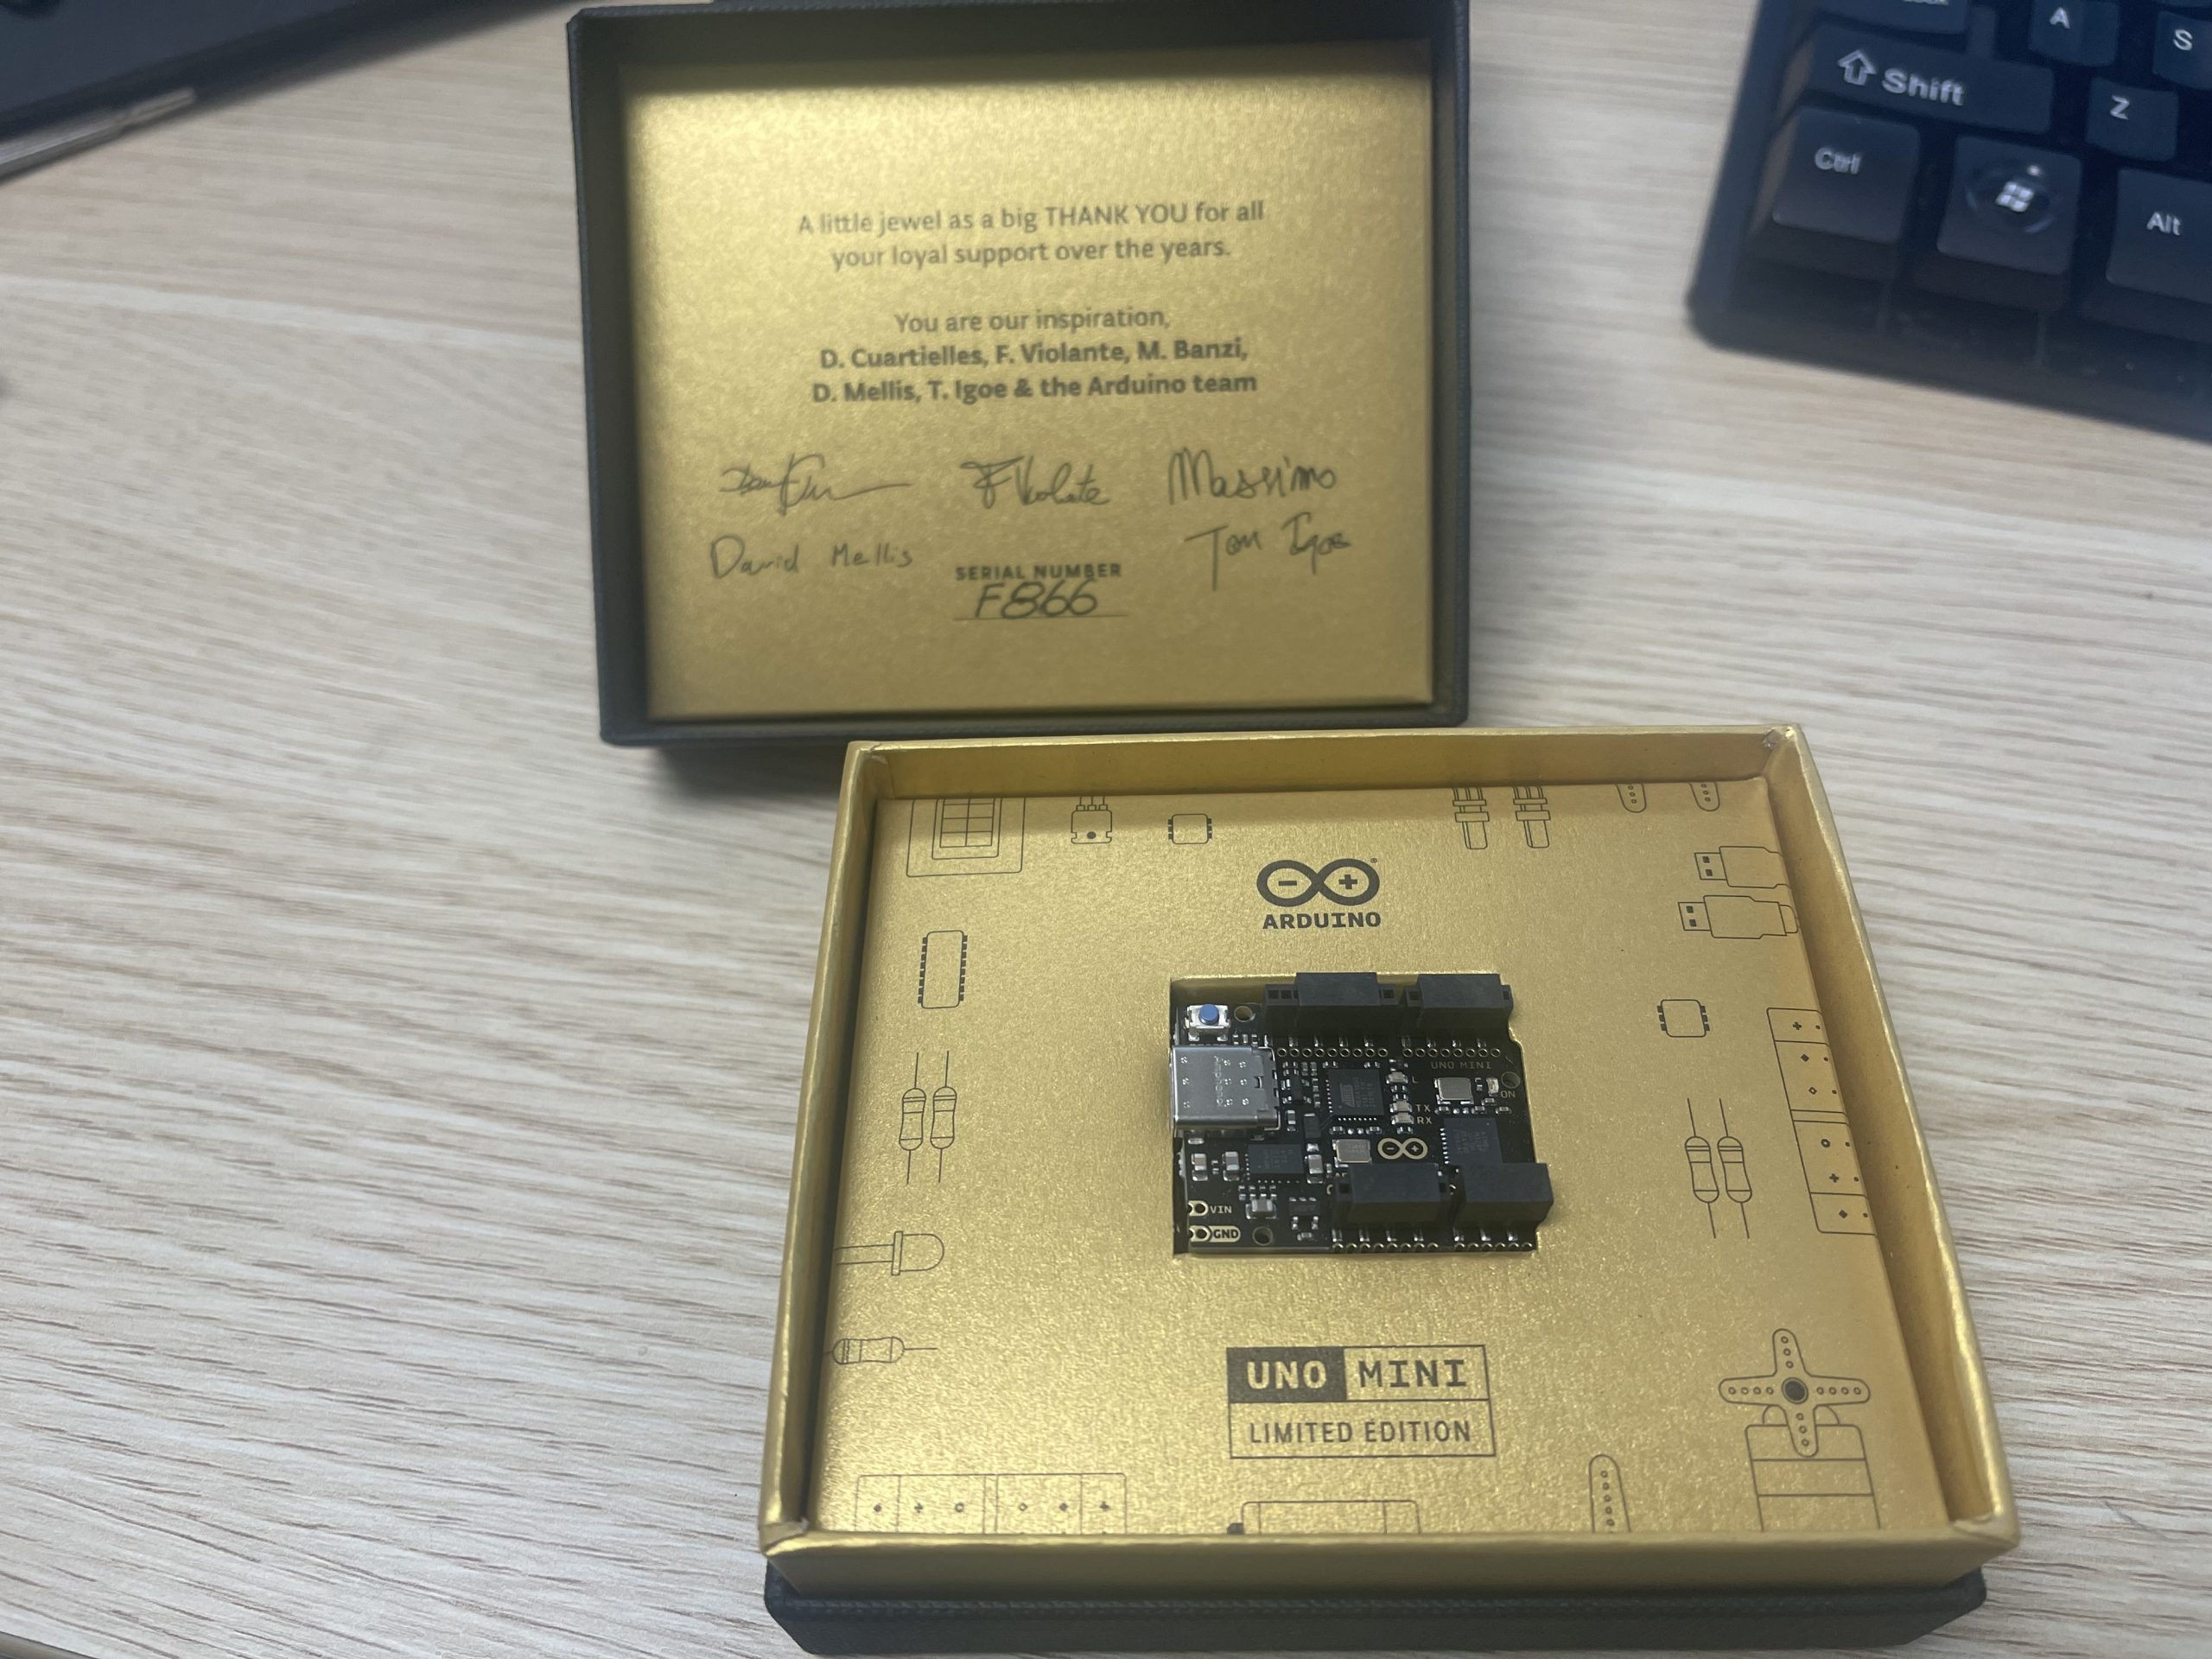
Arduino UNO Mini Limited Edition is a collector’s item for serious Arduino Lovers: hobbyists, students, makers. This version was created to celebrate the 10 million projects based on (official) Uno boards that contributed to this incredible story.
How to prepare the frame.
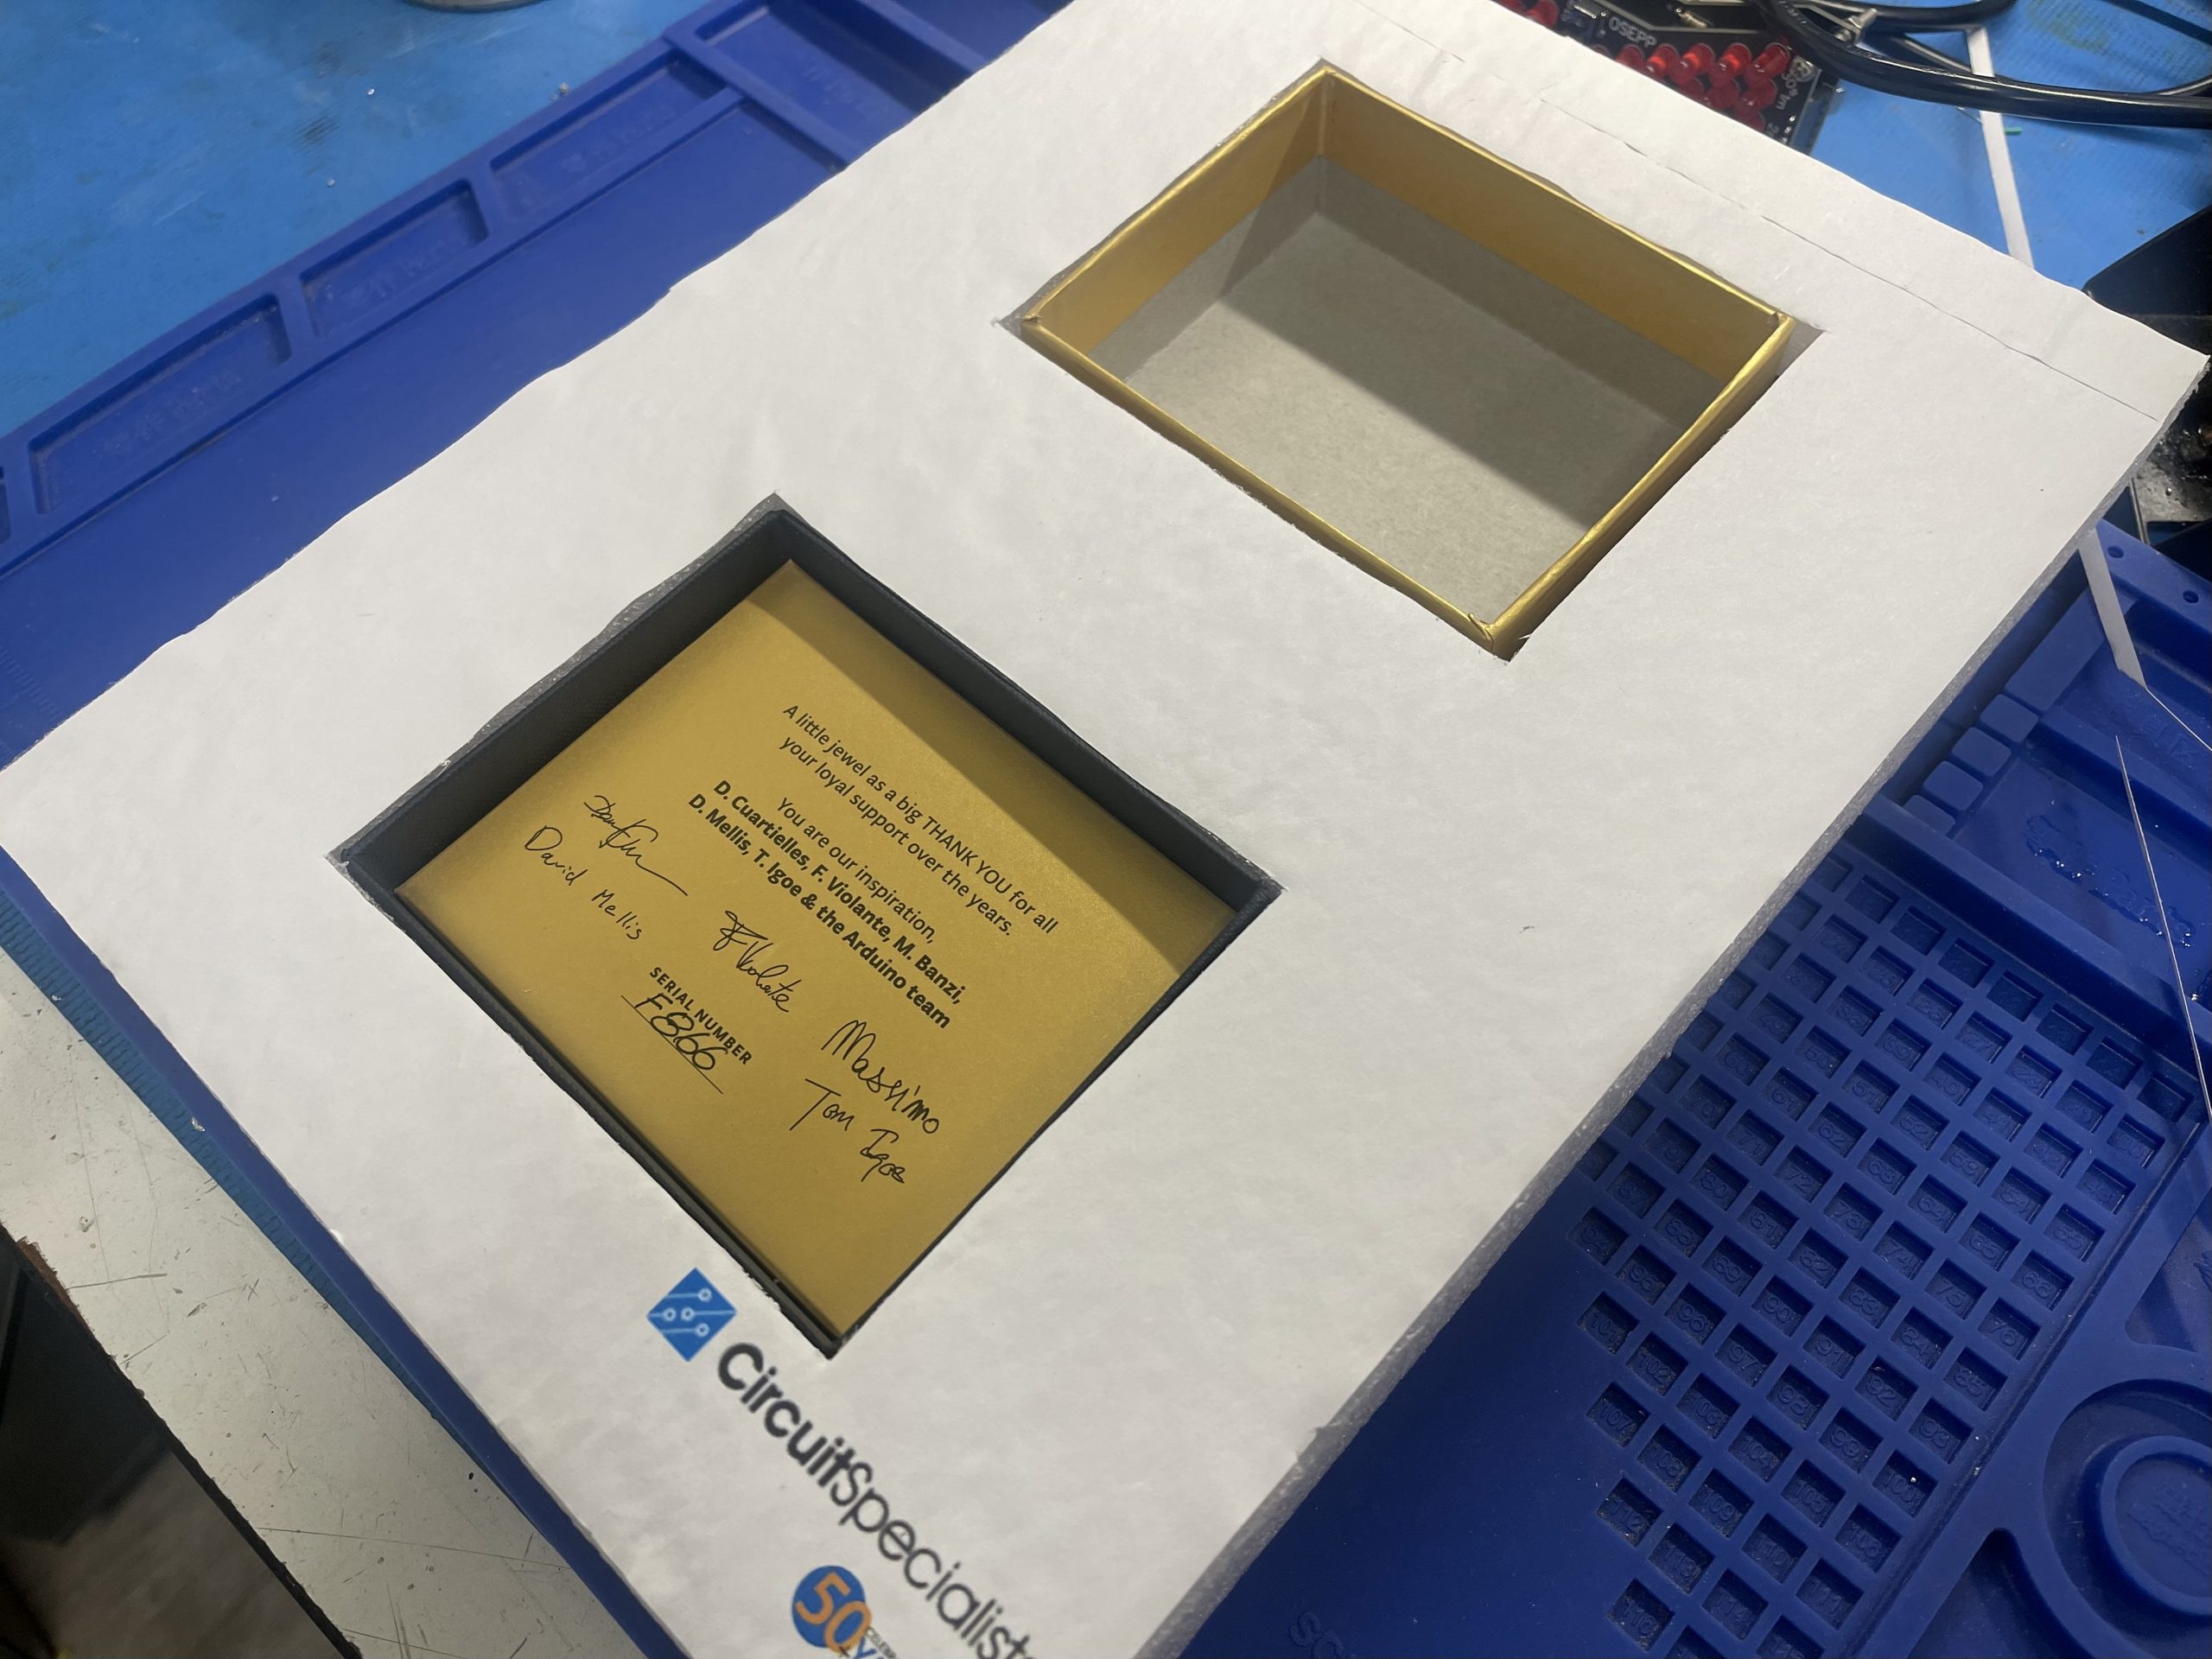
First, cut out a piece of thick foam that would fit inside the frame using the provided template.
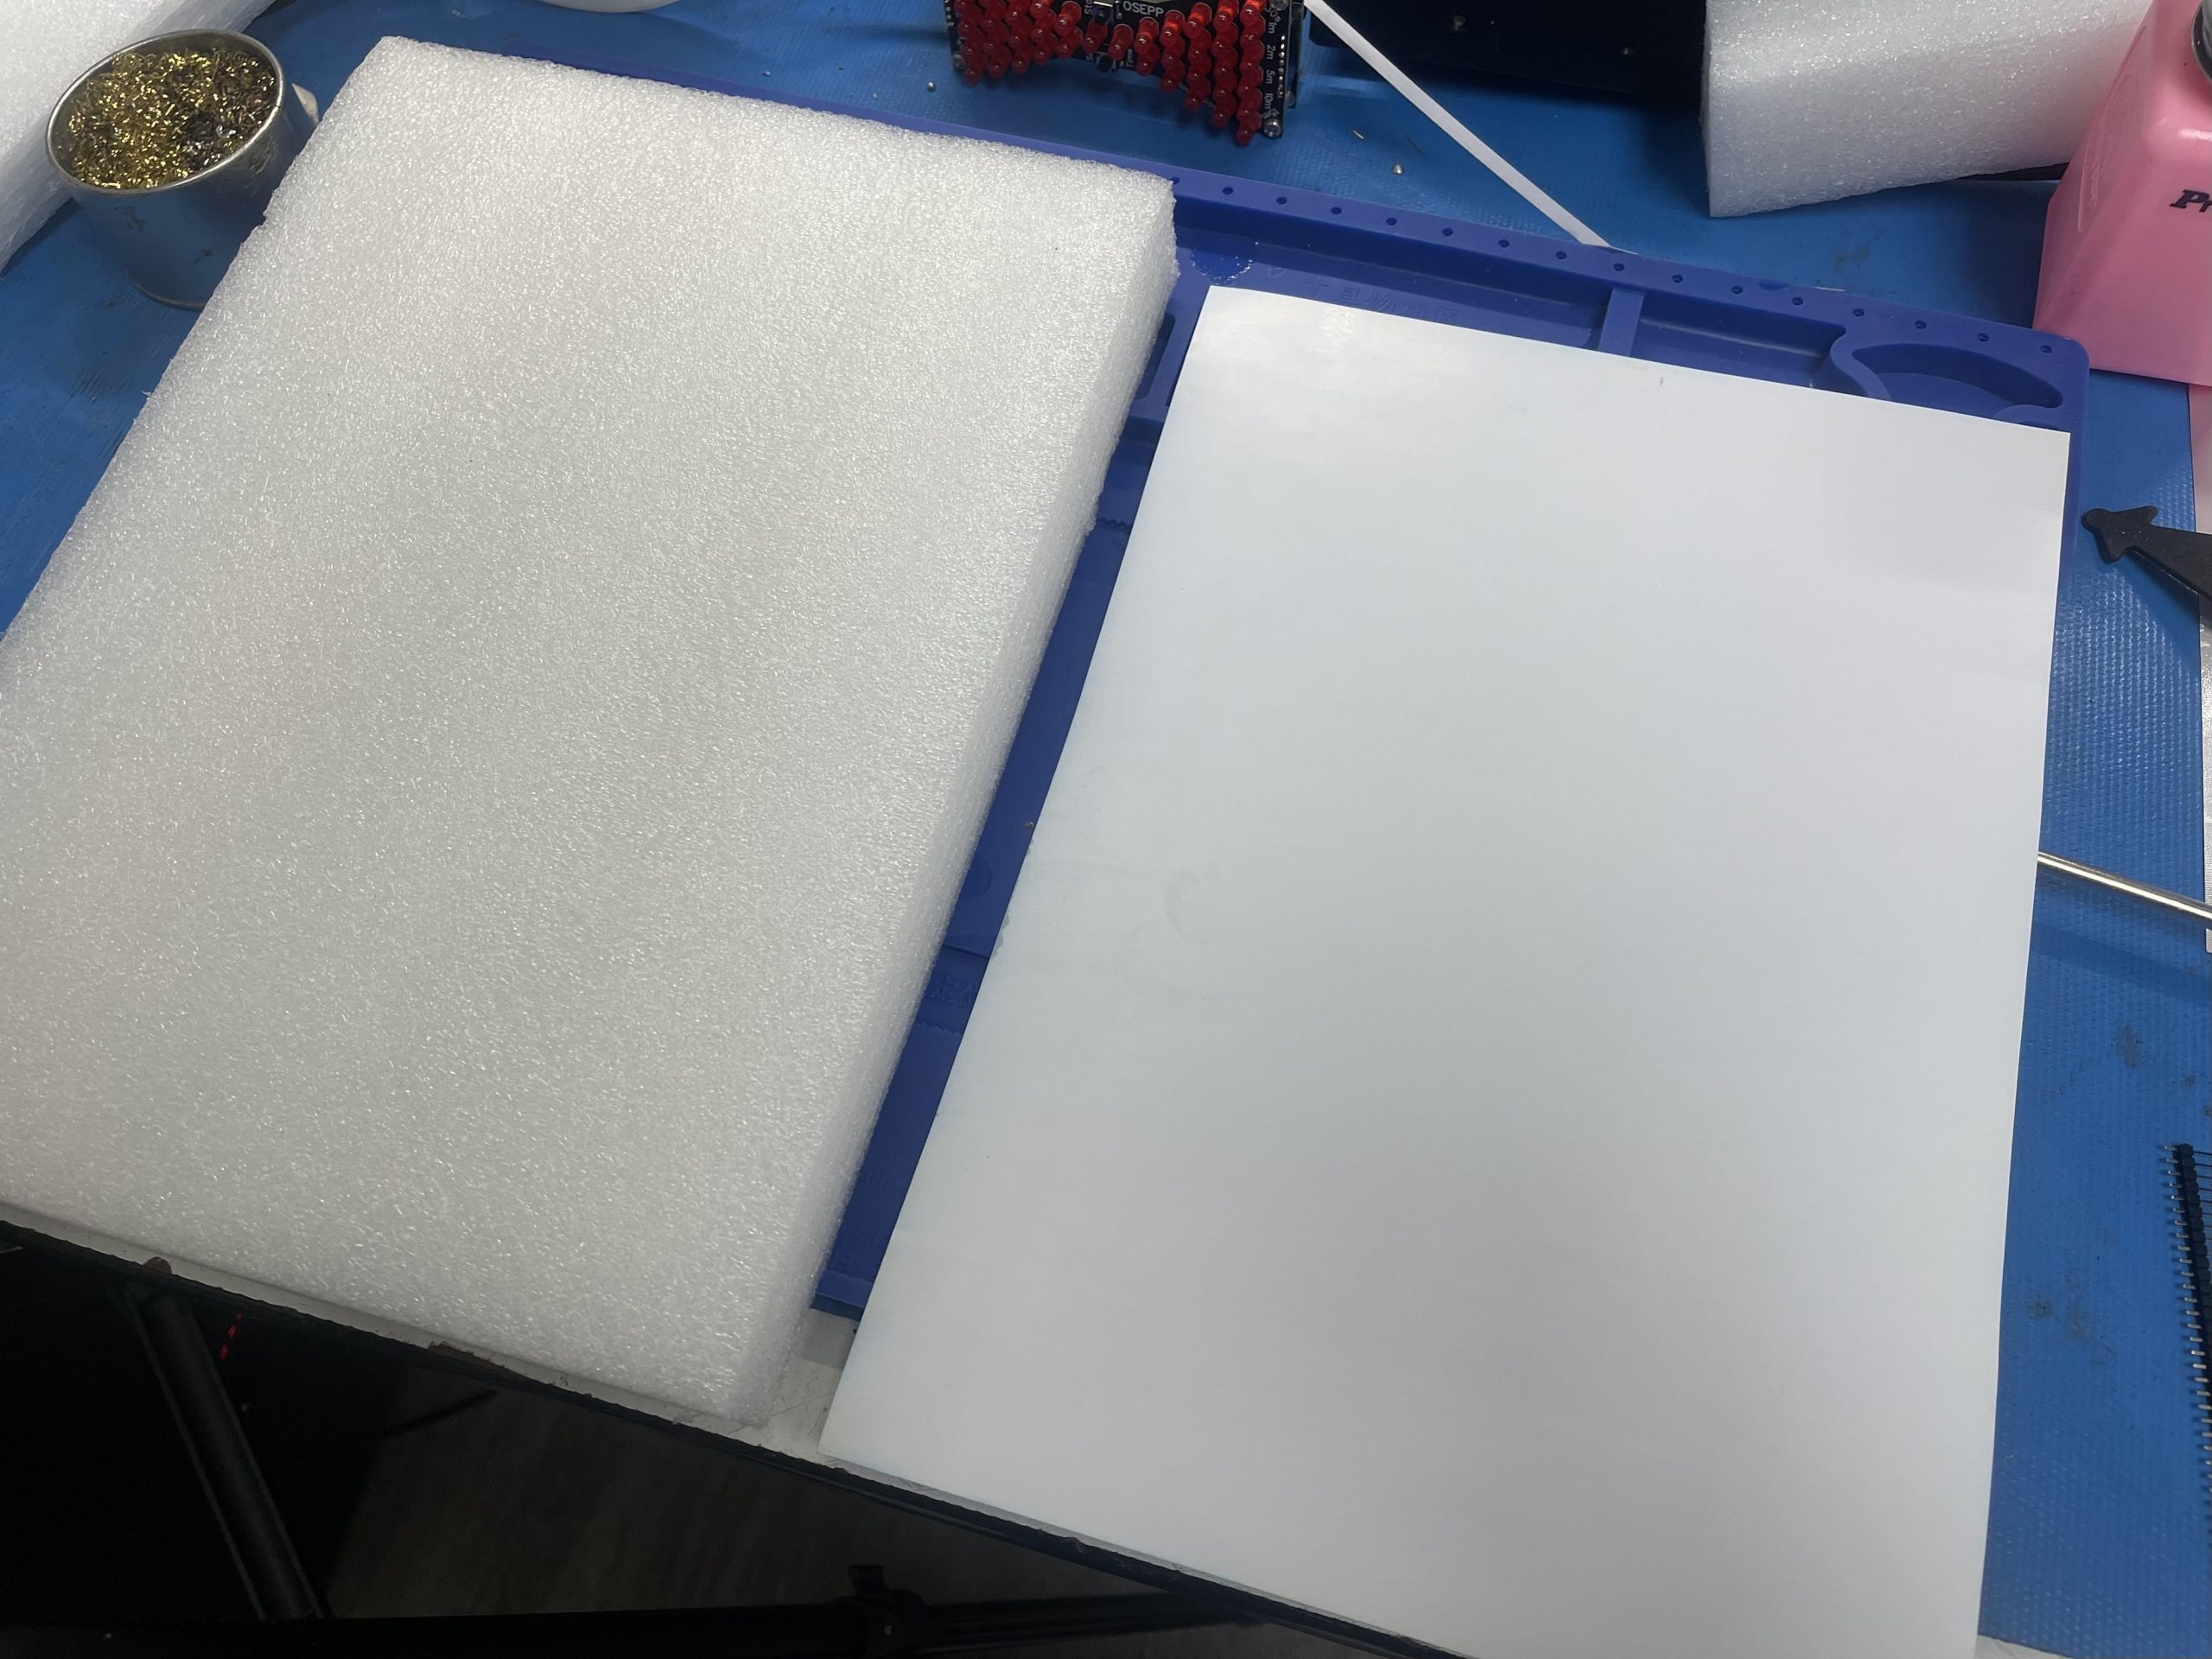
Secondly, divide the area up accordingly to the Arduino boxes.

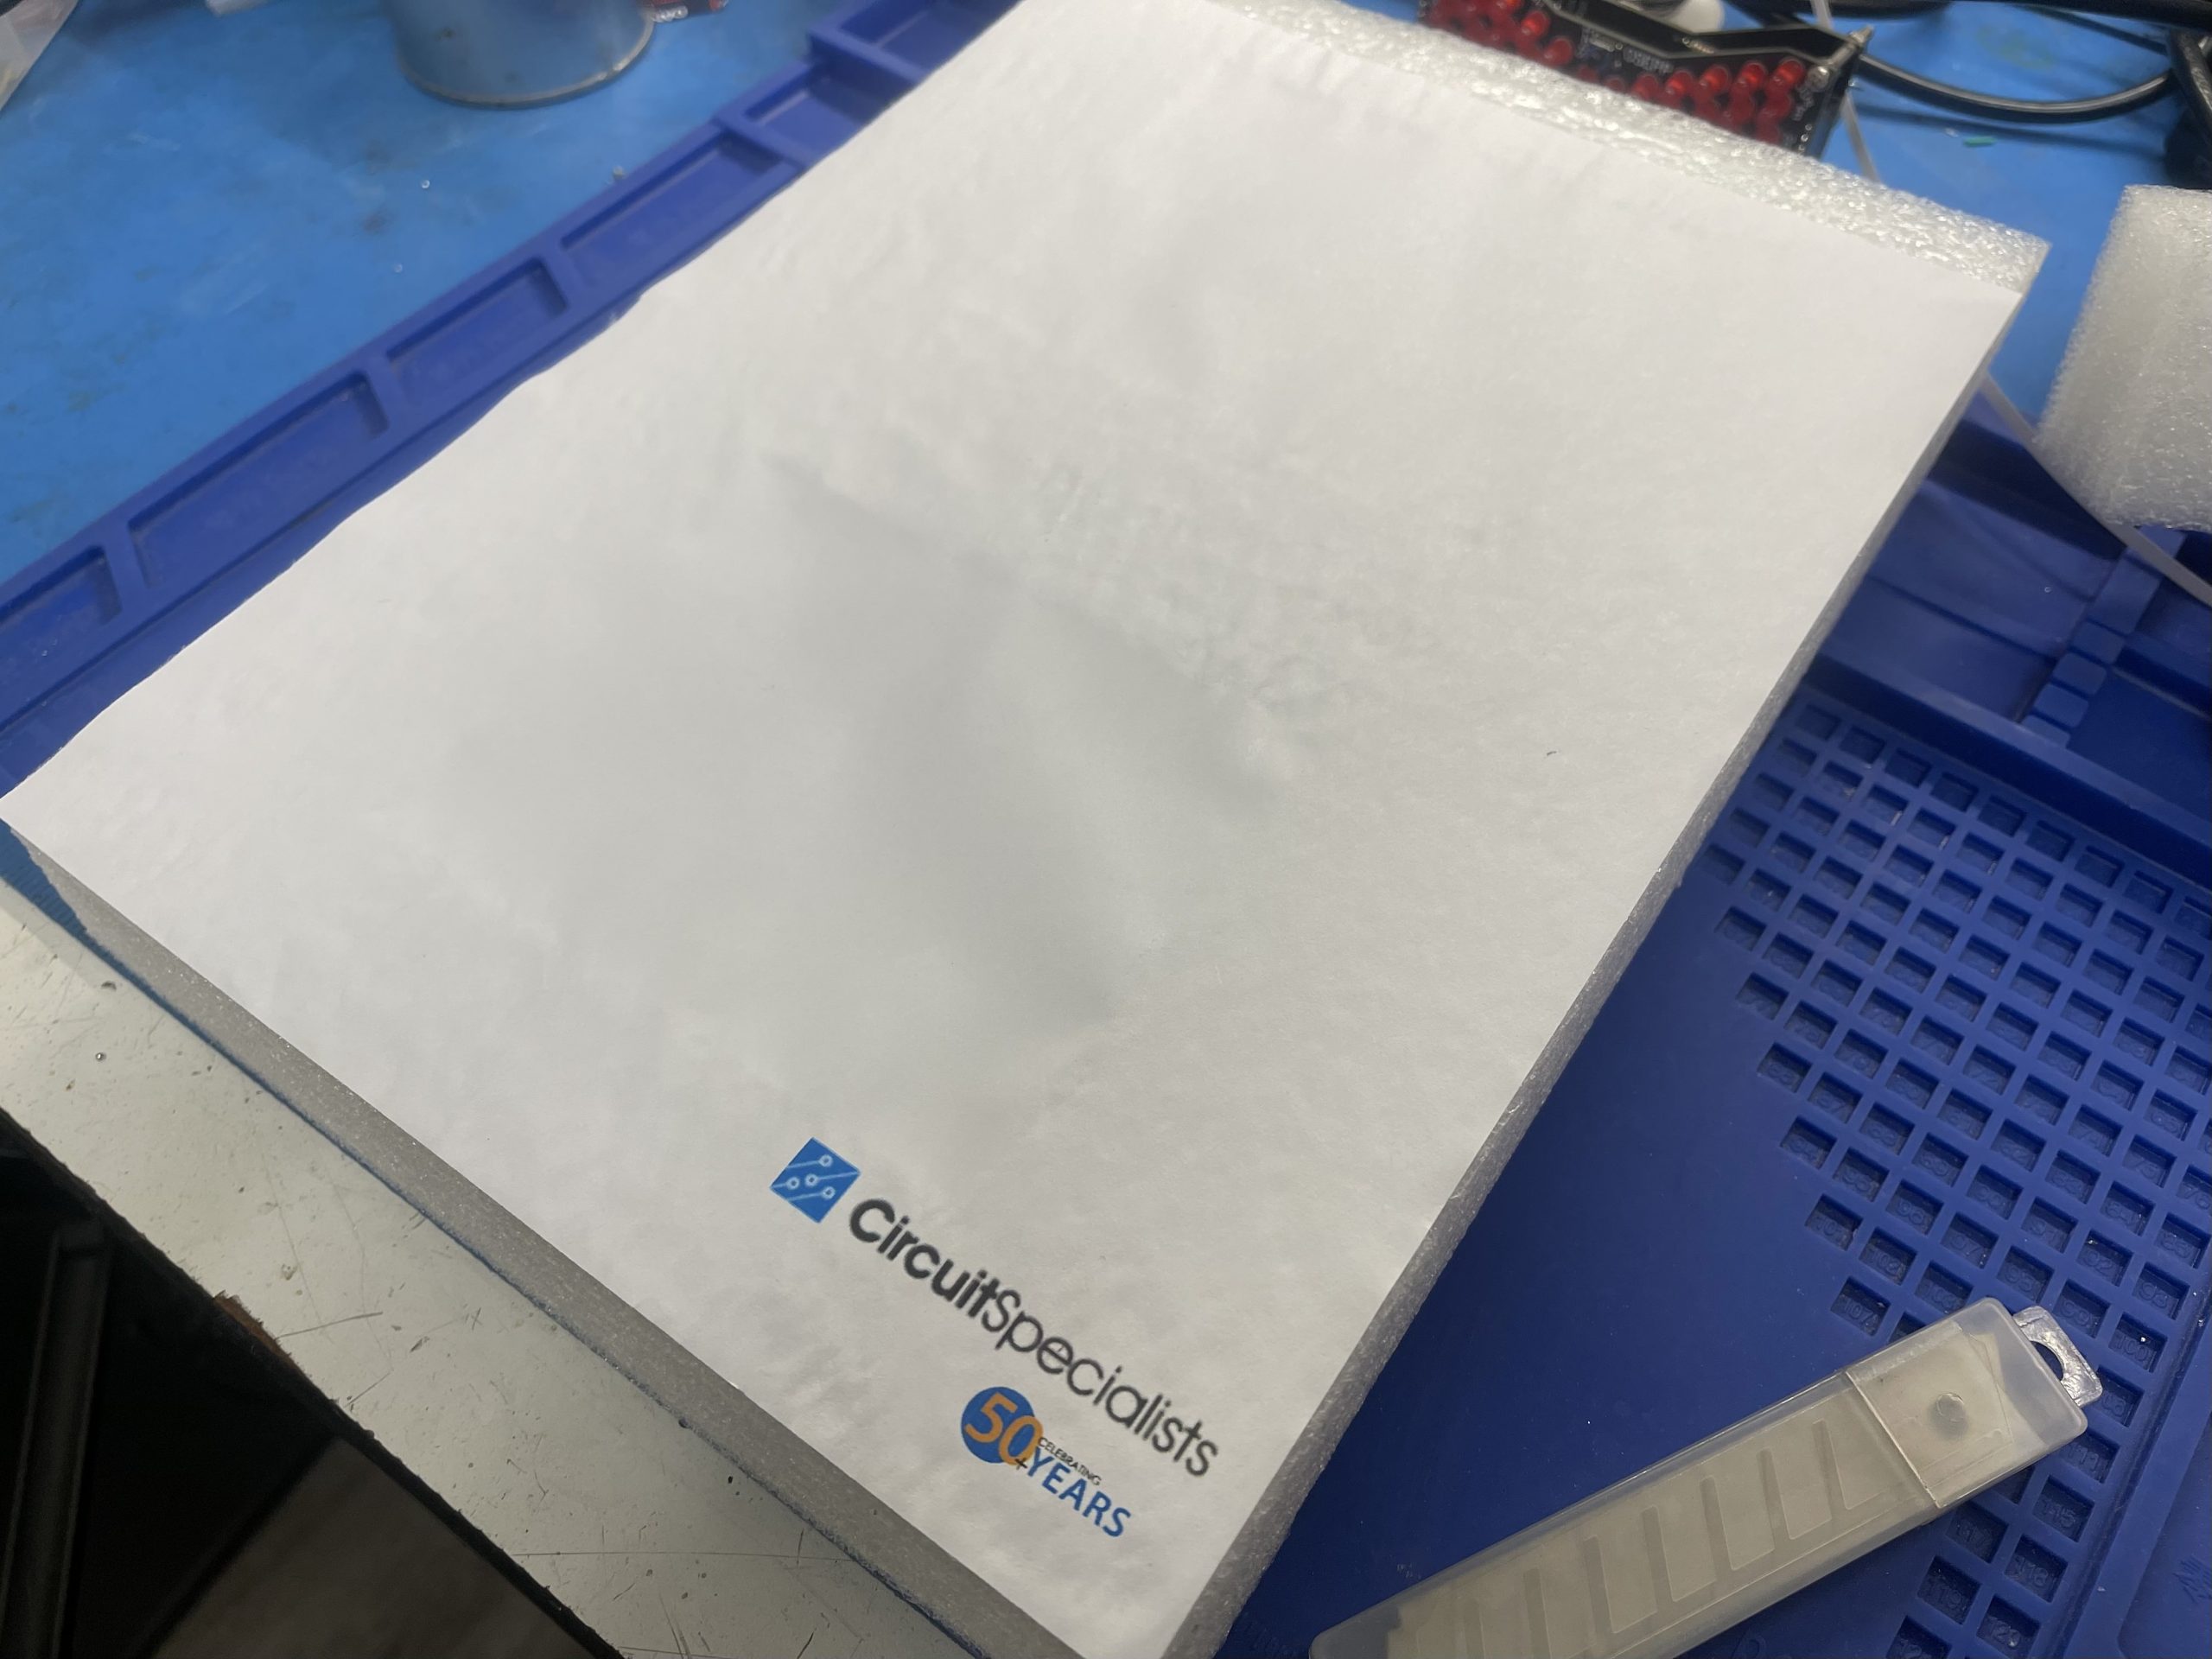
On top of that, you can also choose different types of front cover, in this case, Circuit Specialist 50th Years Anniversary.
Now, tape the template on the foam and cut the crossing area out.
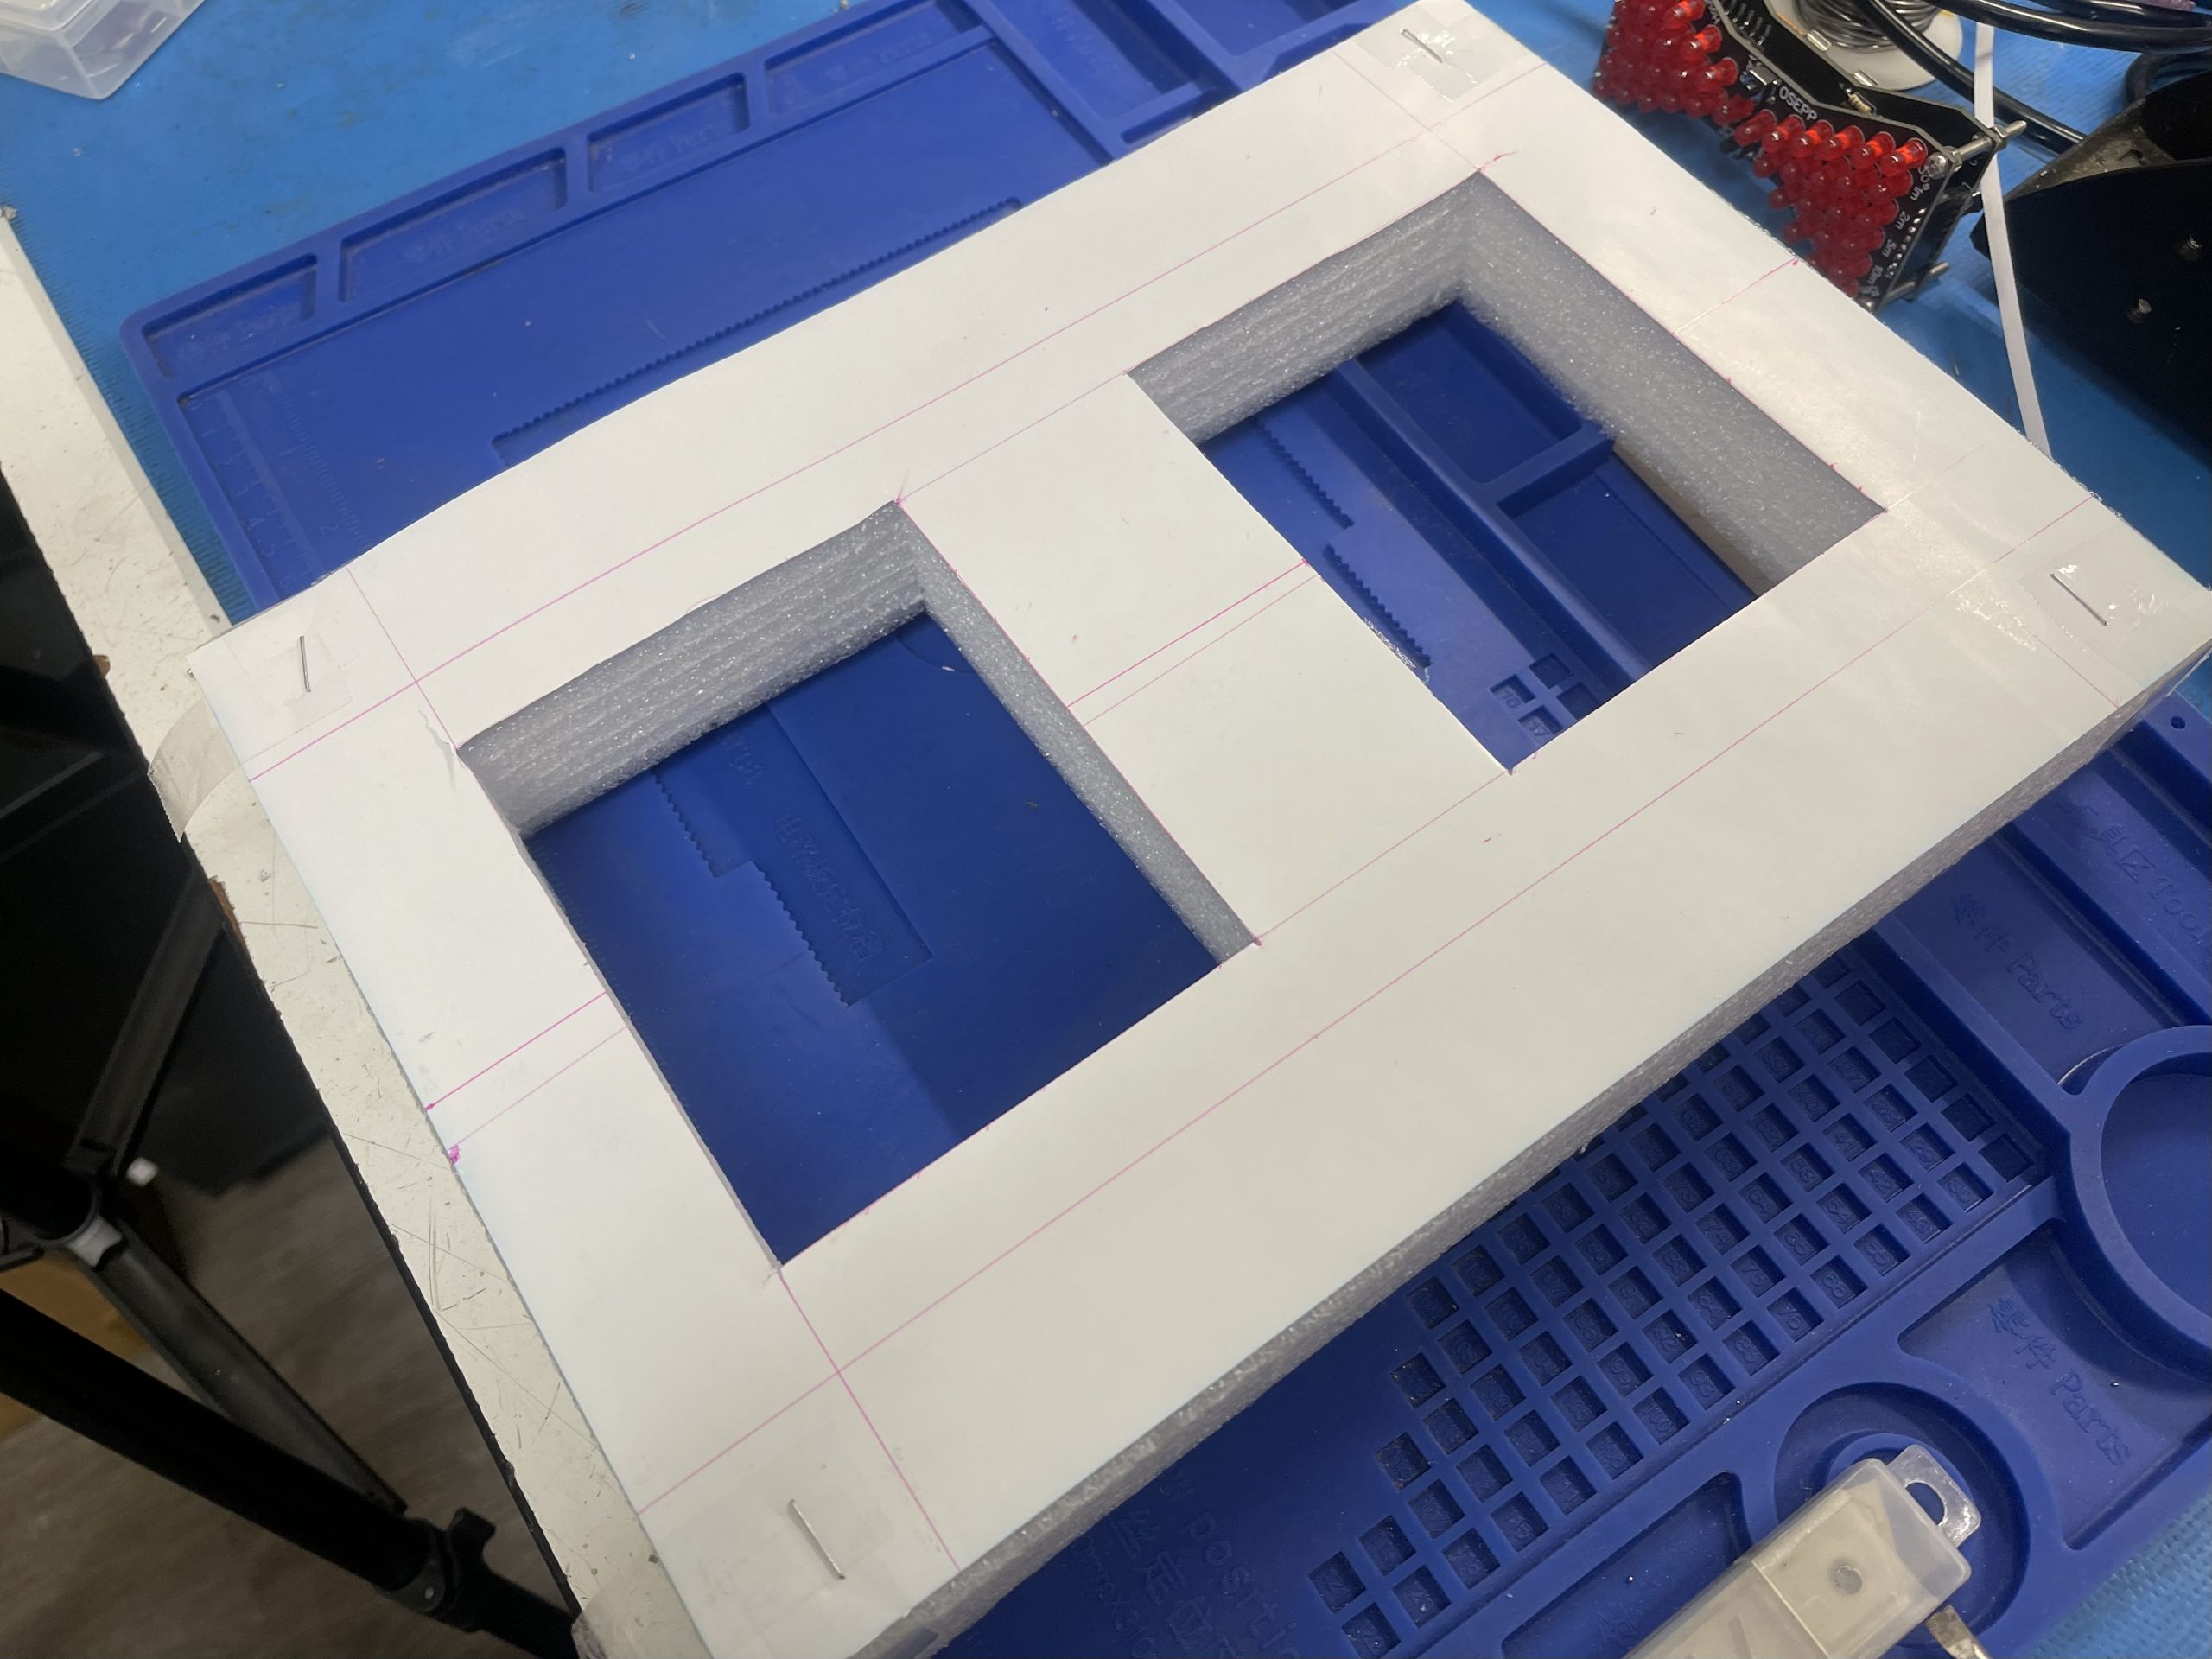
Finally, test fit with the Arduino box.
How to prepare the LED strip.
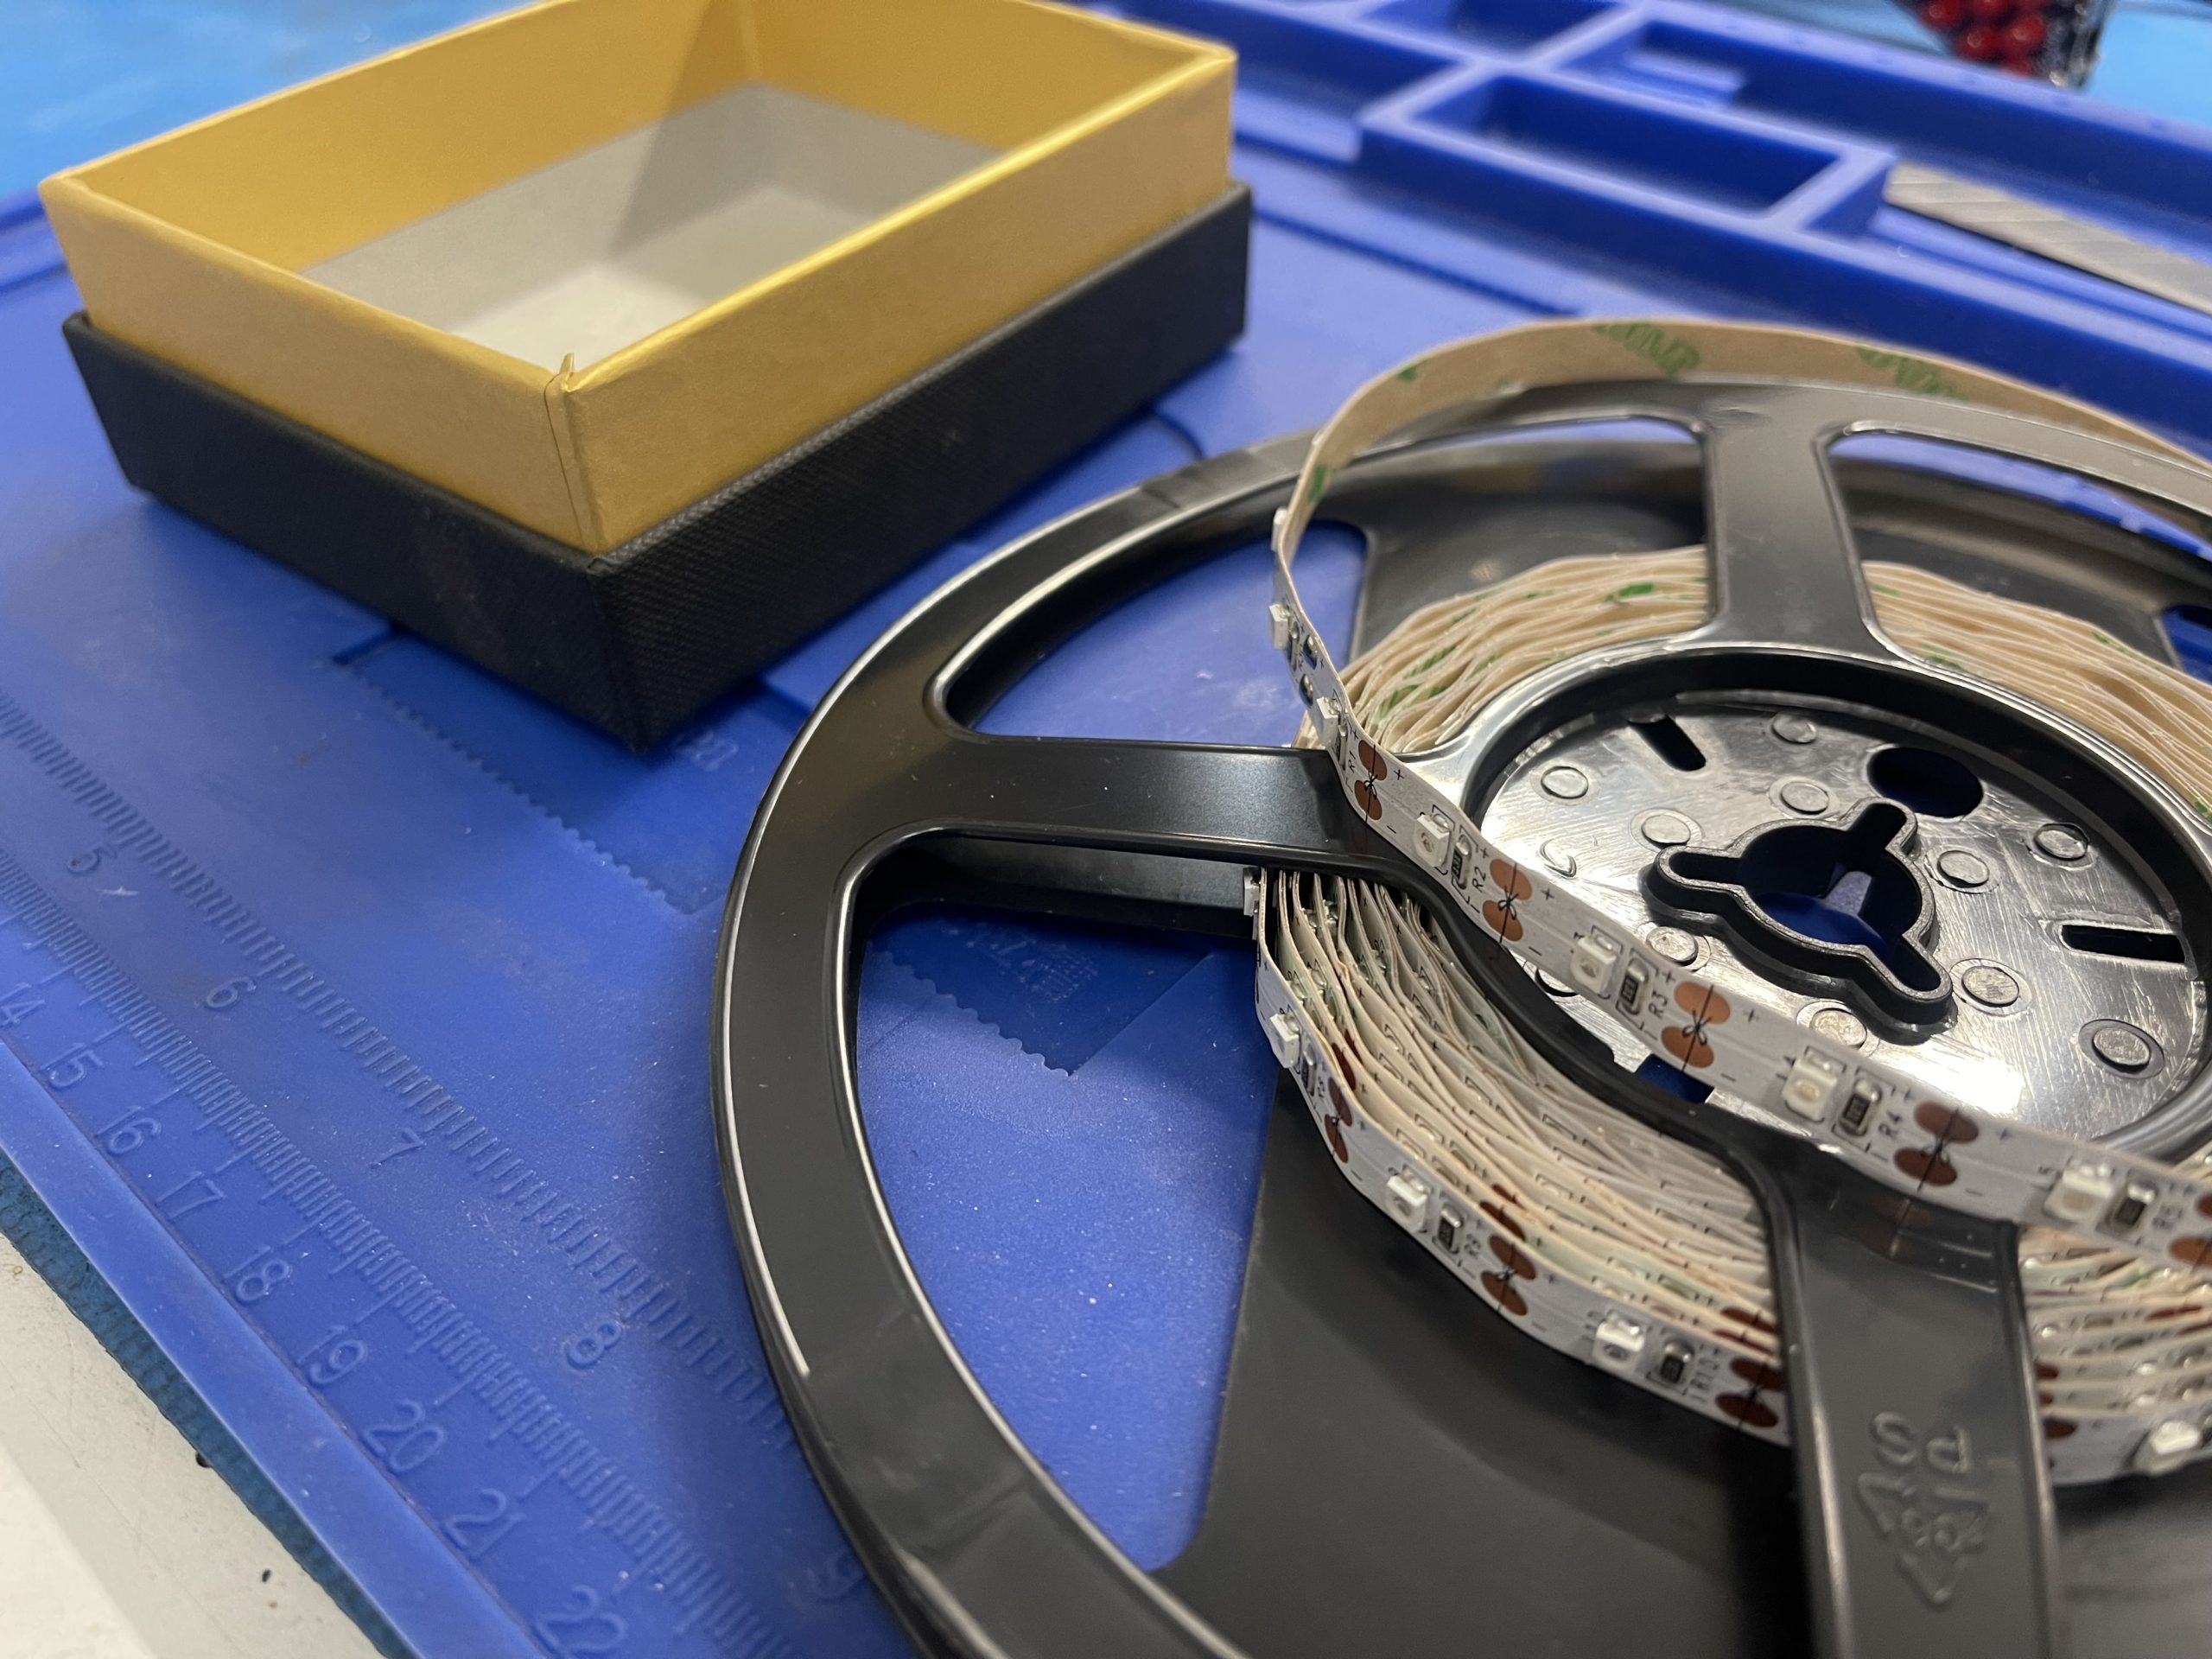
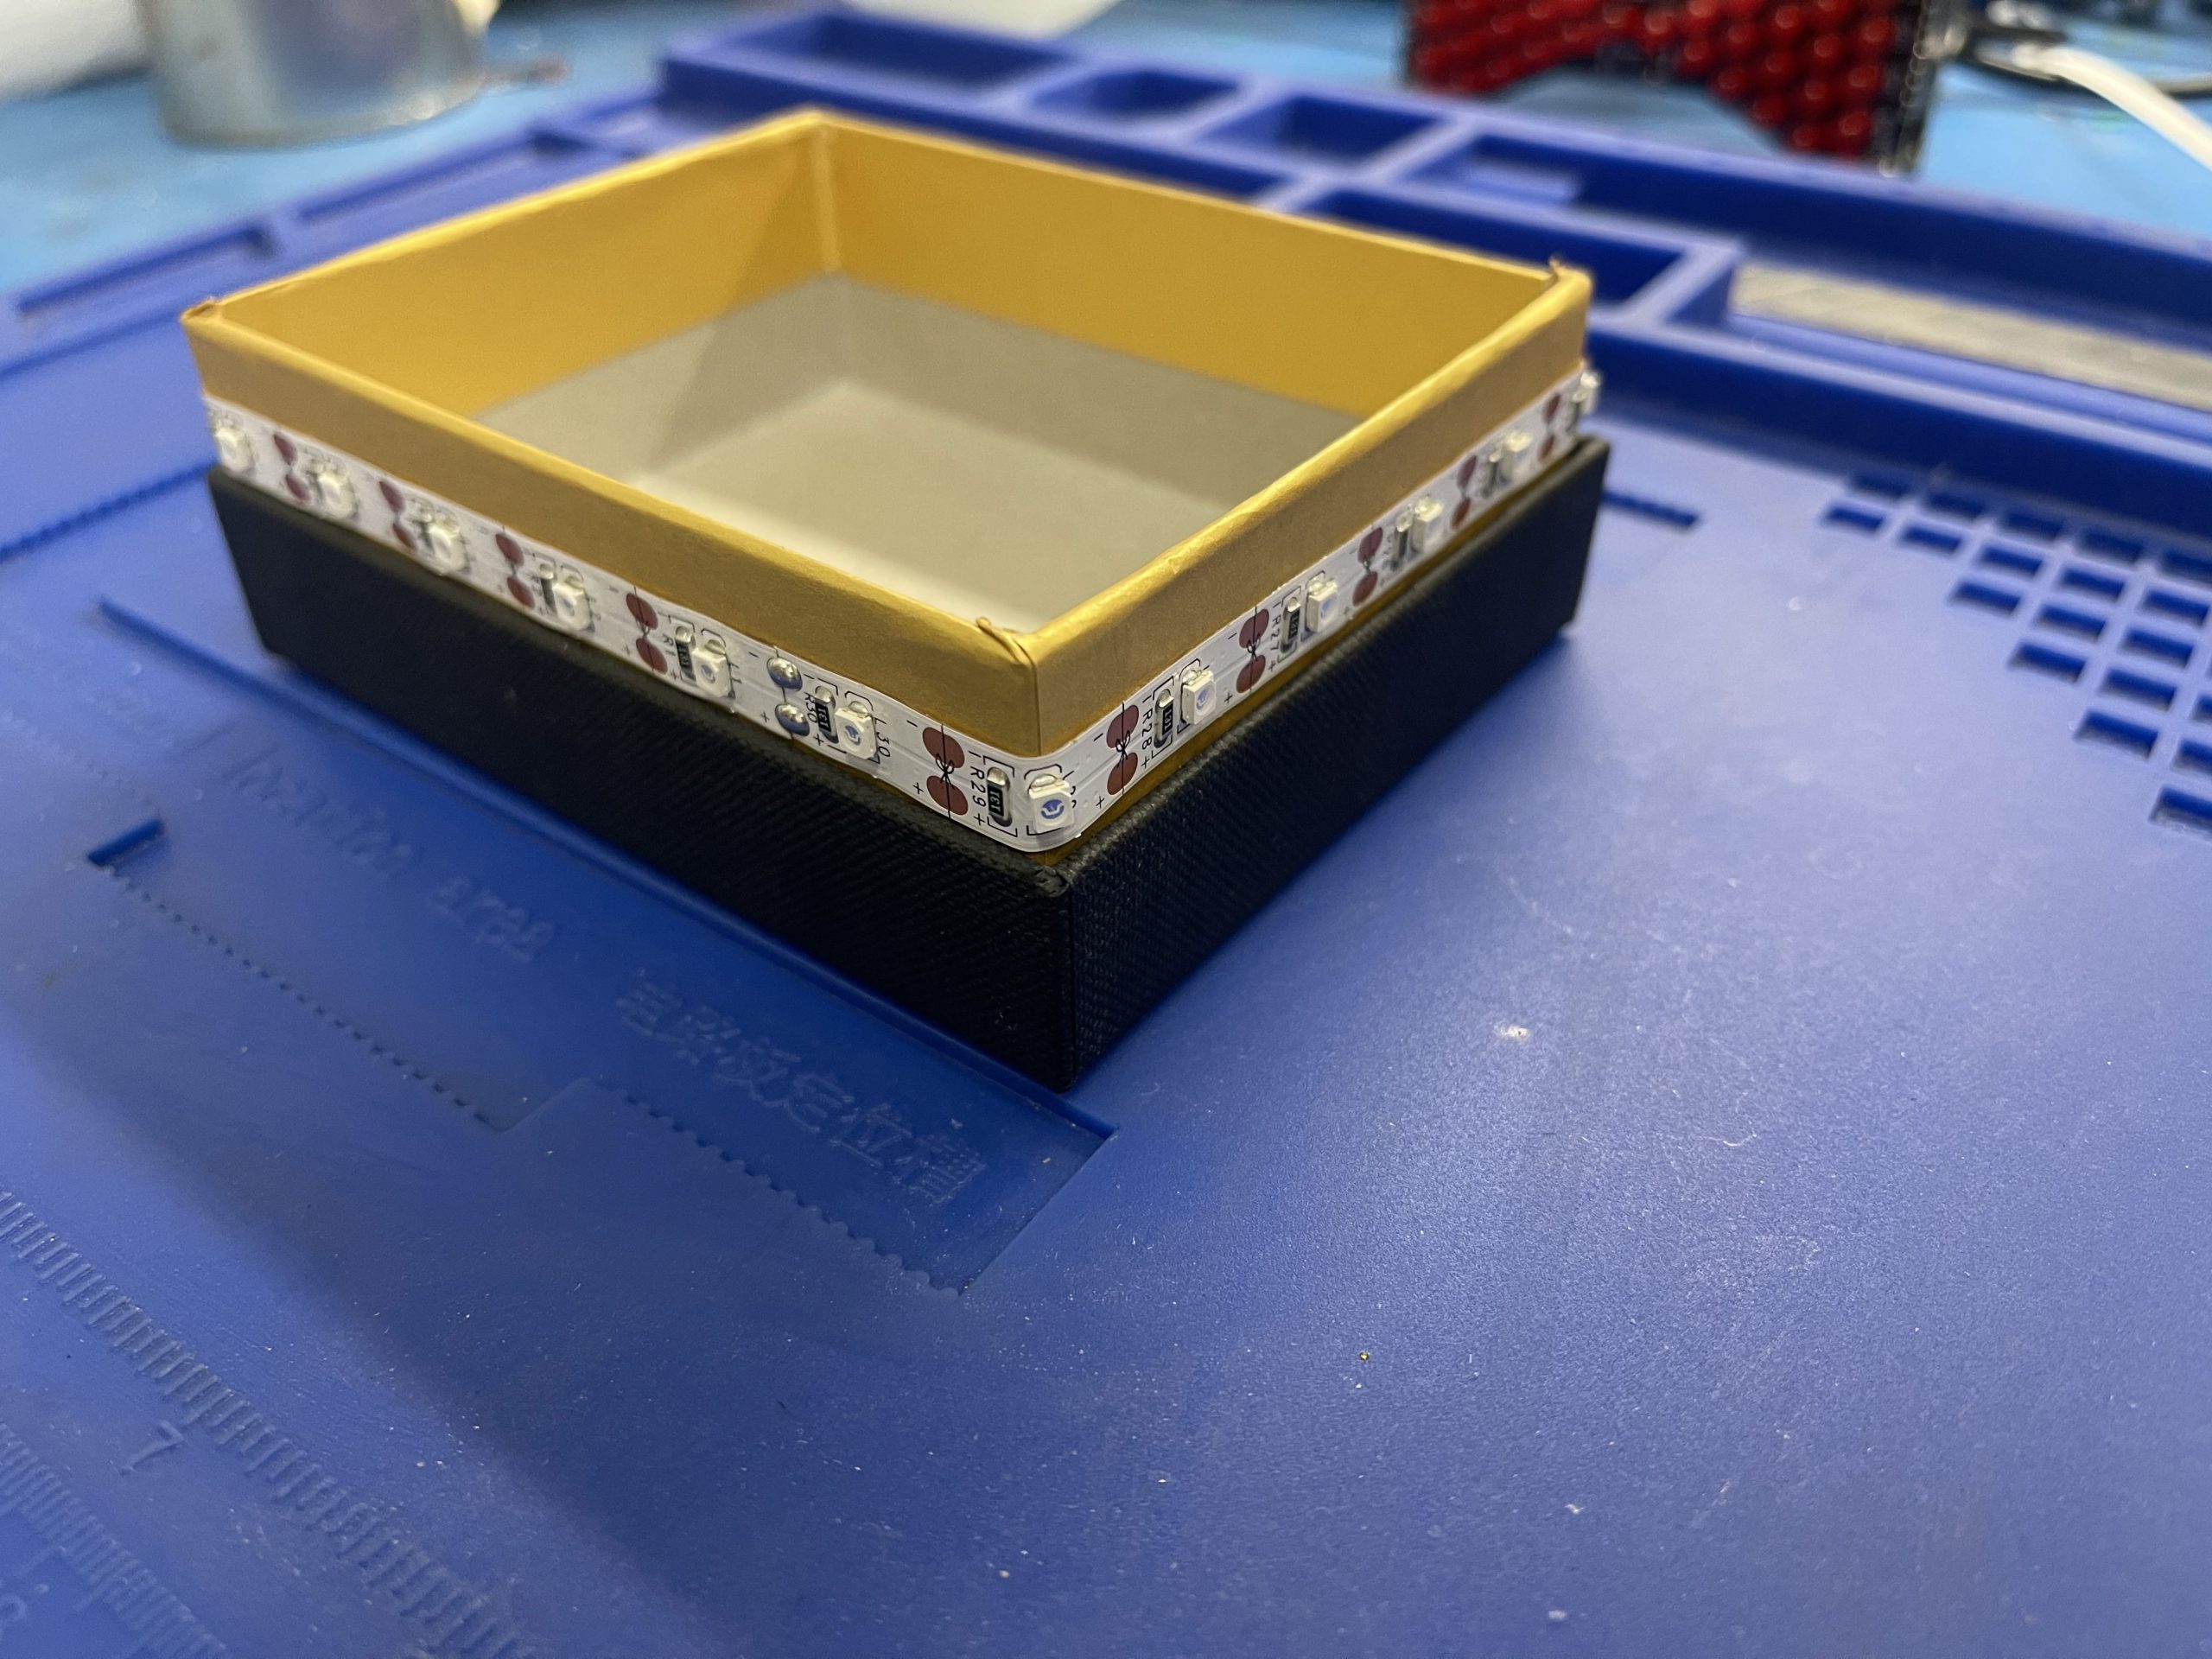
First, cut the LED strip to length so that it could cover the box all around.
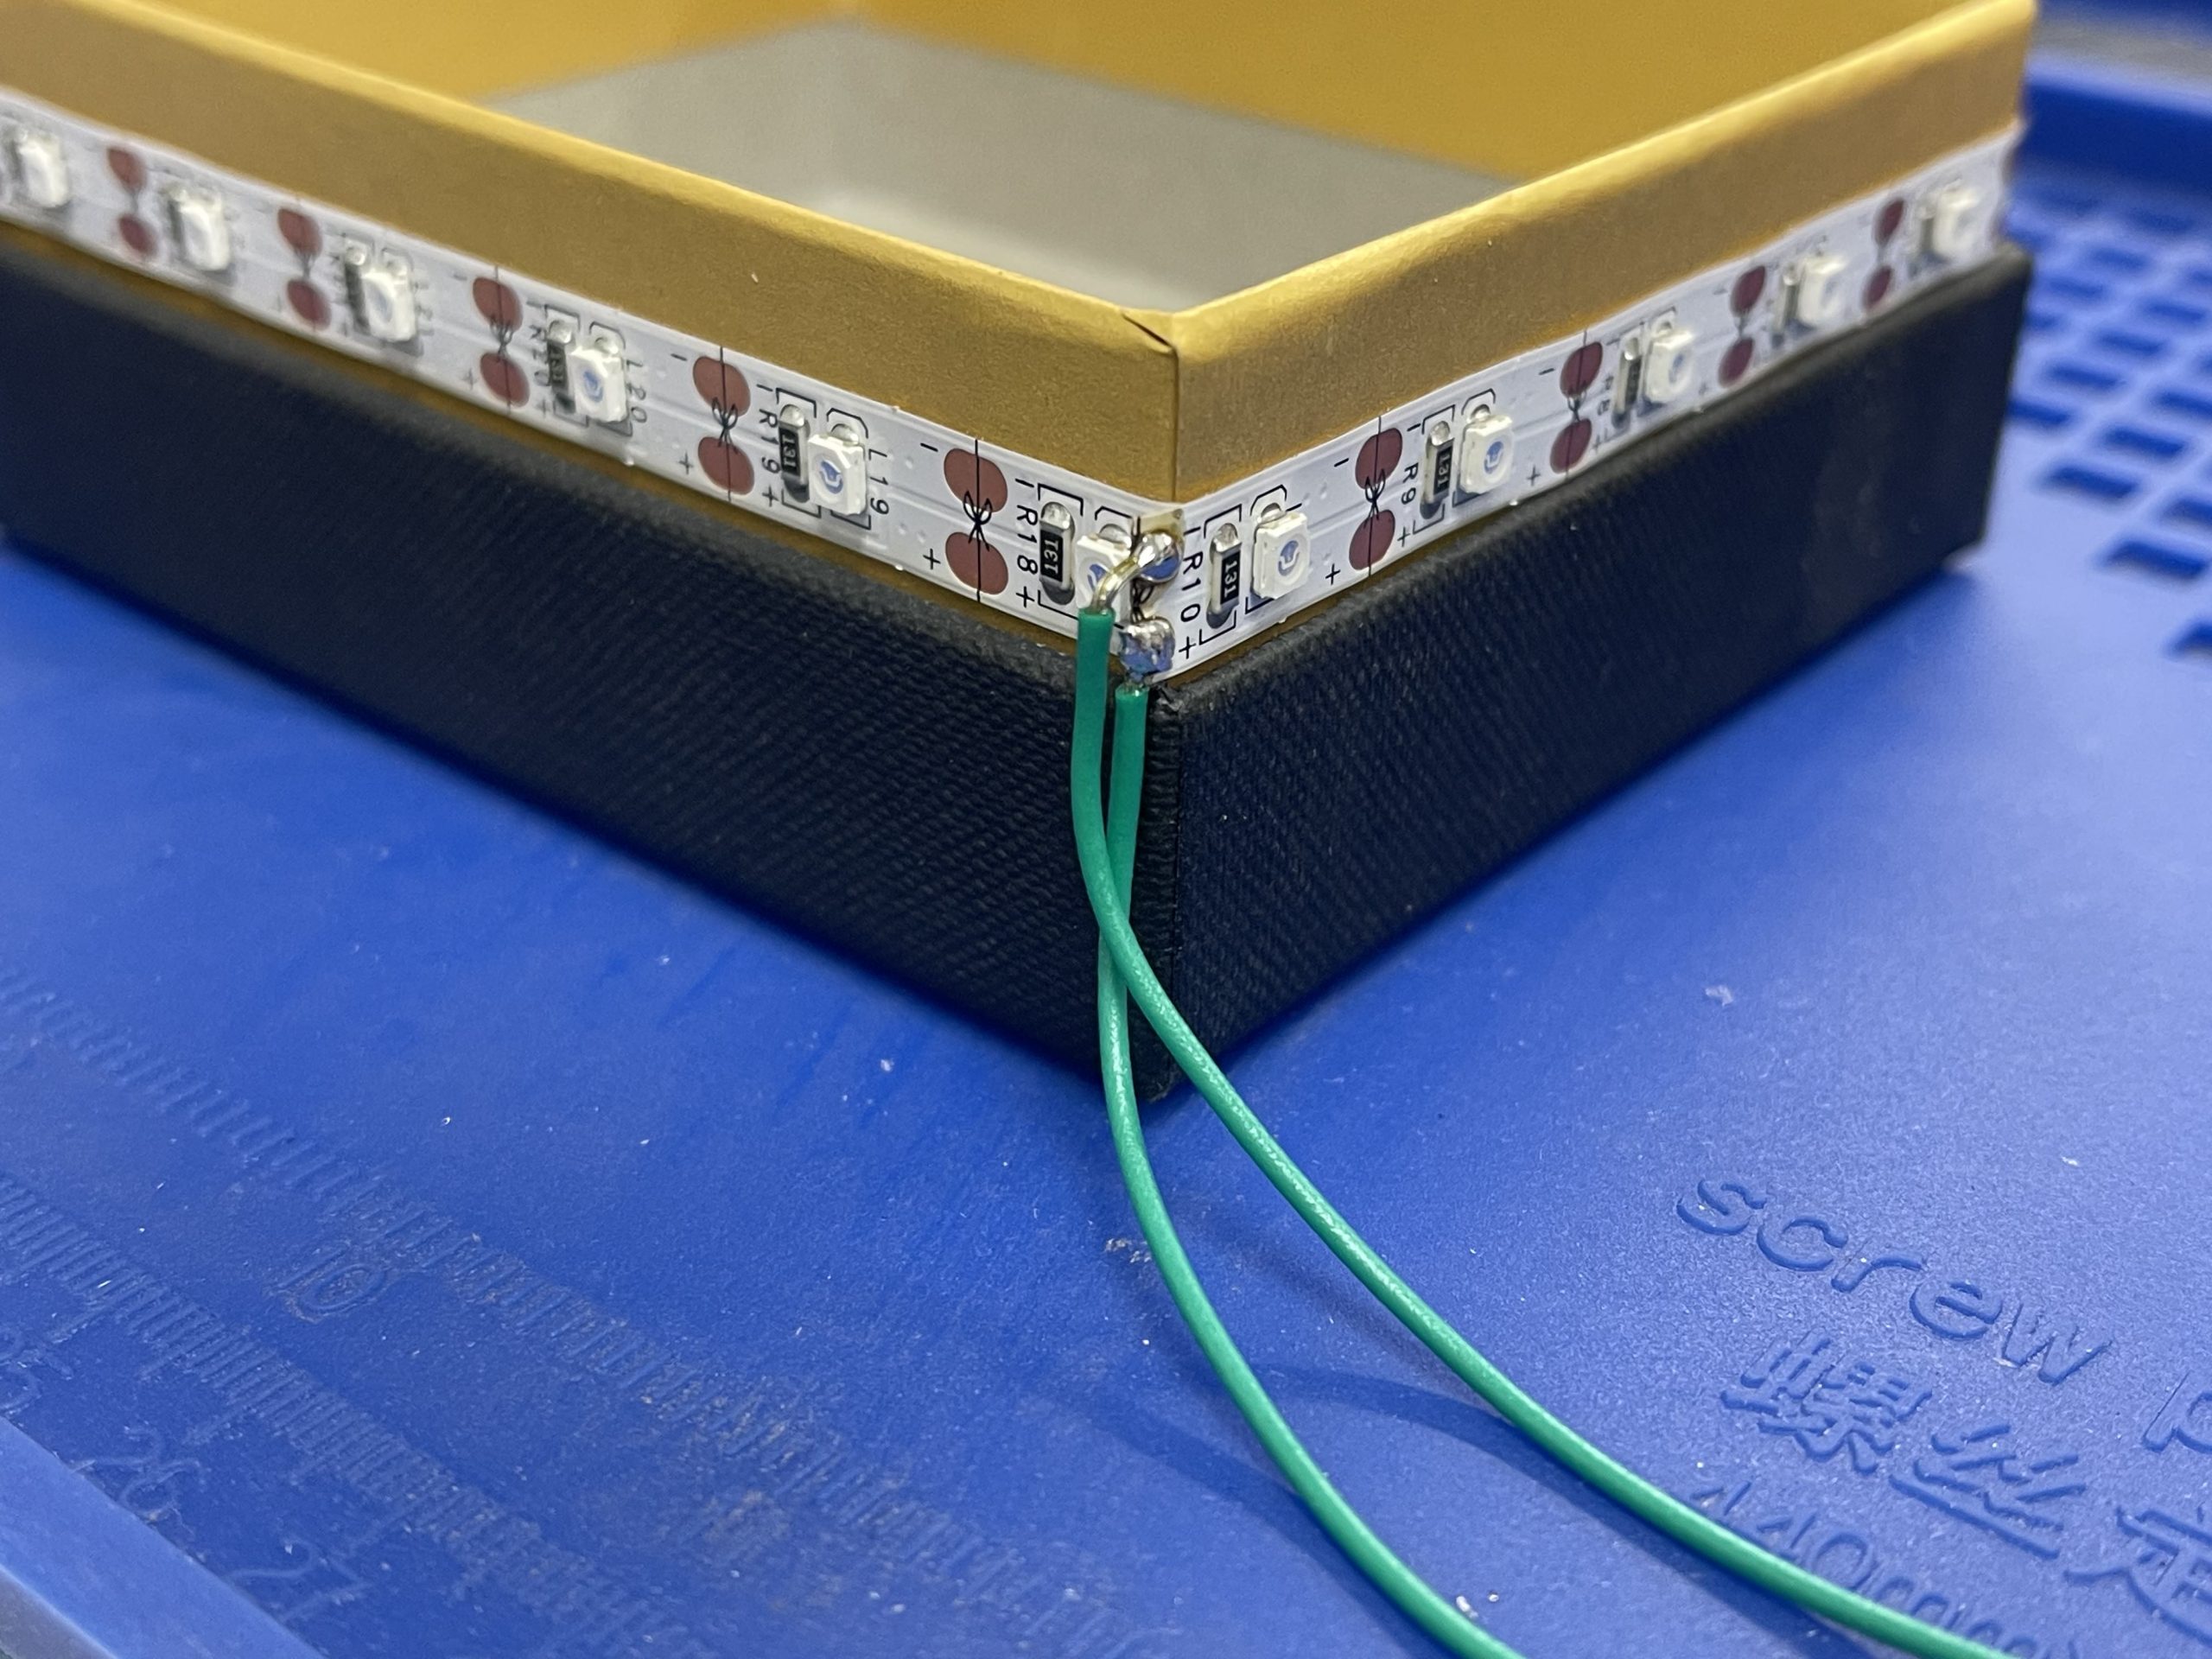
Then, solder 2 wires to the power tabs on the LED strip.
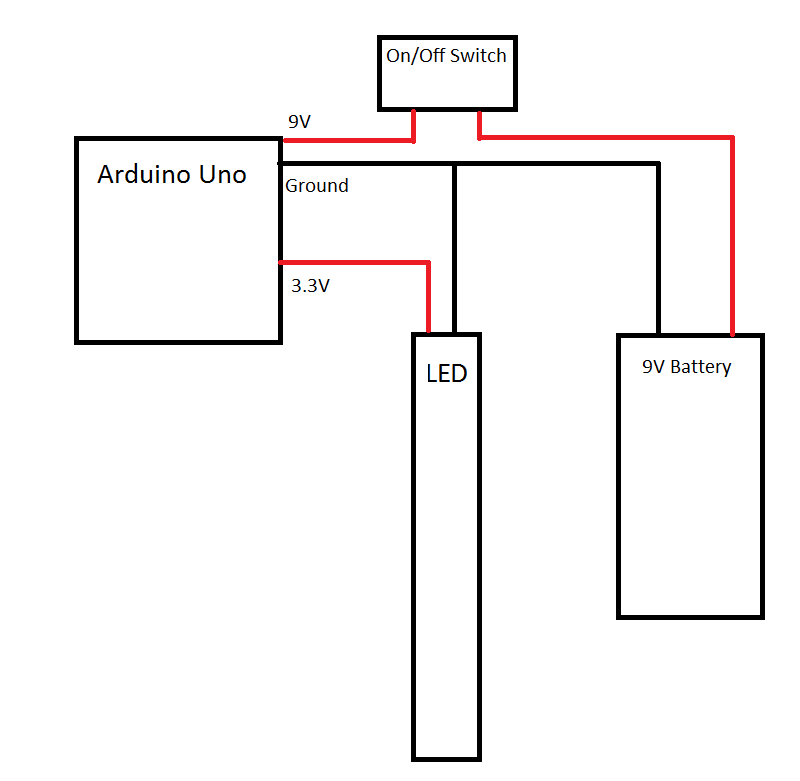
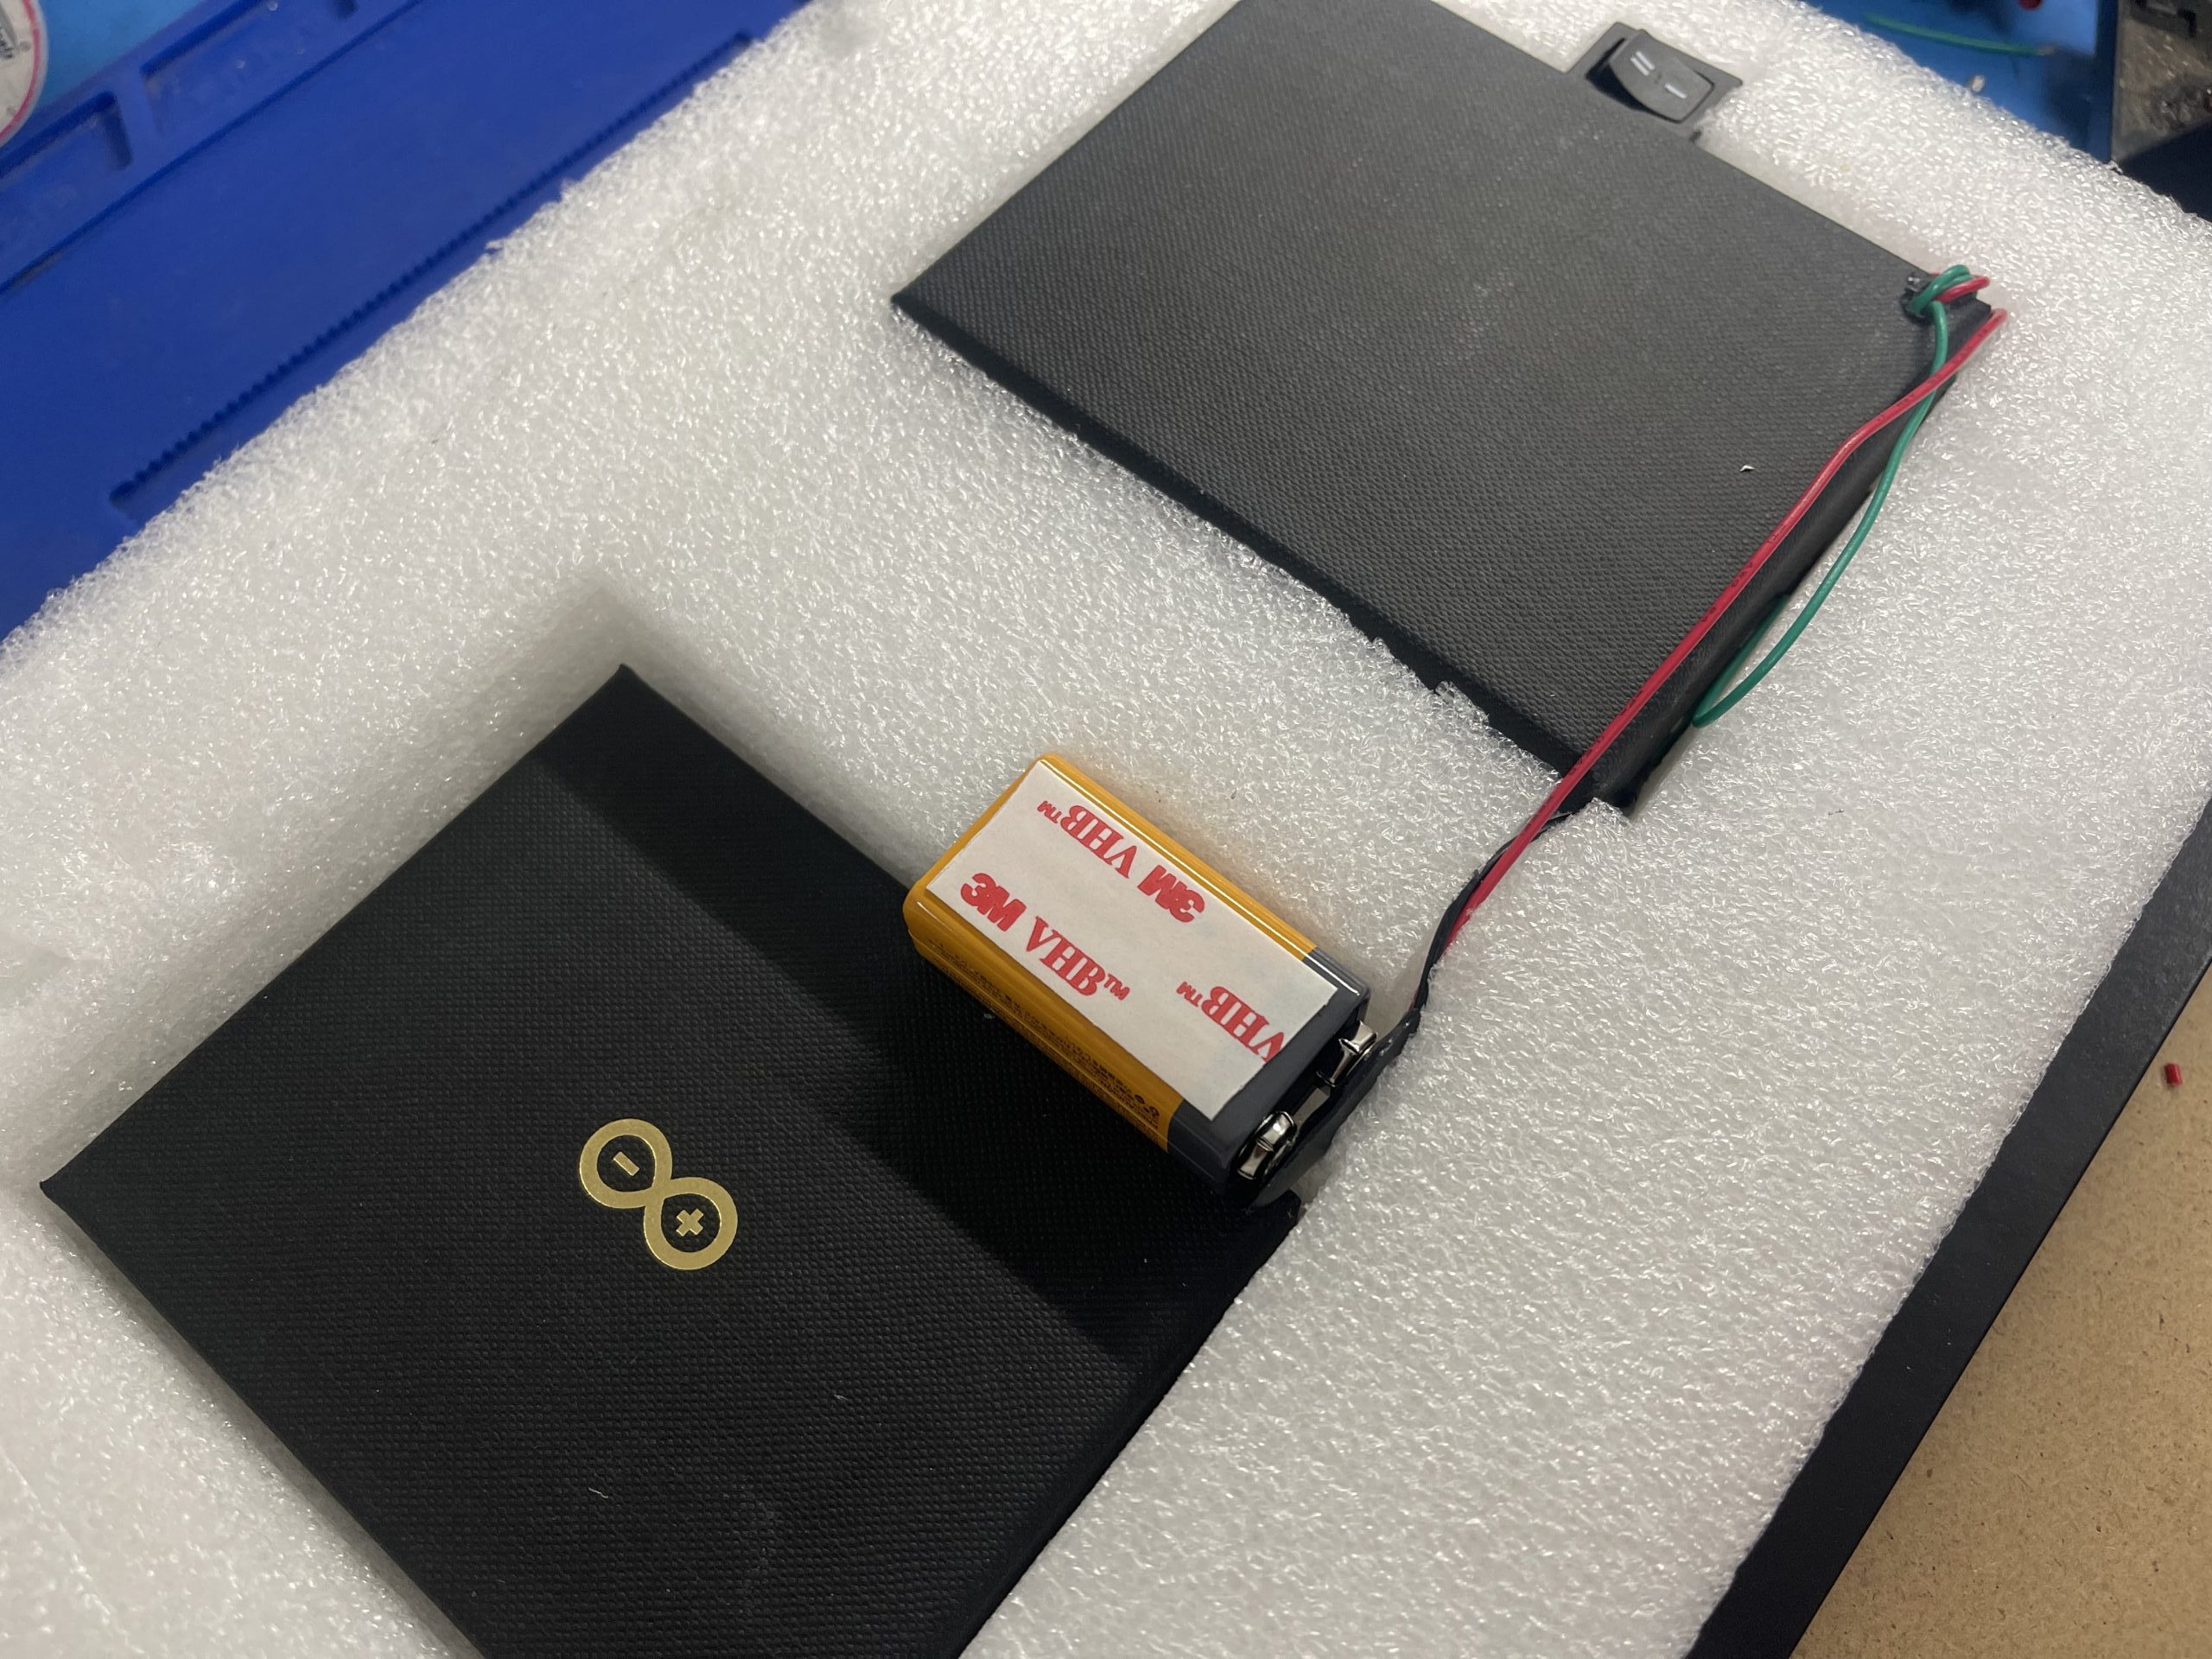
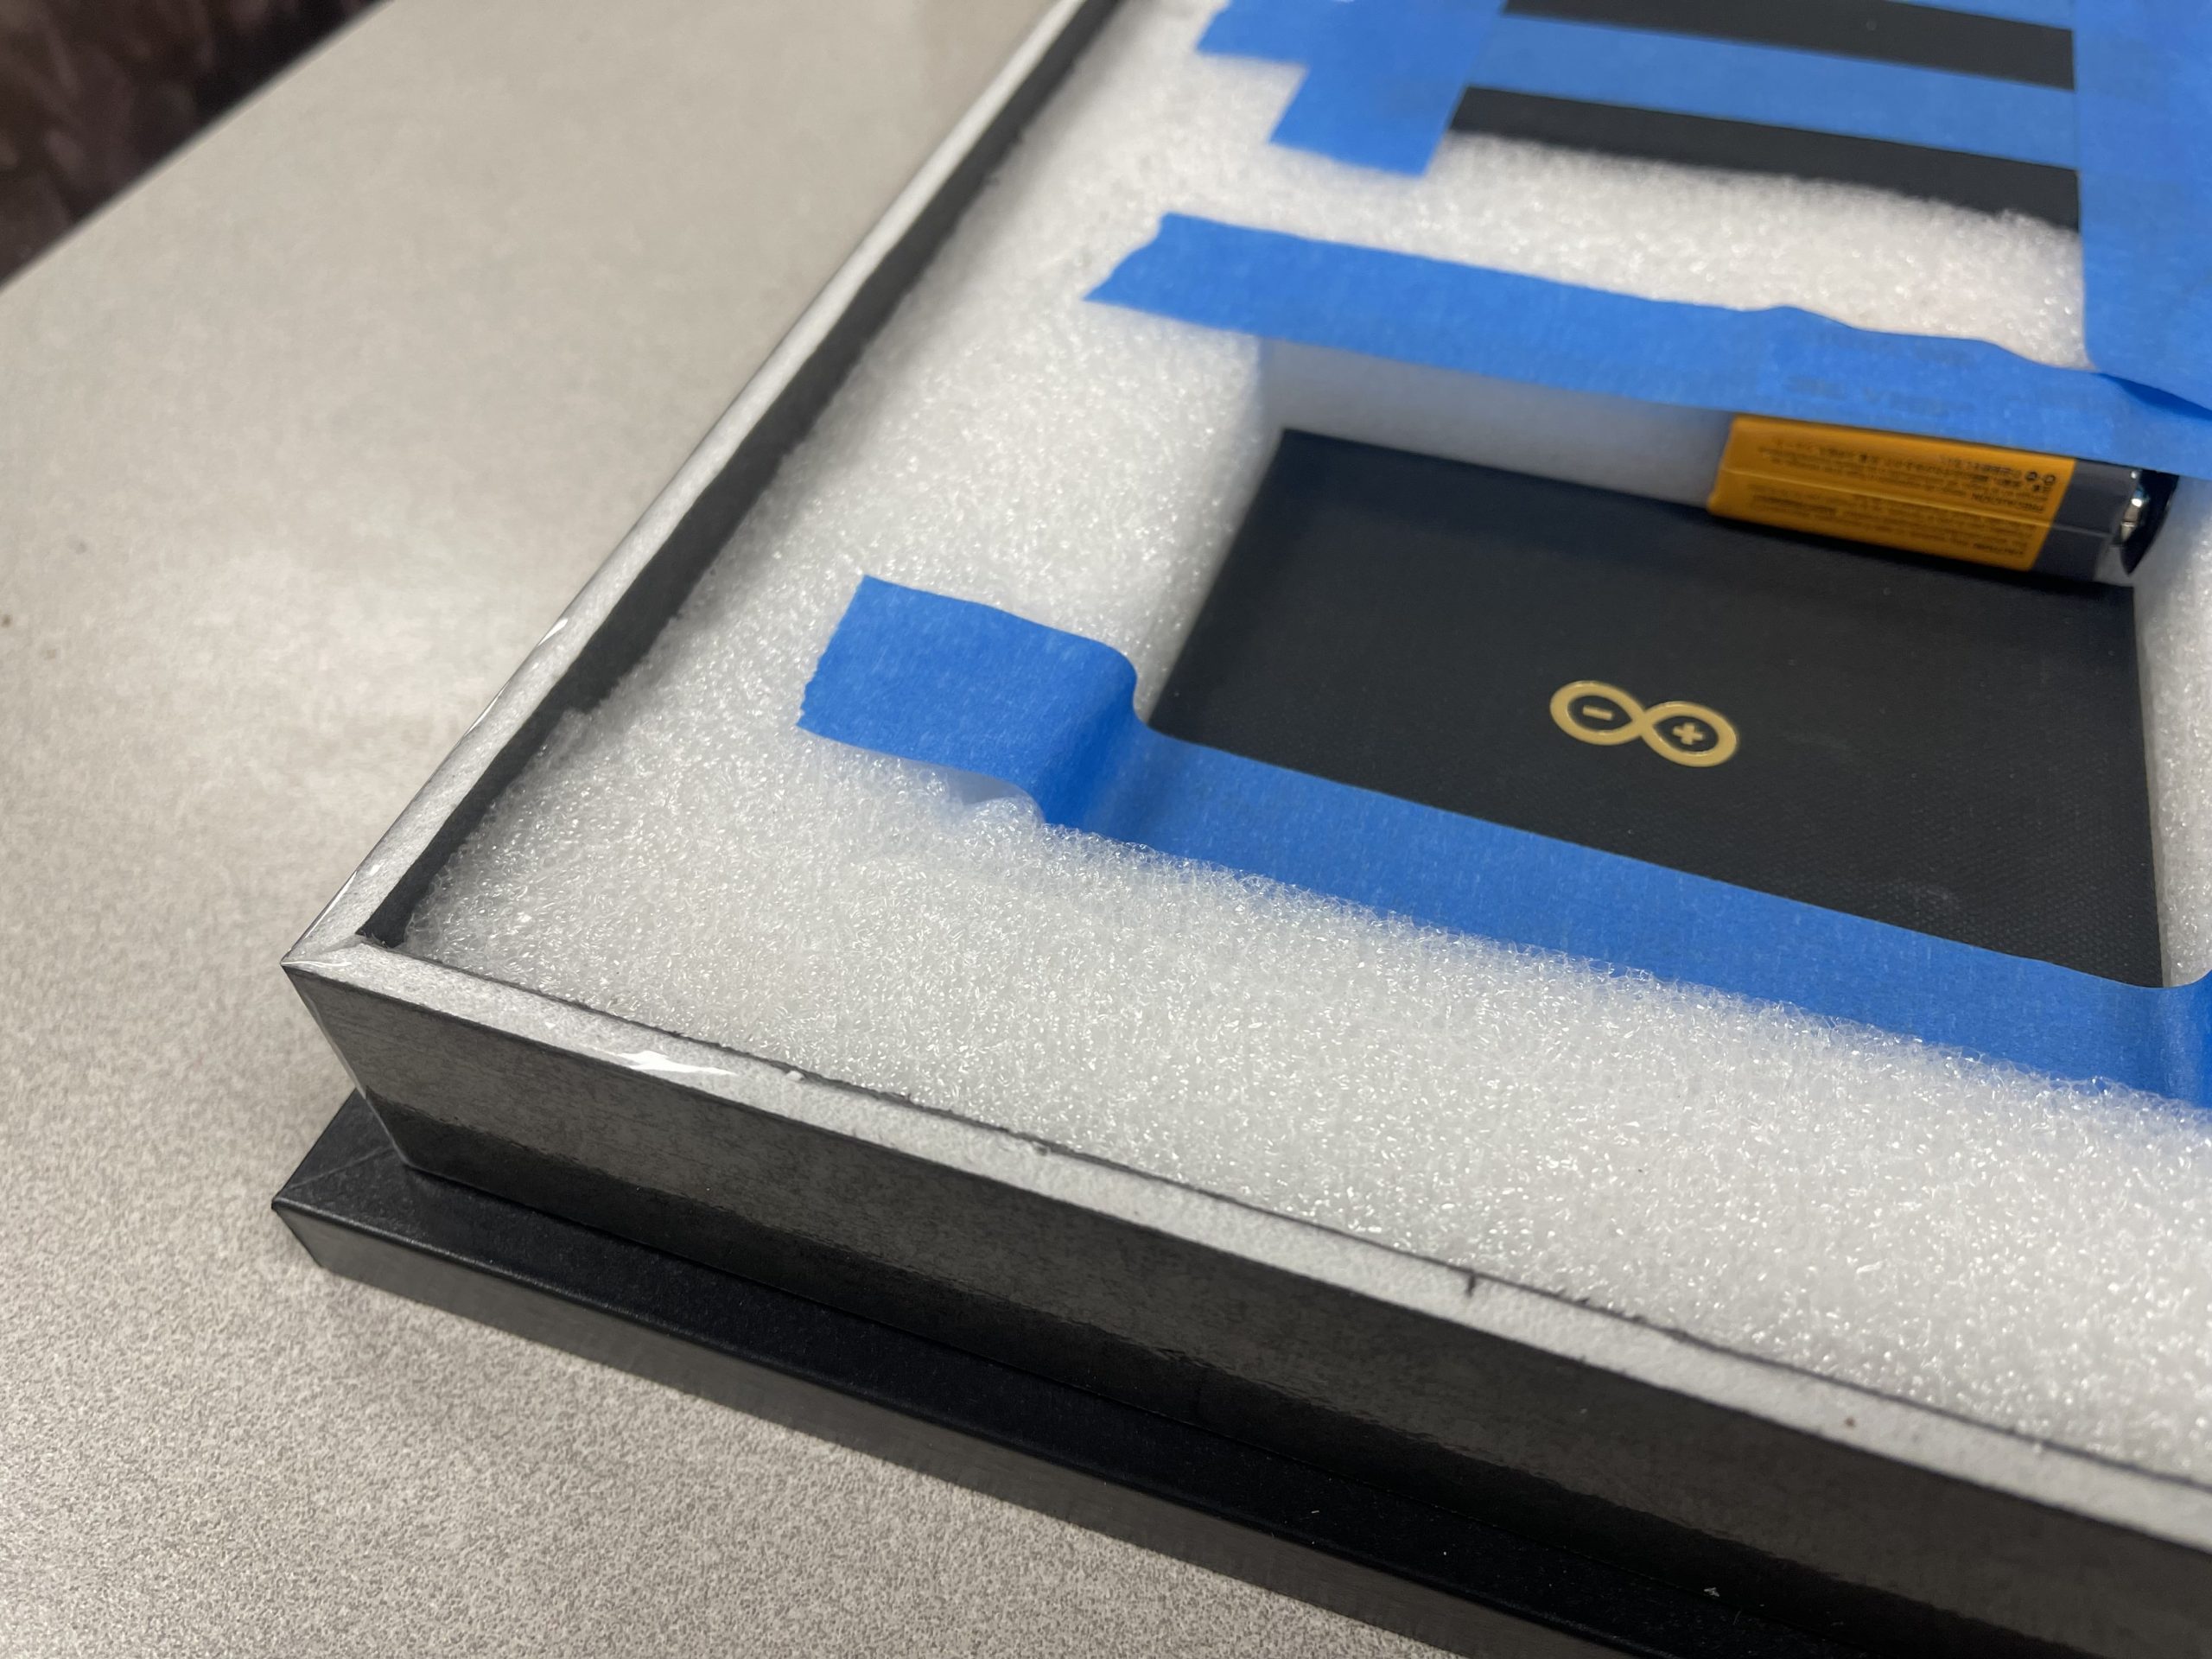
How to install the On/Off Switch with the battery.
Firstly, you need to disassemble the Arduino box carefully.
Now, you can solder 2 pins to the Arduino power ports.
Next, solder the On/Off Switch and the LED strip to the Arduino according to the schematic.
Then, tape the cushion back behind the Arduino.
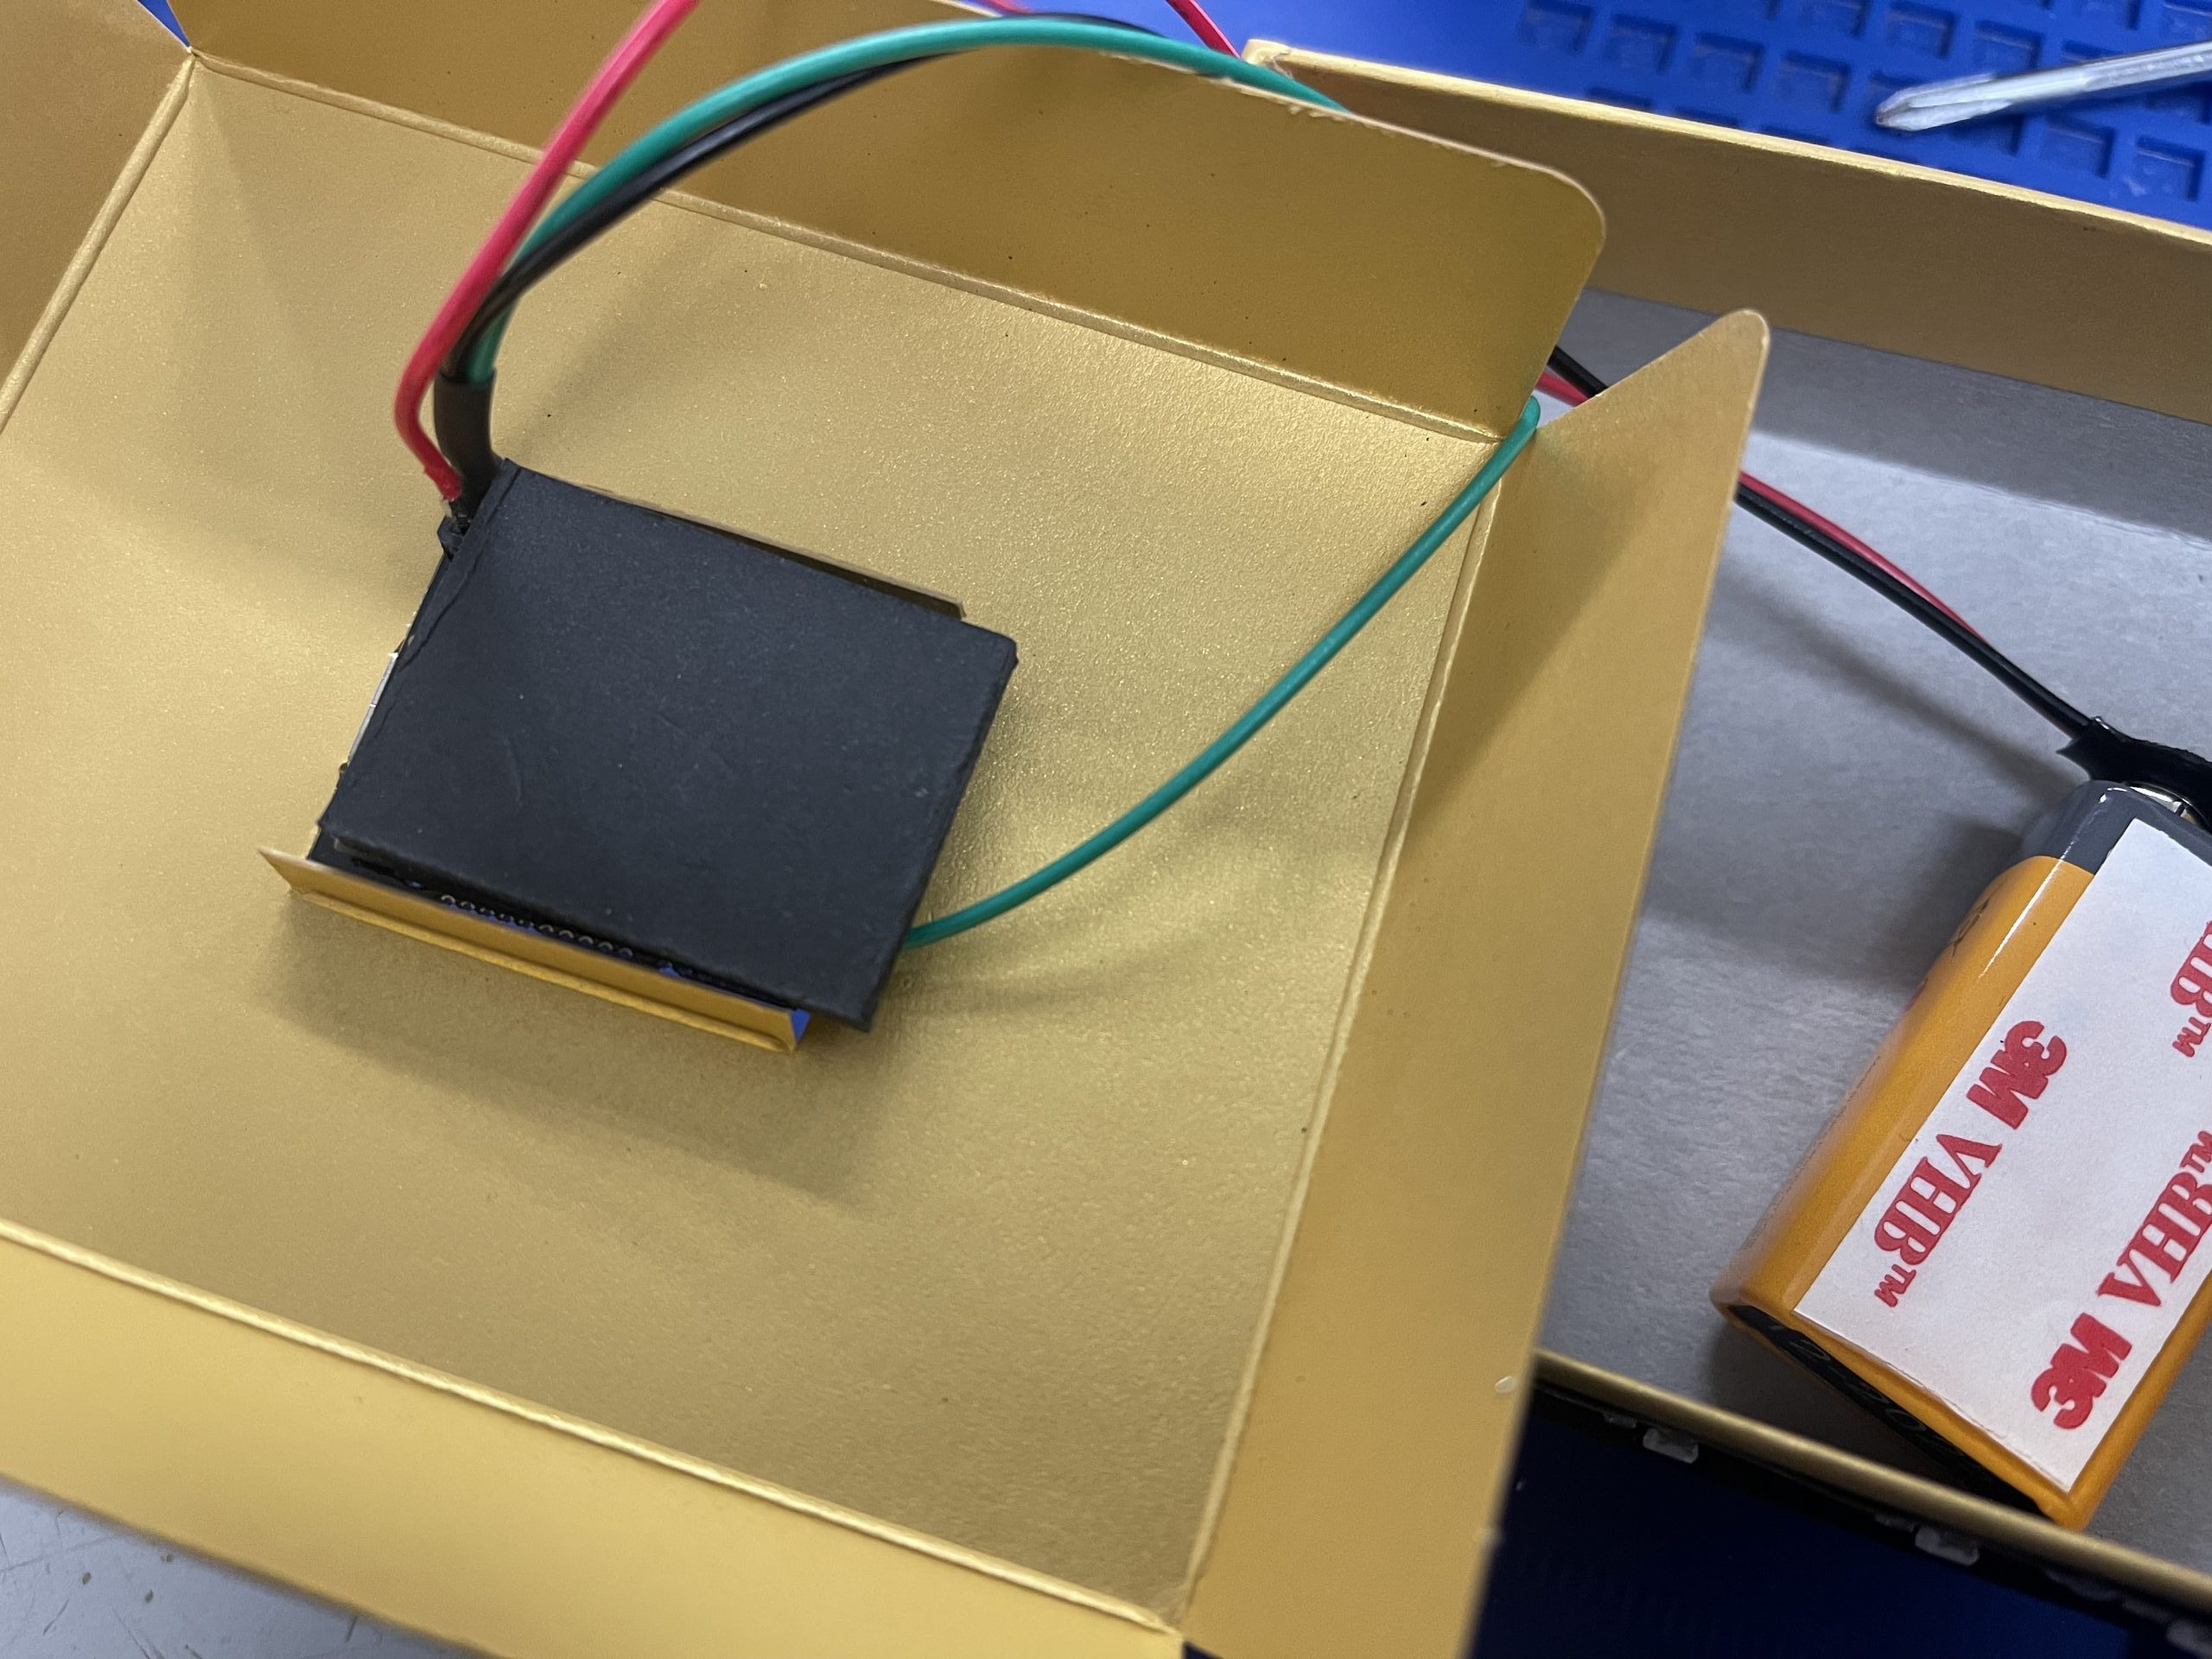
Finally, drill a small hole in the back of the box to run all the wires through.
How to build the frame extension.
First, make a 1-inch wide foamboard plank
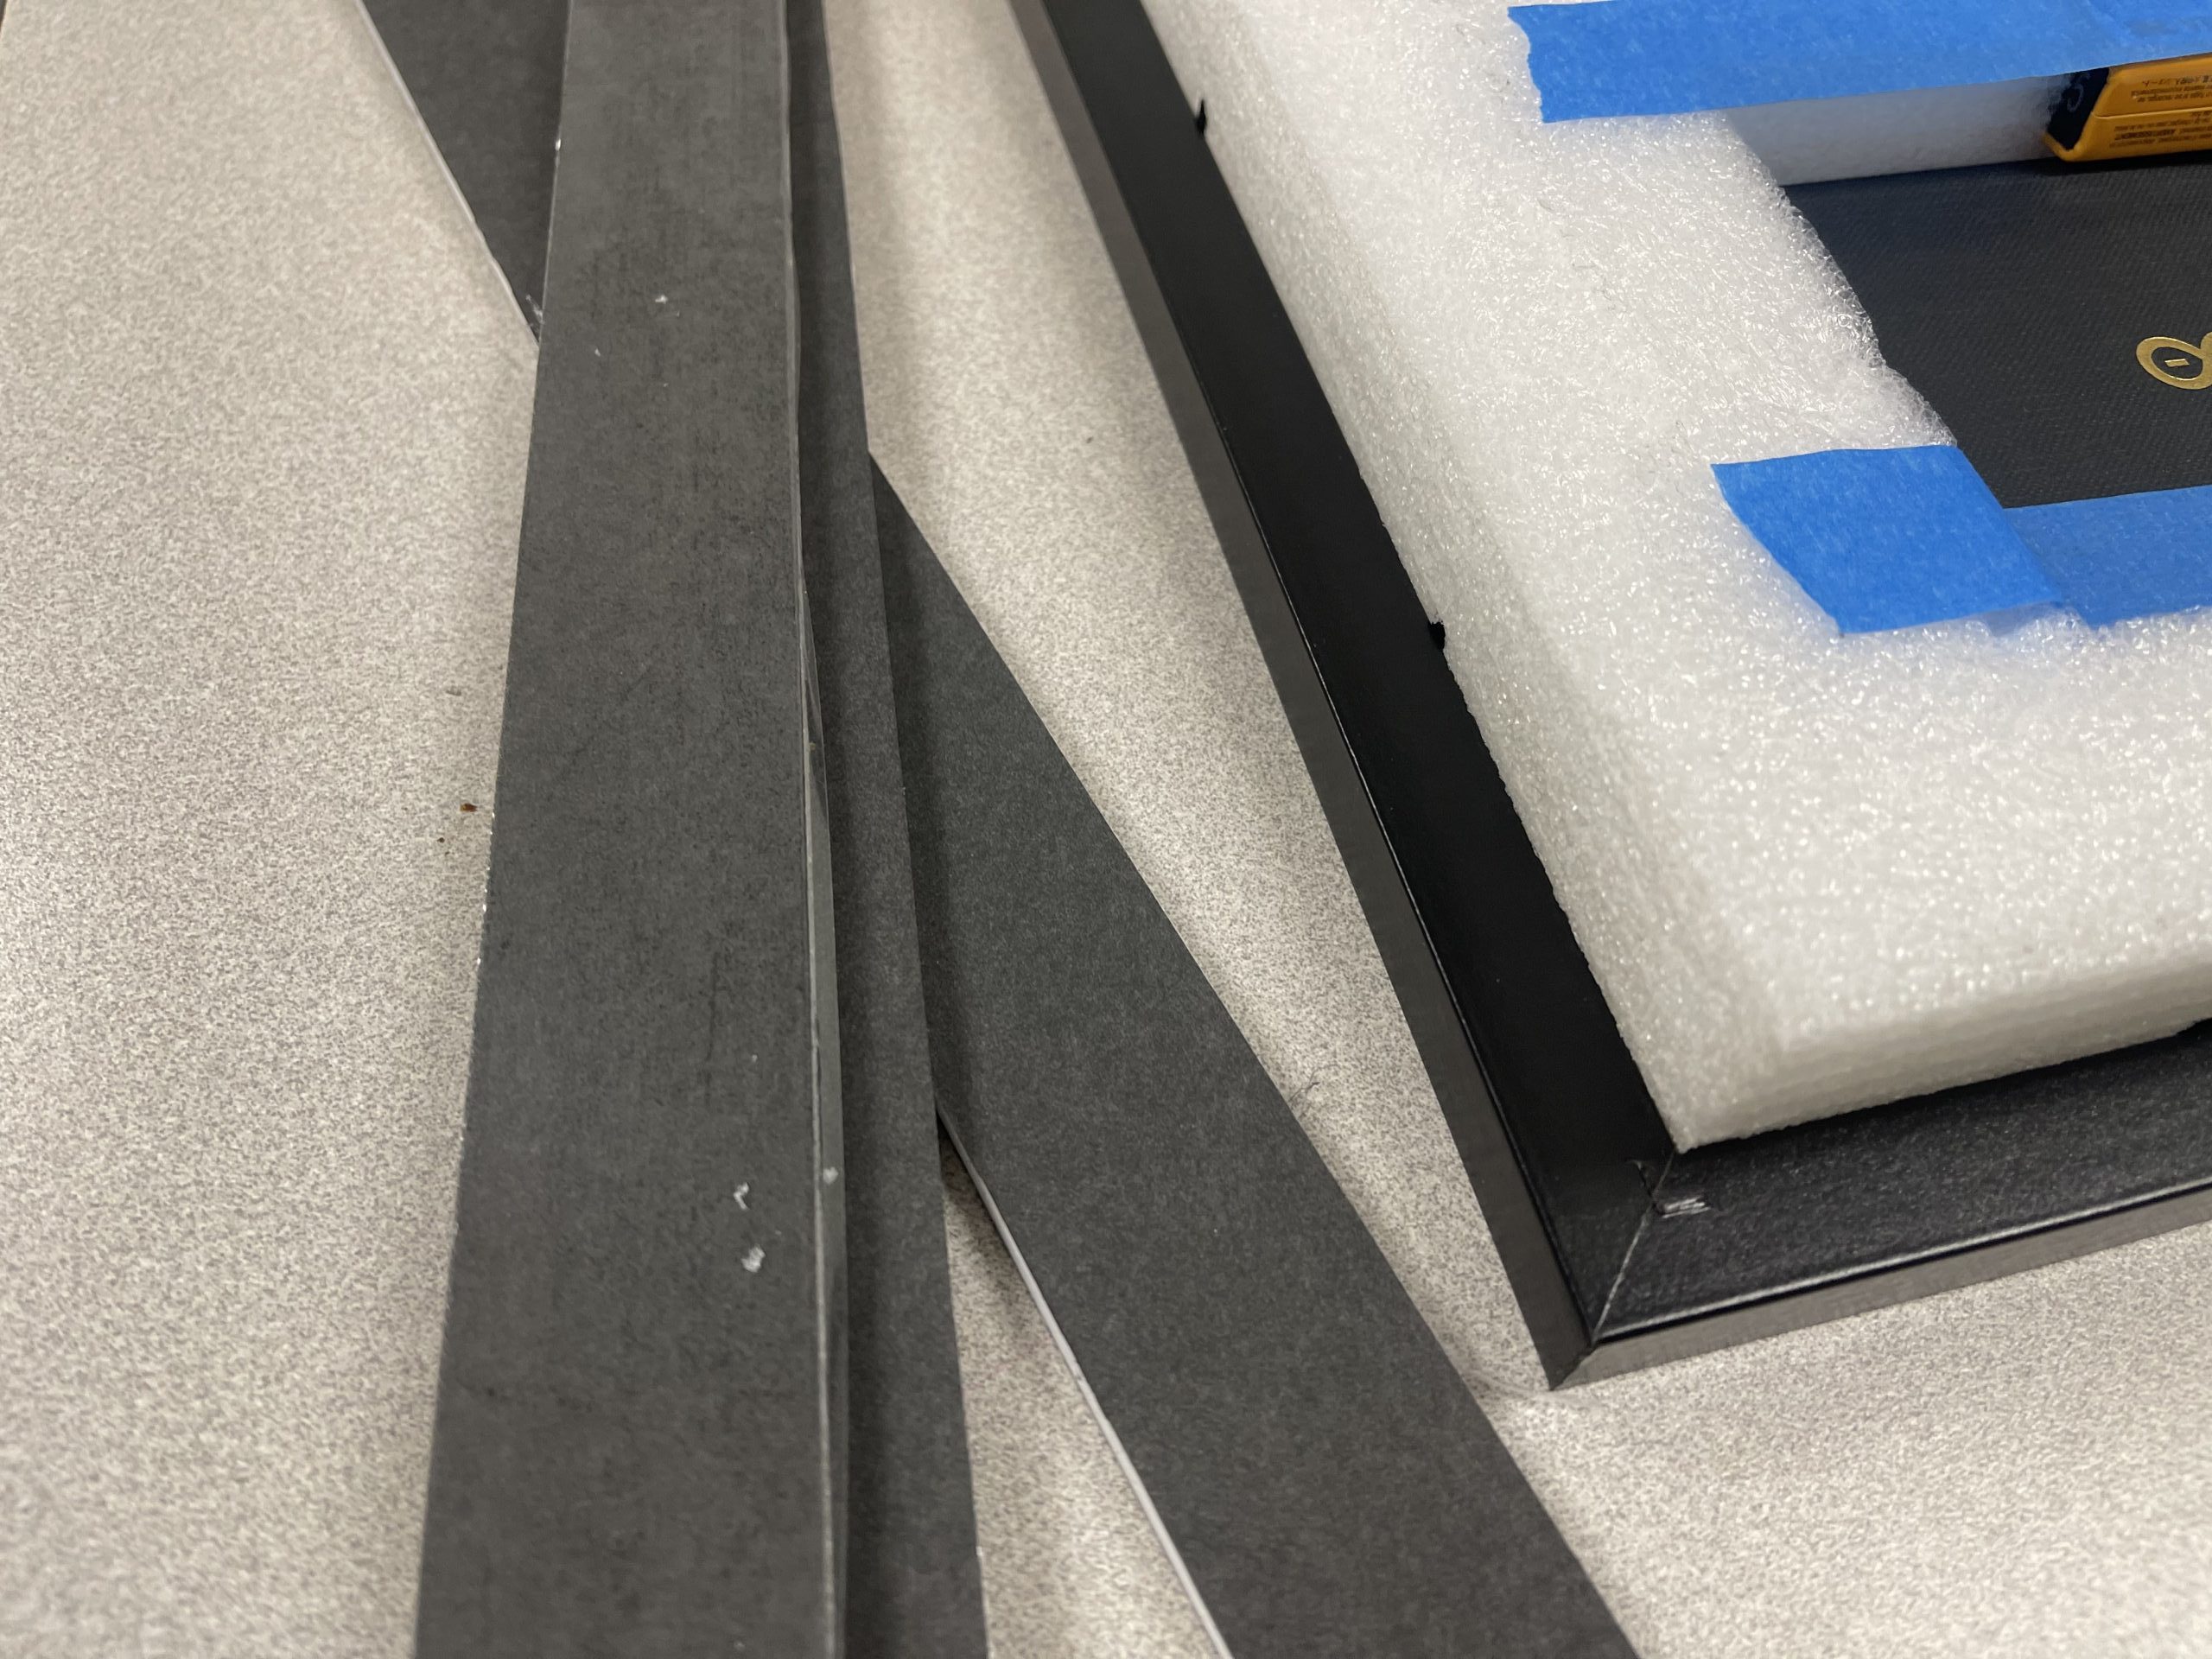
Then, divide the plank and cut 2 angels to the plank.
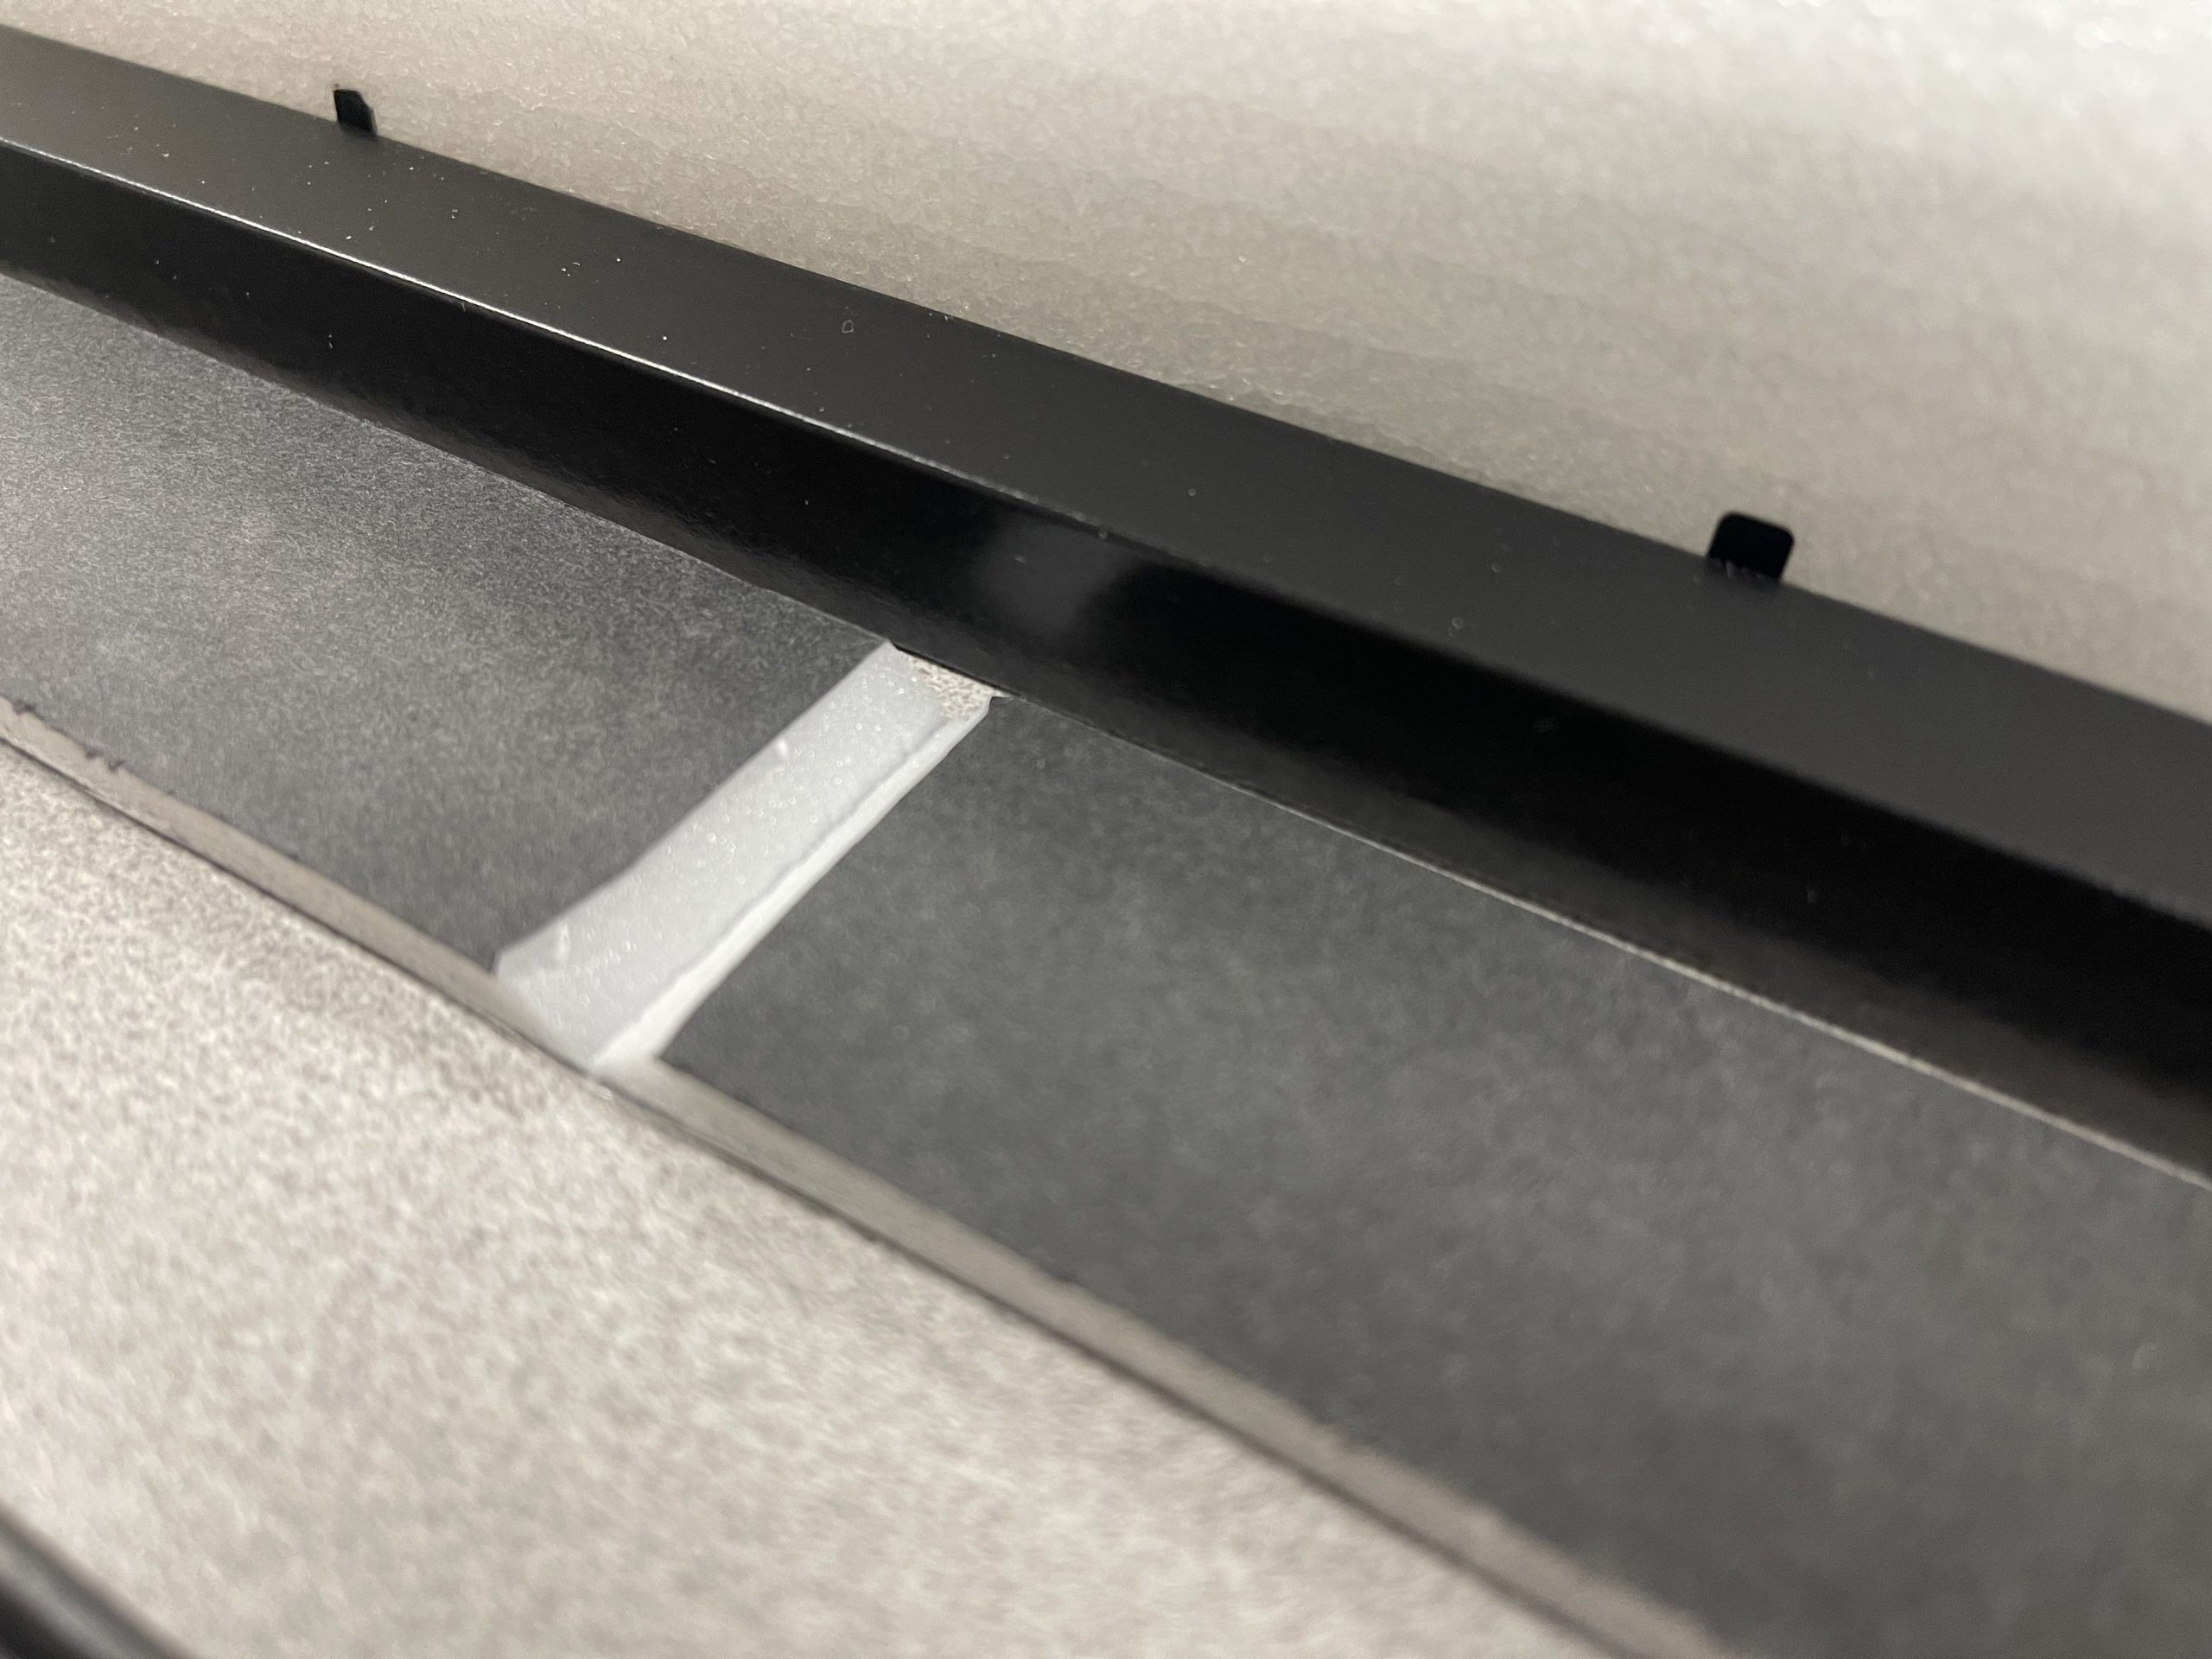
After that, apply the hot glue to the cut angels to make a perfect angel.
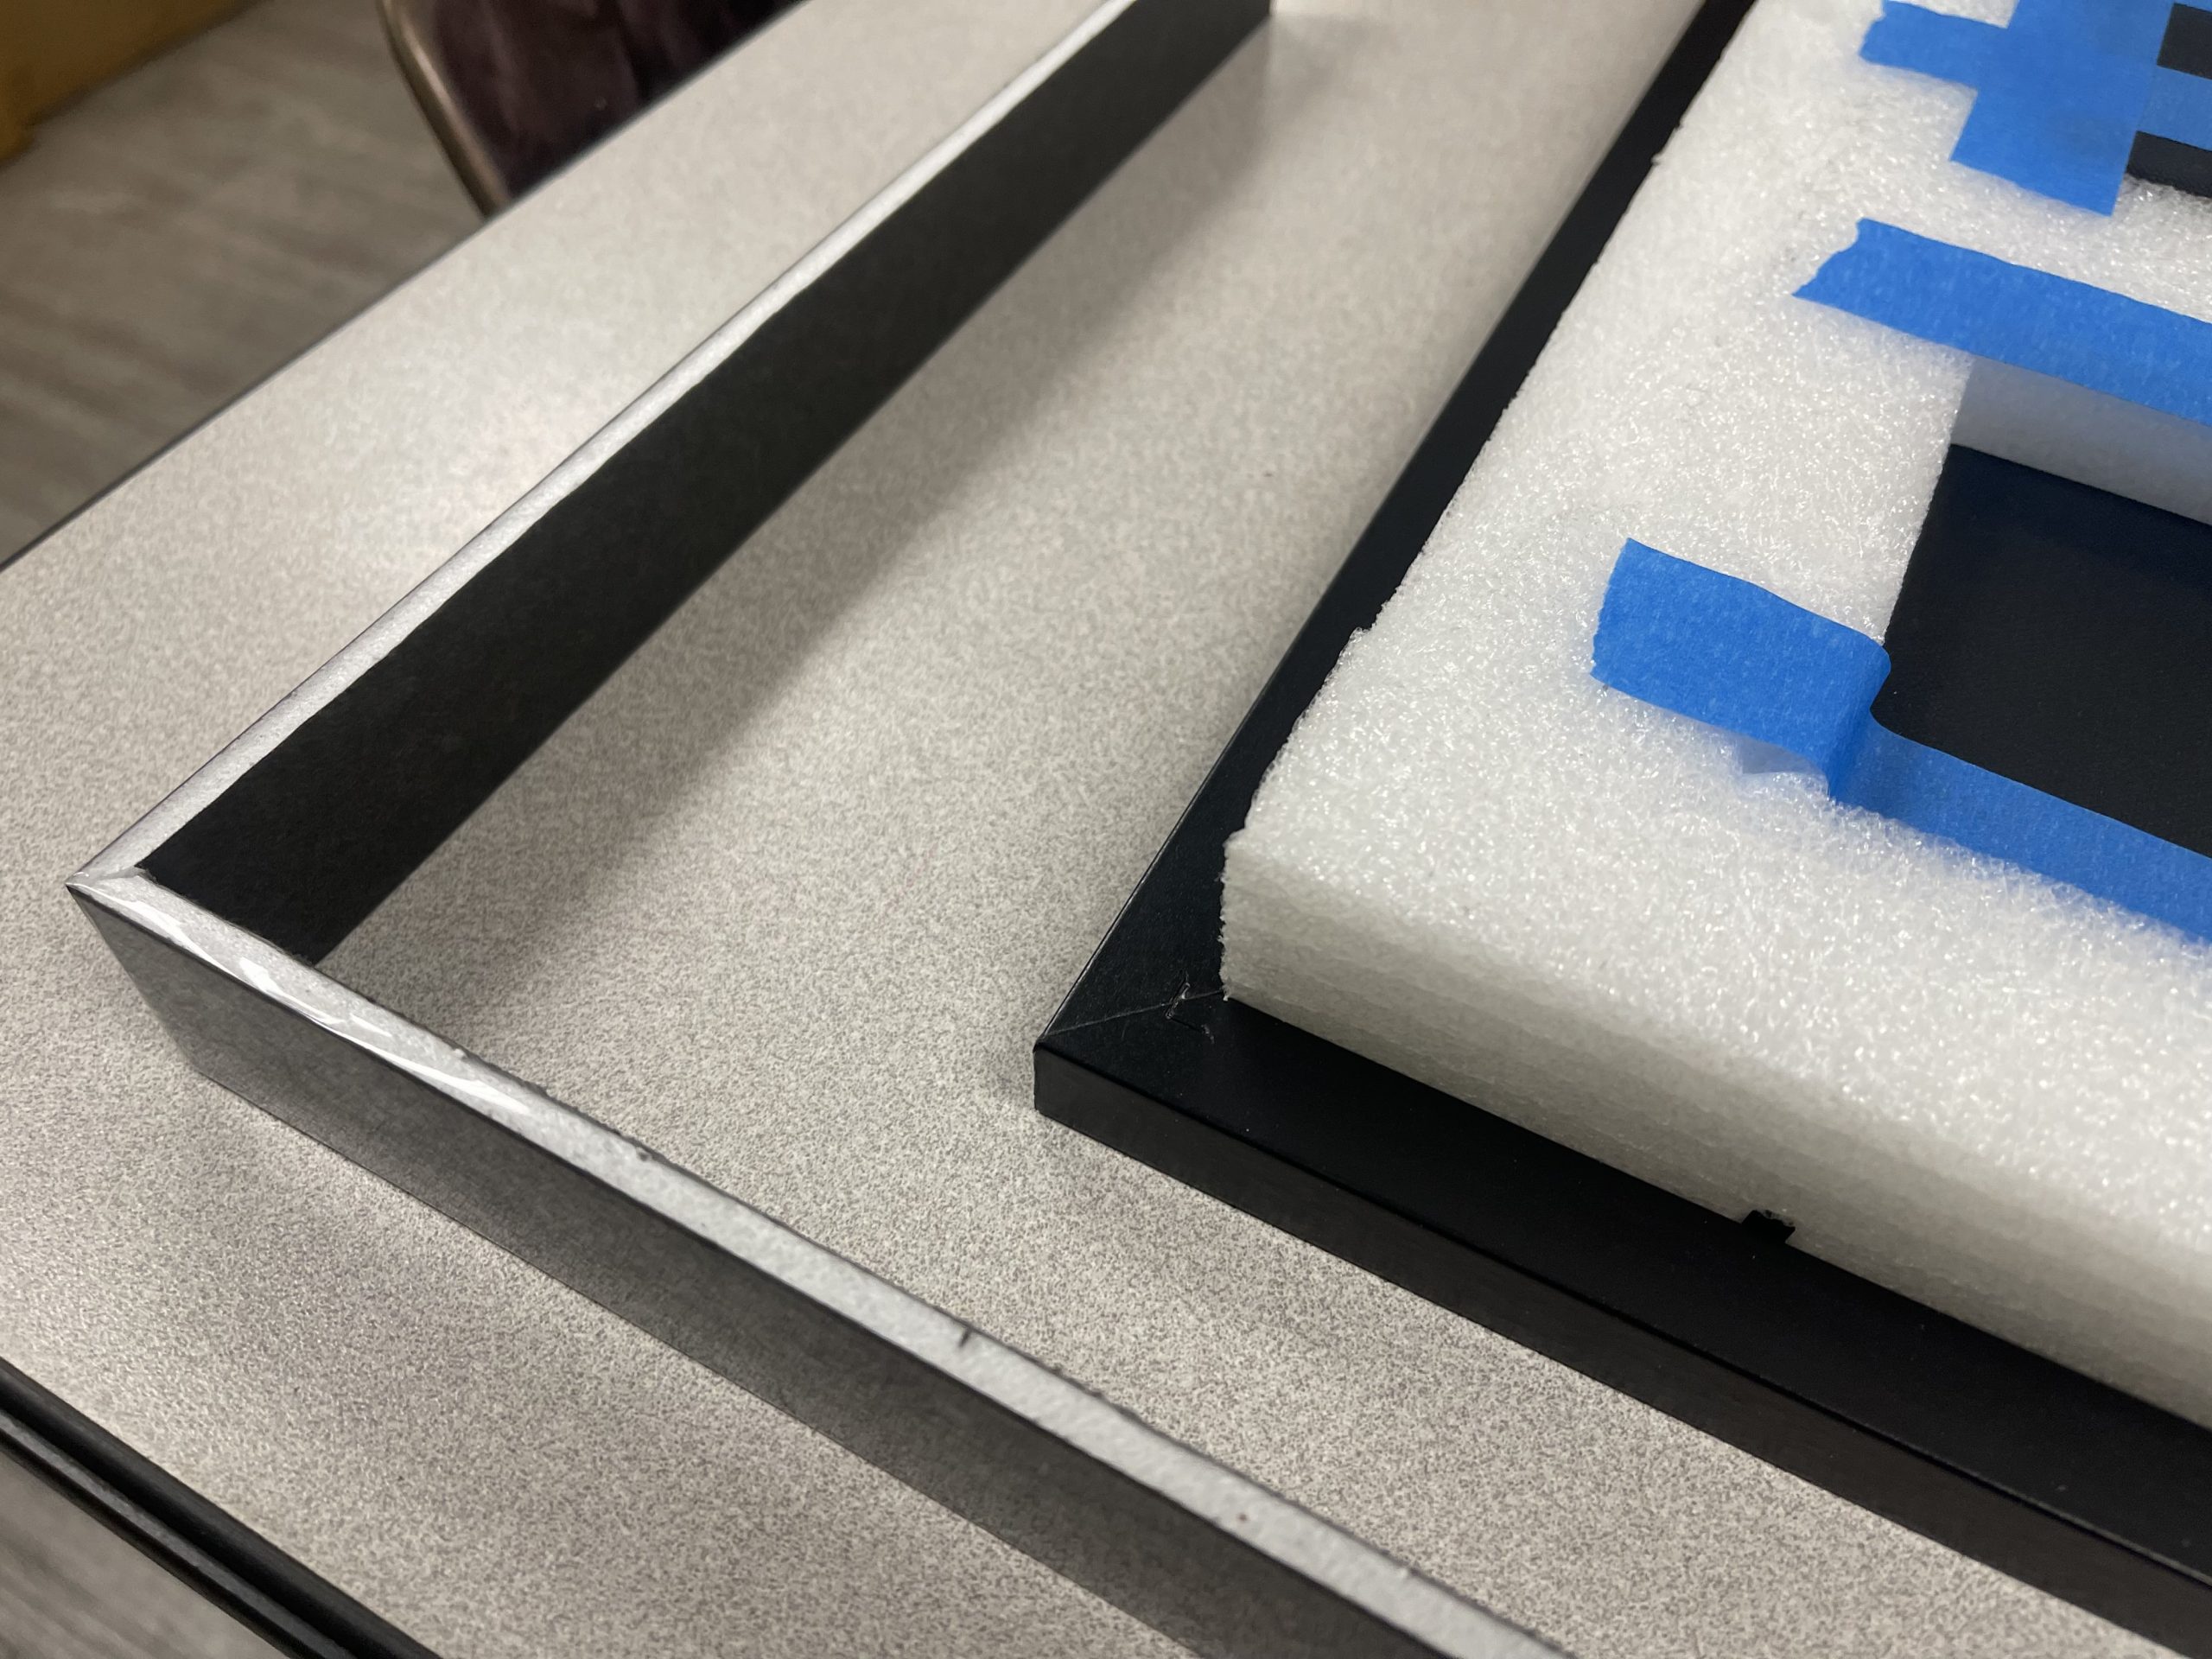
Finally, apply plenty of hot glue to glue the extension to the frame. Then repeat it to finish the frame extension.
Conclusion
This will be a perfect Graduation Gift for Arduino Lover, especially with the Limited Miniature Arduino Uno with all founder signatures. Arduino celebrates the 10 million projects based on (official) Uno boards. Therefore, I cannot find a better project but to frame this amazing board and share its inspiring story with the next generation.

Video of the unit working: https://youtube.com/shorts/nlZ0EhgcTLw