DIY: Electronic deadbolt with a servo motor
We recently added servo motors in a variety of sizes and torques to our product listings. Servo motors are dc motors with integrated encoders that can rotate to specific locations. They are commonly used in robotics, tracking systems, cutting & forming machines, and automatic door openers. The advantage of a servo motor over a stepper motor or dc motor is that they provide feedback so they can return to specific locations with great accuracy. The servo motors we offer can rotate between 0-180 degrees.
After doing some market research, we realized that low cost, high functioning electronic servo locks were scarce. This motivated us to build our own electronic deadbolt that would be secure and easy for someone with basic knowledge of electronics to build. Not only is this project one you could use at home but it is a good way to learn more about motors, RF communication, and Arduino.
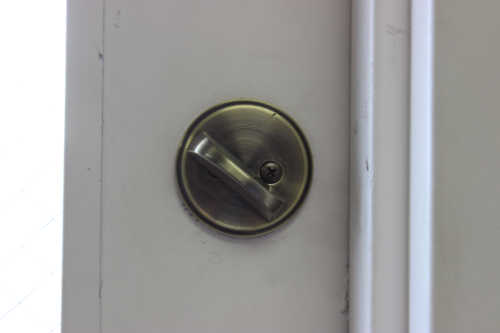
The original deadbolt we would replace with an electronic lock.
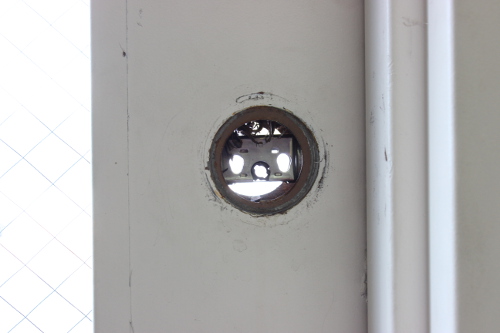
After removing the faceplates of the deadbolt we see the hardware that holds the door latch. We will reuse this.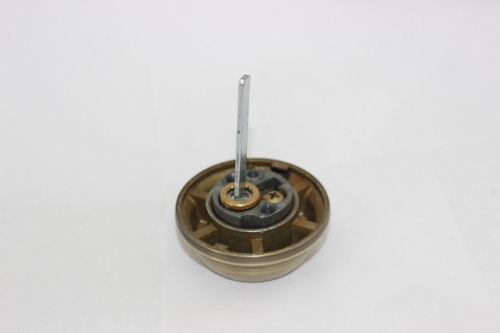
The external lock is mounted to a flat shaft that locks and unlocks the deadbolt when rotated. This shaft must be shaved down or cut to fit the new depth of the servo motor.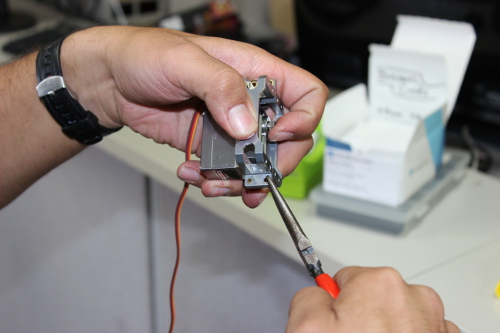
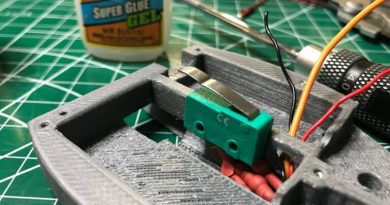
We use an MG959 servo motor mounted to 2 servo mounts, using rivets supplied with the servo mount to clamp them together.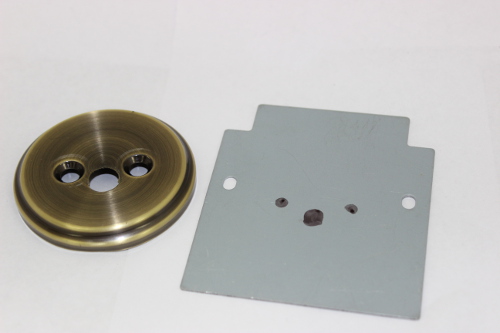
We found some scrap sheet metal for mounting the servo motor to the door, we purchased a plastic round to rectangular adapter from Ace Hardware to adapt the motor shaft to the rectangular cantilever on the door deadbolt.
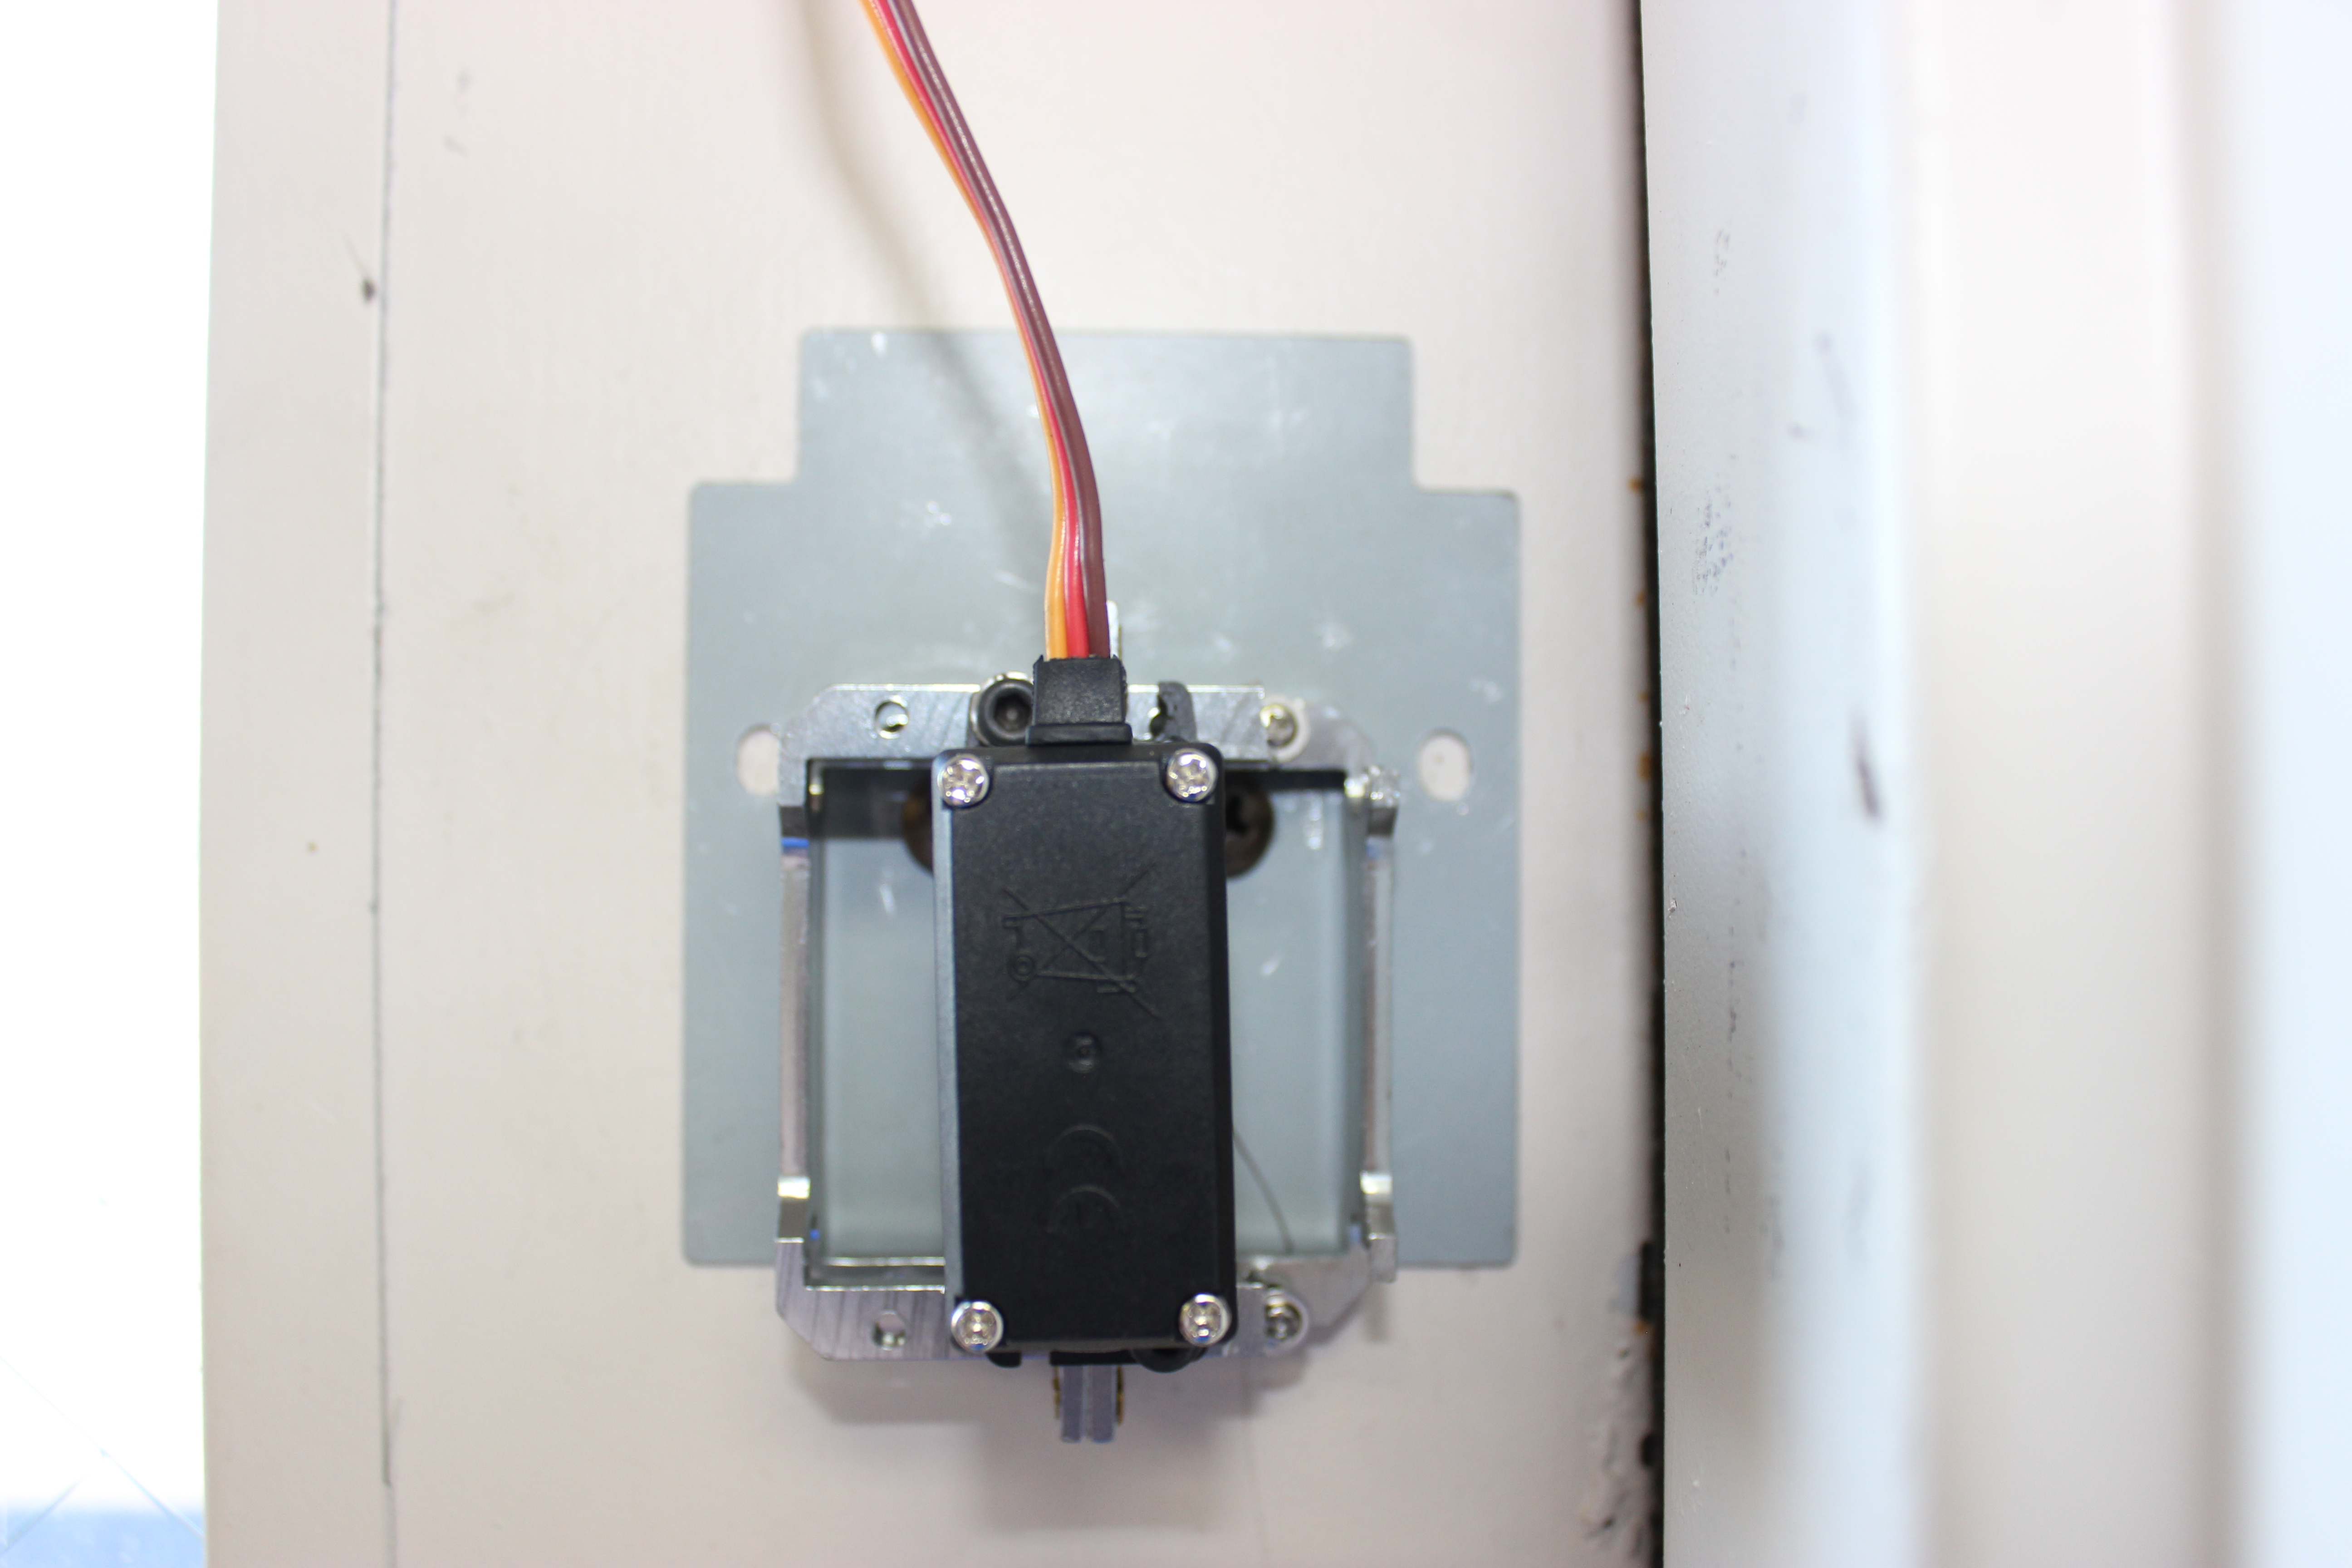
Josh examines the servo motor prior to mounting it in place.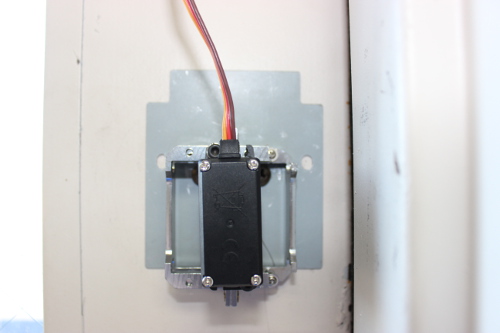
The servo motor mounted in place.
We mount the servo motor, wire it to a breadboard and OSEPP Uno Plus on the left side of the door.
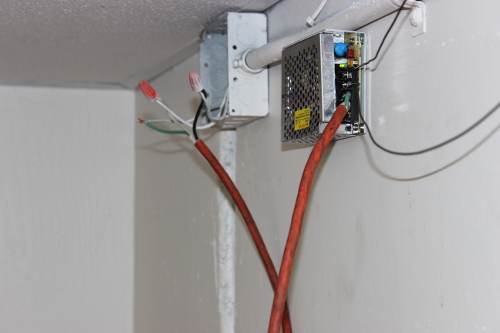
We use a 5V switching power supply to convert 120V electrical load into usable 5V by the motor and Arduino.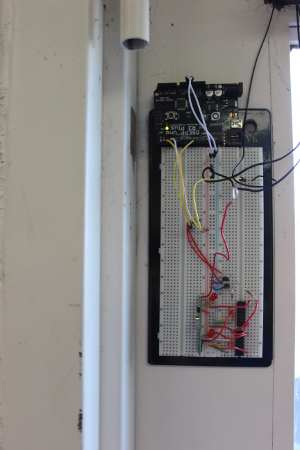
The OSEPP Arduino compatible UNO R3 Plus and breadboard to control the servo motor wirelessly.
Parts List
MG959 servo motor, PS1-25W-05 power supply
RXD4140-434 4CH remote & receiver
RA10K x 2 pc.
Scrap sheet metal
All thread (Hardware store)
Bolt/Screw fasteners (Hardware store)
JB Weld (Hardware store)
ARDUINO CODE
#include <Servo.h>
Servo myservo;
const int buttonPin = 2; // the number of the pushbutton pin
const int buttonPin2 = 3;
int buttonState; // variable for reading the pushbutton status
int buttonState2;
void setup()
{
myservo.attach(9); // attaches the servo on pin 9 to the servo object
}
void loop()
{
while (buttonState == HIGH && buttonState2 == HIGH)
{
buttonState = digitalRead(buttonPin);
buttonState2 = digitalRead(buttonPin2);
}
if (buttonState == LOW)
{
myservo.write(85);
delay(1000);
buttonState = HIGH;
buttonState2 = HIGH;
}
if (buttonState2 == LOW)
{
myservo.write(10);
delay(1000);
buttonState2 = HIGH;
buttonState= HIGH;
}
}