ESP Microcontroller Quick Start Guide
Introduction
ESP boards are lower-cost and higher performance than competing microcontrollers. At first, glance getting one of these configured can be intimidating but with all the tools and resources available today this is actually a straightforward process. Setup time takes a few more minutes than a more expensive Arduino but you’ll be glad you invested in time setting up your ESP board as they are much more equipped for the price. This blog will break down the process to help users get started with their Espressif microcontroller and provide step by step guide for setting up the software environment for development using hardware based on the ESP32 and ESP8266 microcontrollers. Using an example we’ll show you how to get your ESP board configured and running without any trouble.
Specifications
ESP32 – 2.4 GHz WiFi, Bluetooth 4.2, dual high-performance core processor, 520KiB SRAM, 160-240MHz, 2 x 8-bit DAC’s, 12-bit SAR ADC up to 18 channels, I2C interfaces, 3 x UART
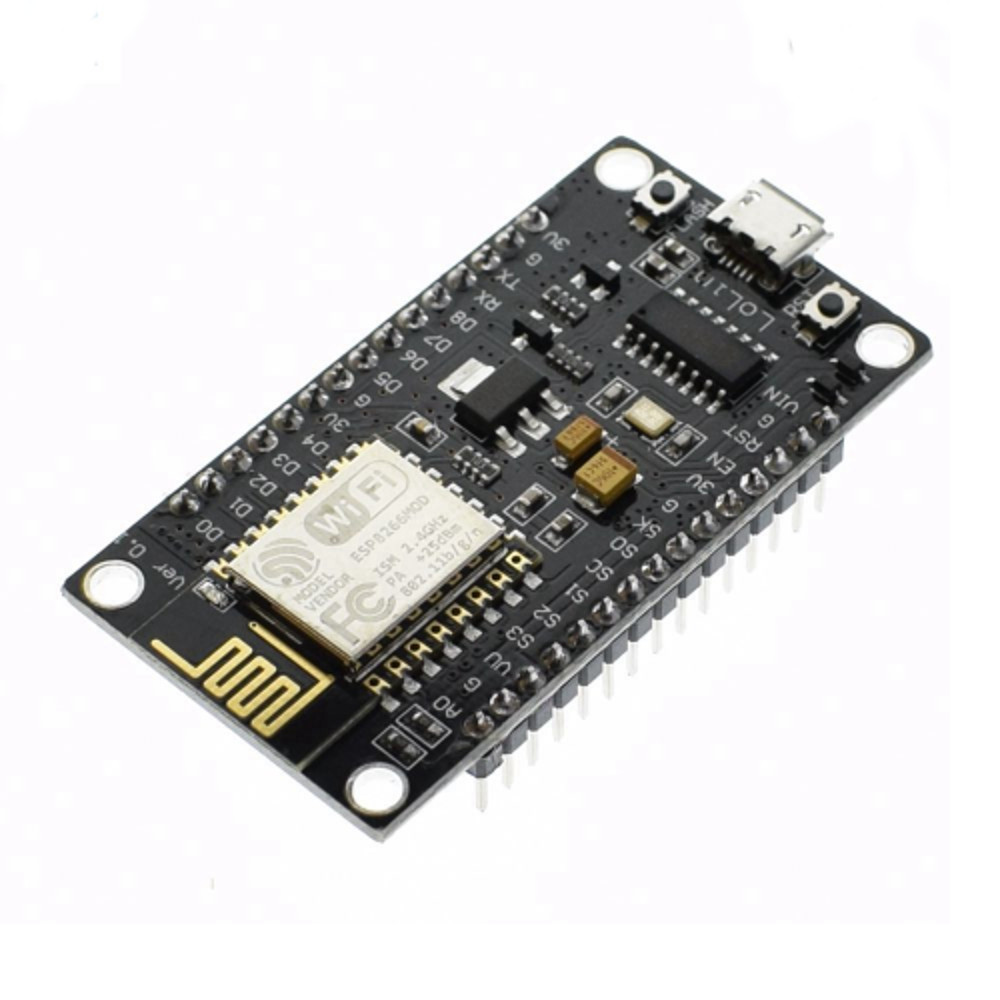
ESP8266 – 2.4 GHz Wifi, 32-bit RISC, 80MHz, 16 GPIO pins, I2C interfaces, 32KiB instruction RAM, SPI, I2S, 10-bit ADC
Equipment You’ll Need
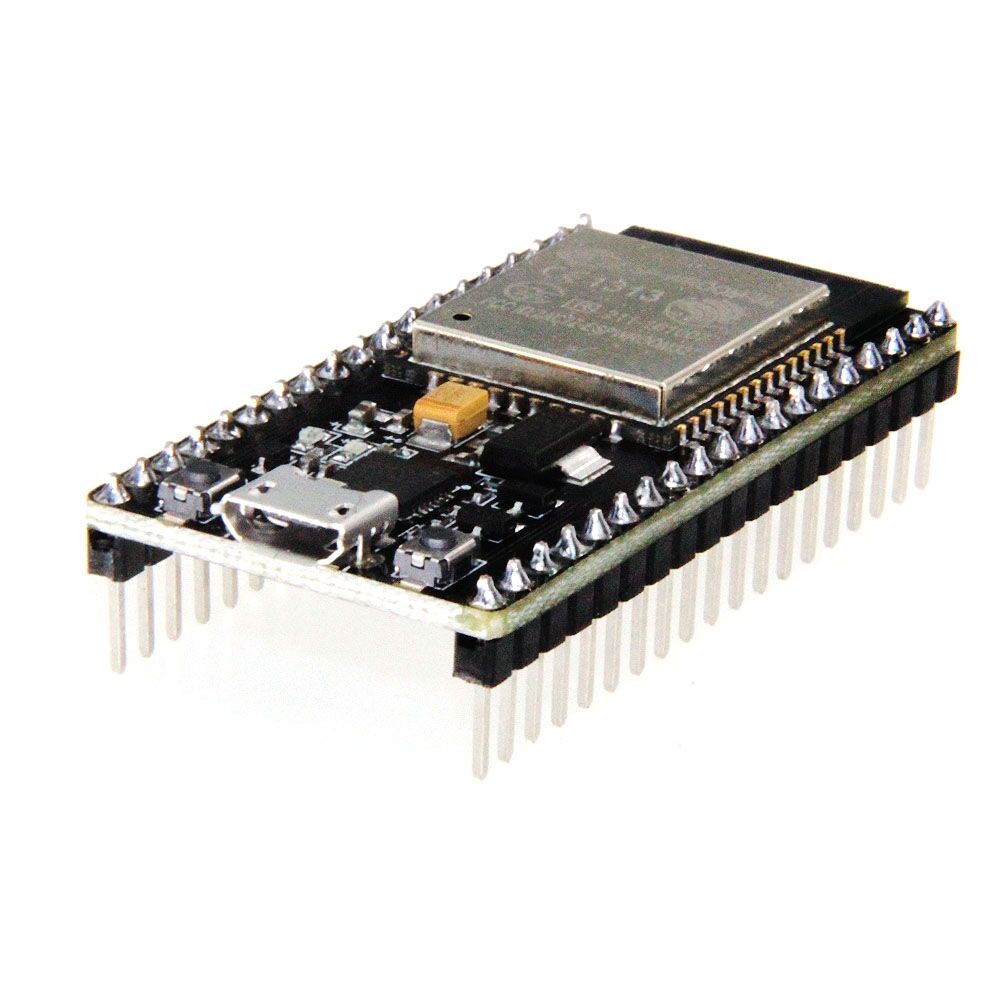
- An ESP32 or ESP8266 microcontroller
- A Computer running Windows, MAC OS, or Linux
- Github files from Github.com for the ESP32 or the ESP8266 core for Arduino
- USB to micro USB cable
Here are a couple of other great resources for the ESP32 from Espressif and one from Hackaday.
And great resources for the ESP8266 from Espressif and one from Pieter P. on Github.
Getting Started on the ESP32
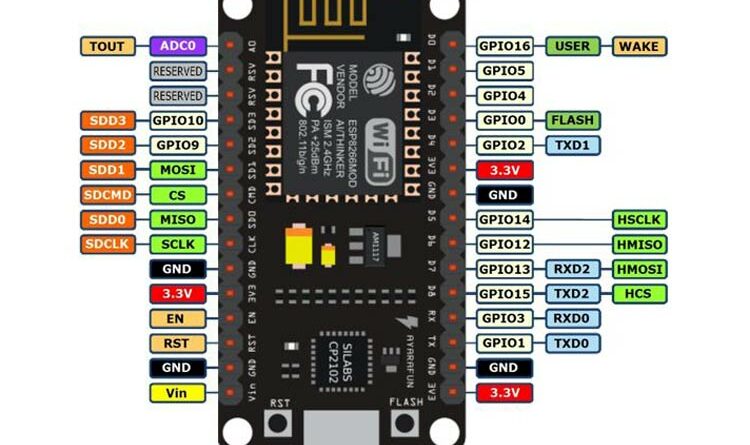
- ESP32 Pin Out Diagram
- Clone the repository to your local computer — on Linux for the ESP 32 run ‘git clone — recursive https://github.com/espressif/esp-idf.git’ or for the ESP8266 ‘https://github.com/esp8266/Arduino.git’
In the next steps, we’ll focus on the ESP32
- Read the docs folder files for instructions on getting the cross-compiler toolchain for your particular OS
- Download the binary blobs from the location listed in the setup file
- For Windows: Download the toolchain zip file, unzip
- On Linux and Mac: run ‘export PATH=$PATH:/path/to/esp/xtensa-esp32-elf/bin’
- Type the export path each time you run C:\msys32\msys2_shell.cmd
- Once the toolchain pieces are in place its time to open a terminal and cd into the application directory and type ‘make’
- Setup the menu config with the COM and BAUD settings you’d like inside the template application
- Open main/main.c and find the SSID and Password fields and enter your home network credentials. Close terminal and type ‘make flash’ then re-open terminal
- At this point, you can code, flash, and debug and you’re ready to conquer the world
- On your next program copy the demo application folder, go into main/main.c, and begin coding
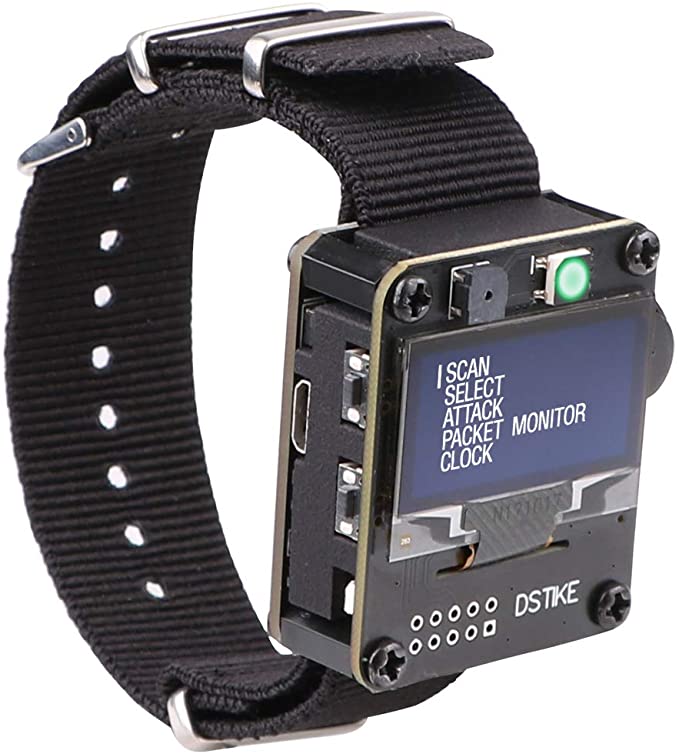
Once you comfortable with the ESP8266 the possibility is endless, such as this smart watch.