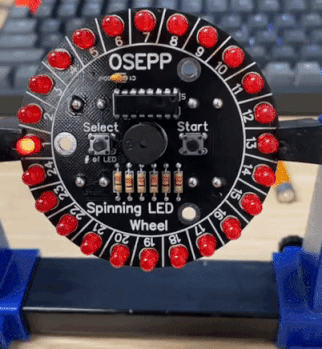
Let’s Learn How to Solder With The Digital Spinning Wheel Kit
The OSEPP Spinning Wheel Kit comes with everything you need to learn how to solder. Soldering is a straightforward process, as long as you know the basics of soldering. Also, there are a couple of tricks and tips that we can give you to achieve a good and clean solder joint. We hope that at the end of the article, you will be more confident about how to solder, and also a little toy to remind you how to do it right!
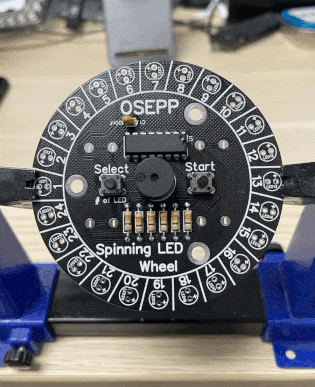
Table of Content
- Part List
- What is Soldering?
- How to Solder Correctly
- Inventory the OSEPP Kit
- Solder The Components
- Solder LEDs
- Conclusion
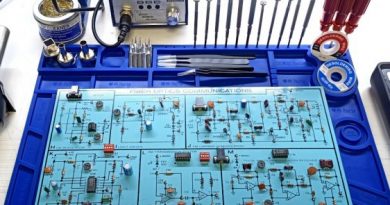
Part List
What is Soldering?
Soldering is the basic procedure that involves applying a sufficient amount of heat to the two surfaces being joined together. In addition, this could be a component lead, a PCB, or a wire lead to a metal terminal. Furthermore, switched or another wire termination to a PCB. Finally the Rule of Thumb: the amount of heat required is dependent on the thermal mass of the materials and the type of solder.
A small component lead and PCB pad will normally require less heat than a large gauge wire and a heavy terminal. However, some PCB pads may have a large Ground or Power plane and therefore would require a higher amount of heat.
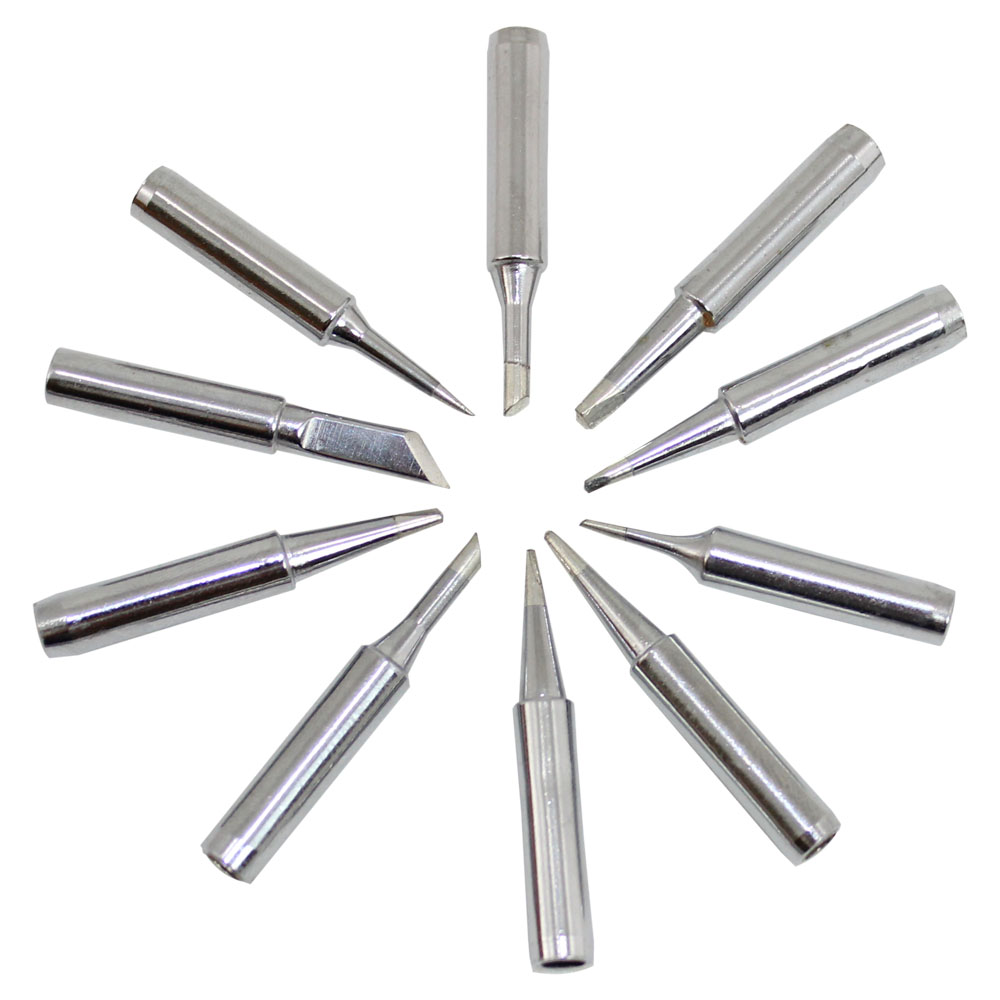
In general, for the through-hole soldering operation, we would use the larger tip. The smaller tip would be better for small surface-mount components. One of one most popular tip options is actually a 10 Tips Set so you can solder correctly for any type of works.
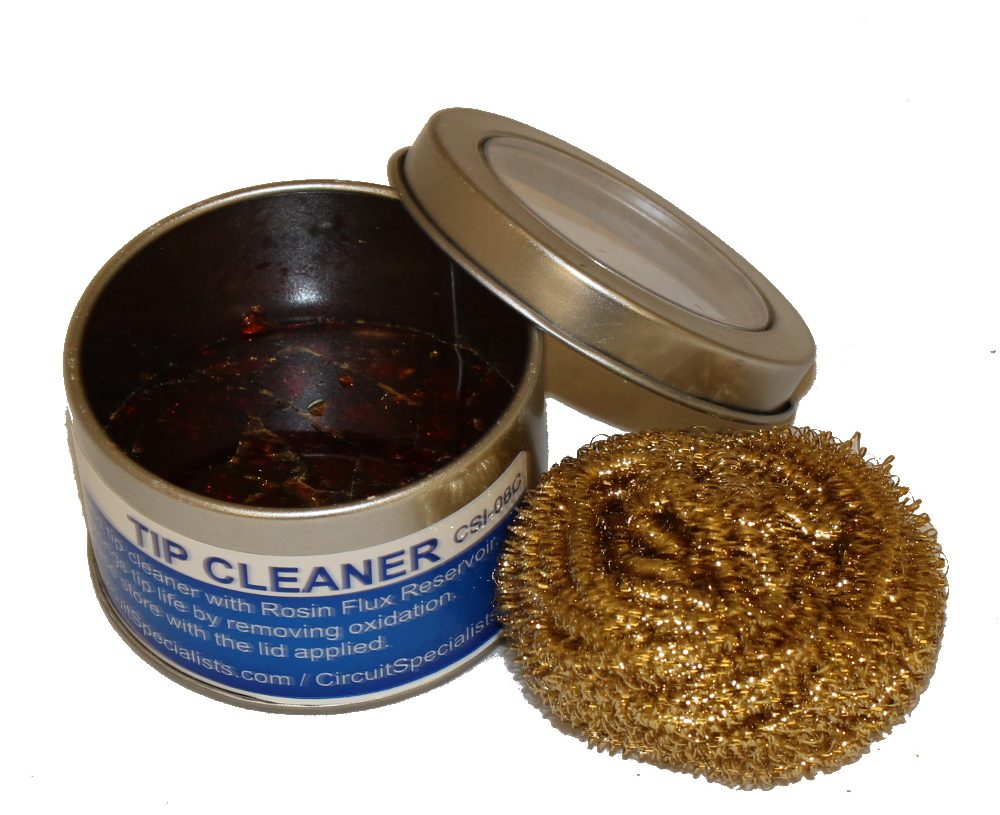
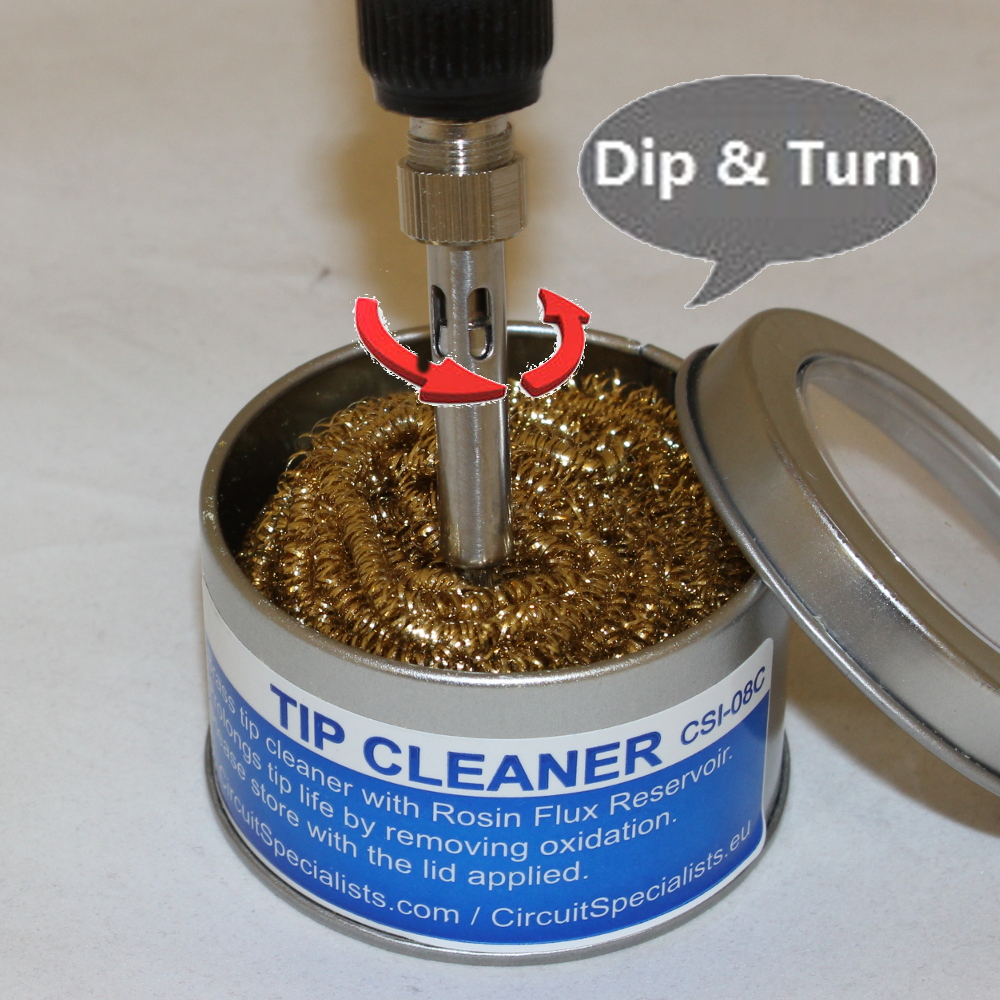
The soldering materials must be both clean and free of contaminants. Some possible contaminants are dirt, grease, oil, rust, and oxidation. We highly recommend cleaning your soldering tip using a brass wire cleaning ball or Solder Tip Cleaner with Rosin Flux.
Flux, which performs a final cleaning of the materials, is normally in the solder. Sometimes a job might require additional flux for difficult surfaces. We carry a wide range of chemicals that are circuit safe!
How to Solder Correctly?
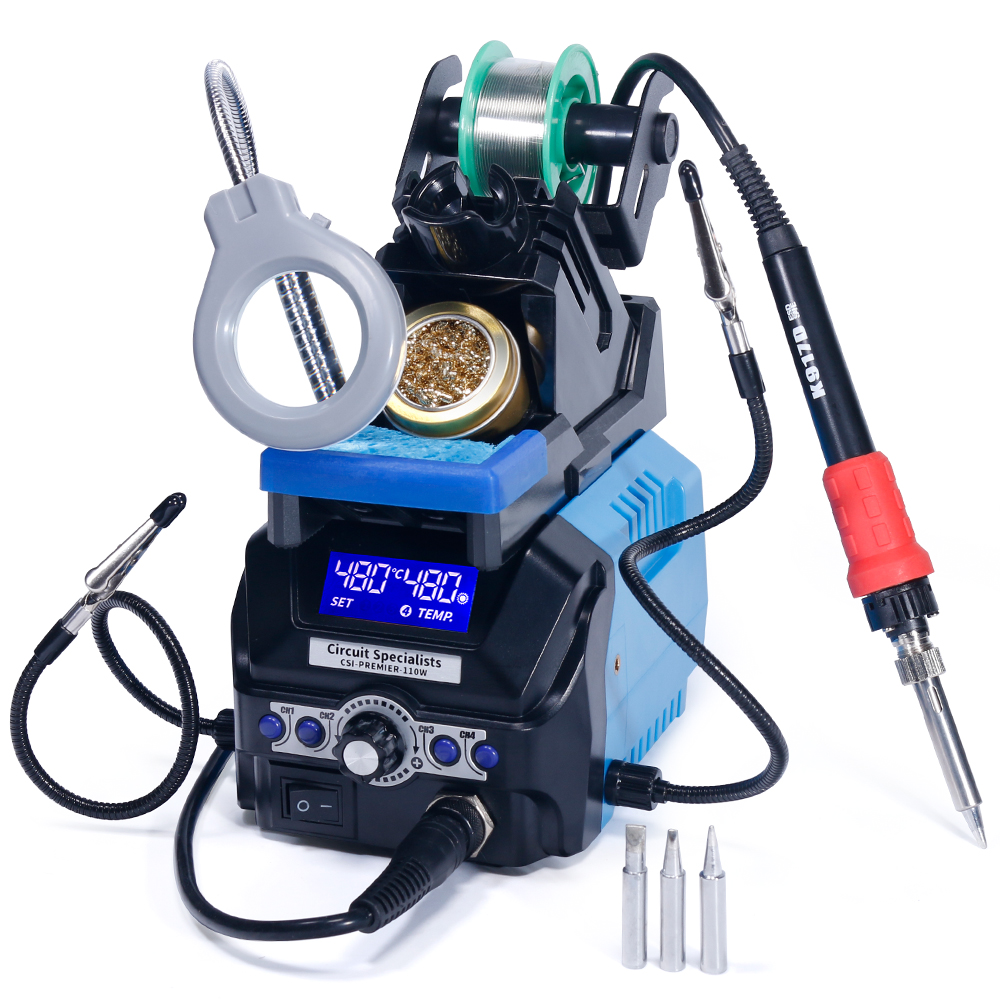
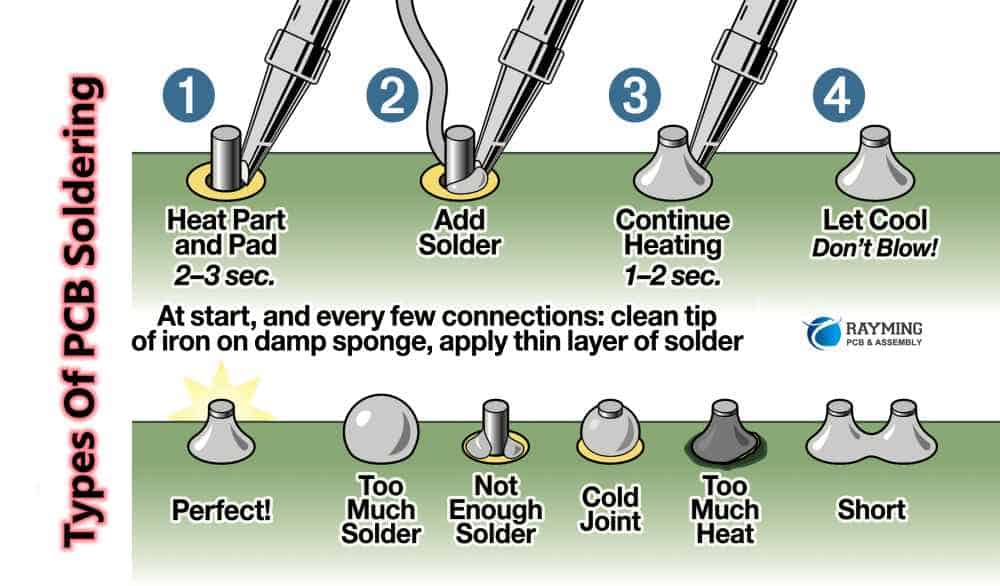
First, we need to prepare the soldering iron for the soldering operation, clean the tip, and tin it to provide an optimal solder joint.
Second, set the soldering station temperature to a value that is sufficient to melt the solder. For instance, The amount of heat required is dependent on the thermal mass of the materials and the type of solder.
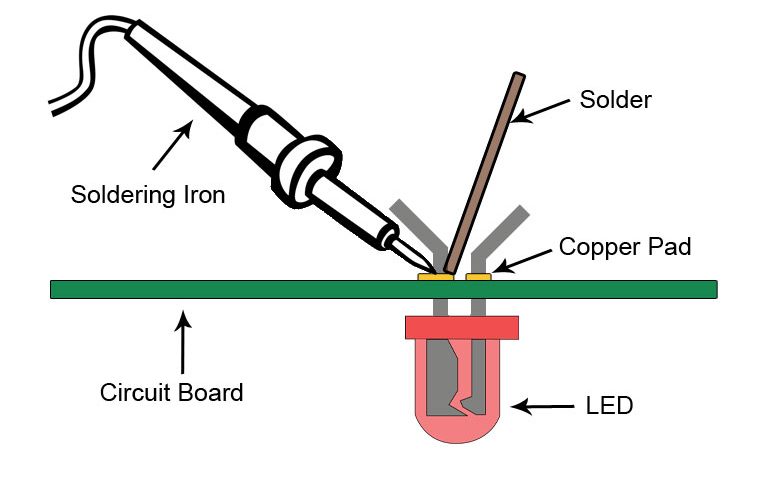
Then apply the hot tip to the junction of both surfaces (i.e. component lead and PCB surface) and hold it there for several seconds before applying the solder to the junction.
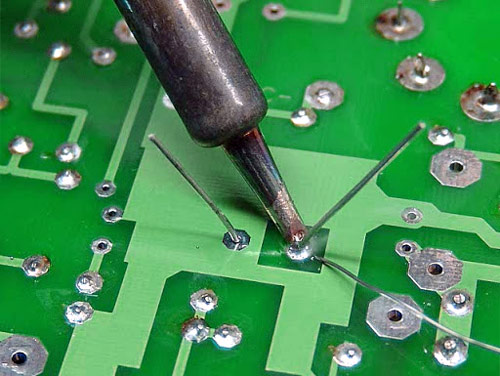
The junction of both surfaces must be allowed to melt the solder for an ideal solder joint. Excessive heat and time will damage the component and PCB, and insufficient heat and time will produce a cold solder joint.
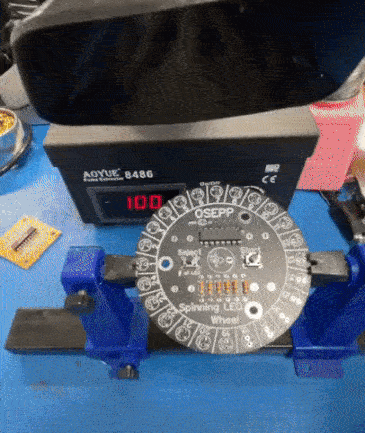
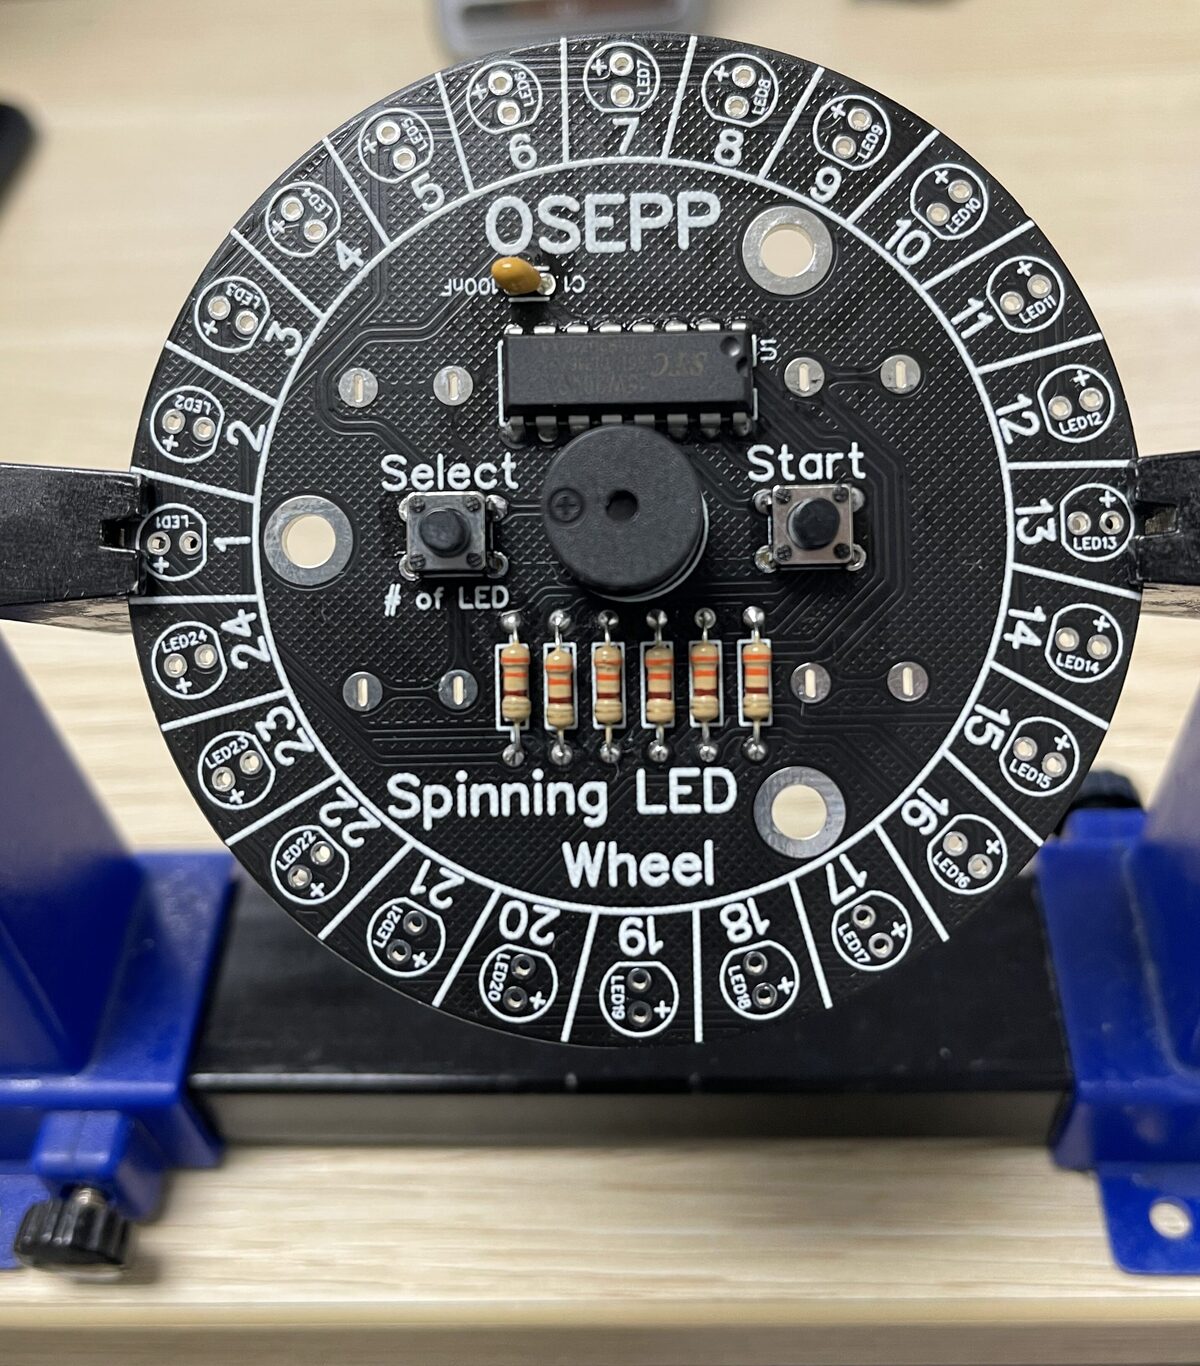
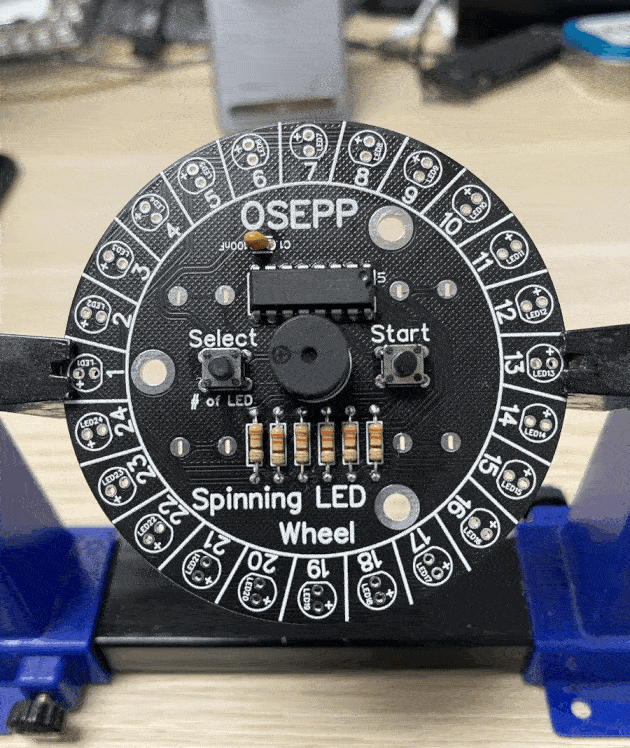
Inventory the OSEPP Kit
The OSEPP Spinning Wheel Kit comes with everything you need, so we just need to make sure everything are there before we start the assembly process.
Solder The Components
First, let’s warm up with soldering the tactile switch! You must use a sufficient amount of flux for maximum heat transfer.
The secrets of a perfect resistor soldering job are flux, one side at a time, and the most important one, tape them down!
Finally, solder the capacitor and buzzer. These two components are simple to solder, just make sure the polarity on the buzzer.
Solder LEDs
If you have soldered LEDs before you know it is not hard. However, to archive, a unified sitting flush to the PCB surface could be frustrating. Here are 3 tips for that!
Conclusion
The OSEPP Spinning Wheel Kit comes with everything you need to learn how to solder. We hope the couple of tricks and tips that we can give you to archive a good and clean solder joint. Now you can show all your friends how clean and professional your project looks.