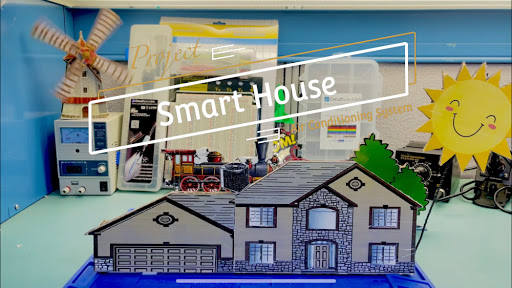
The Smart House Project – Part 3
The Smart House of the future is environmentally friendly yet doesn’t sacrifice its occupant’s comfort. In this chapter, we will learn how to make a smart house with an environmentally friendly air conditioning (AC) system that measures the temperature inside and outside by measuring outdoor light levels. This will ensure the AC system will run greener with more input from the environment around the house and not solely on GPS information.
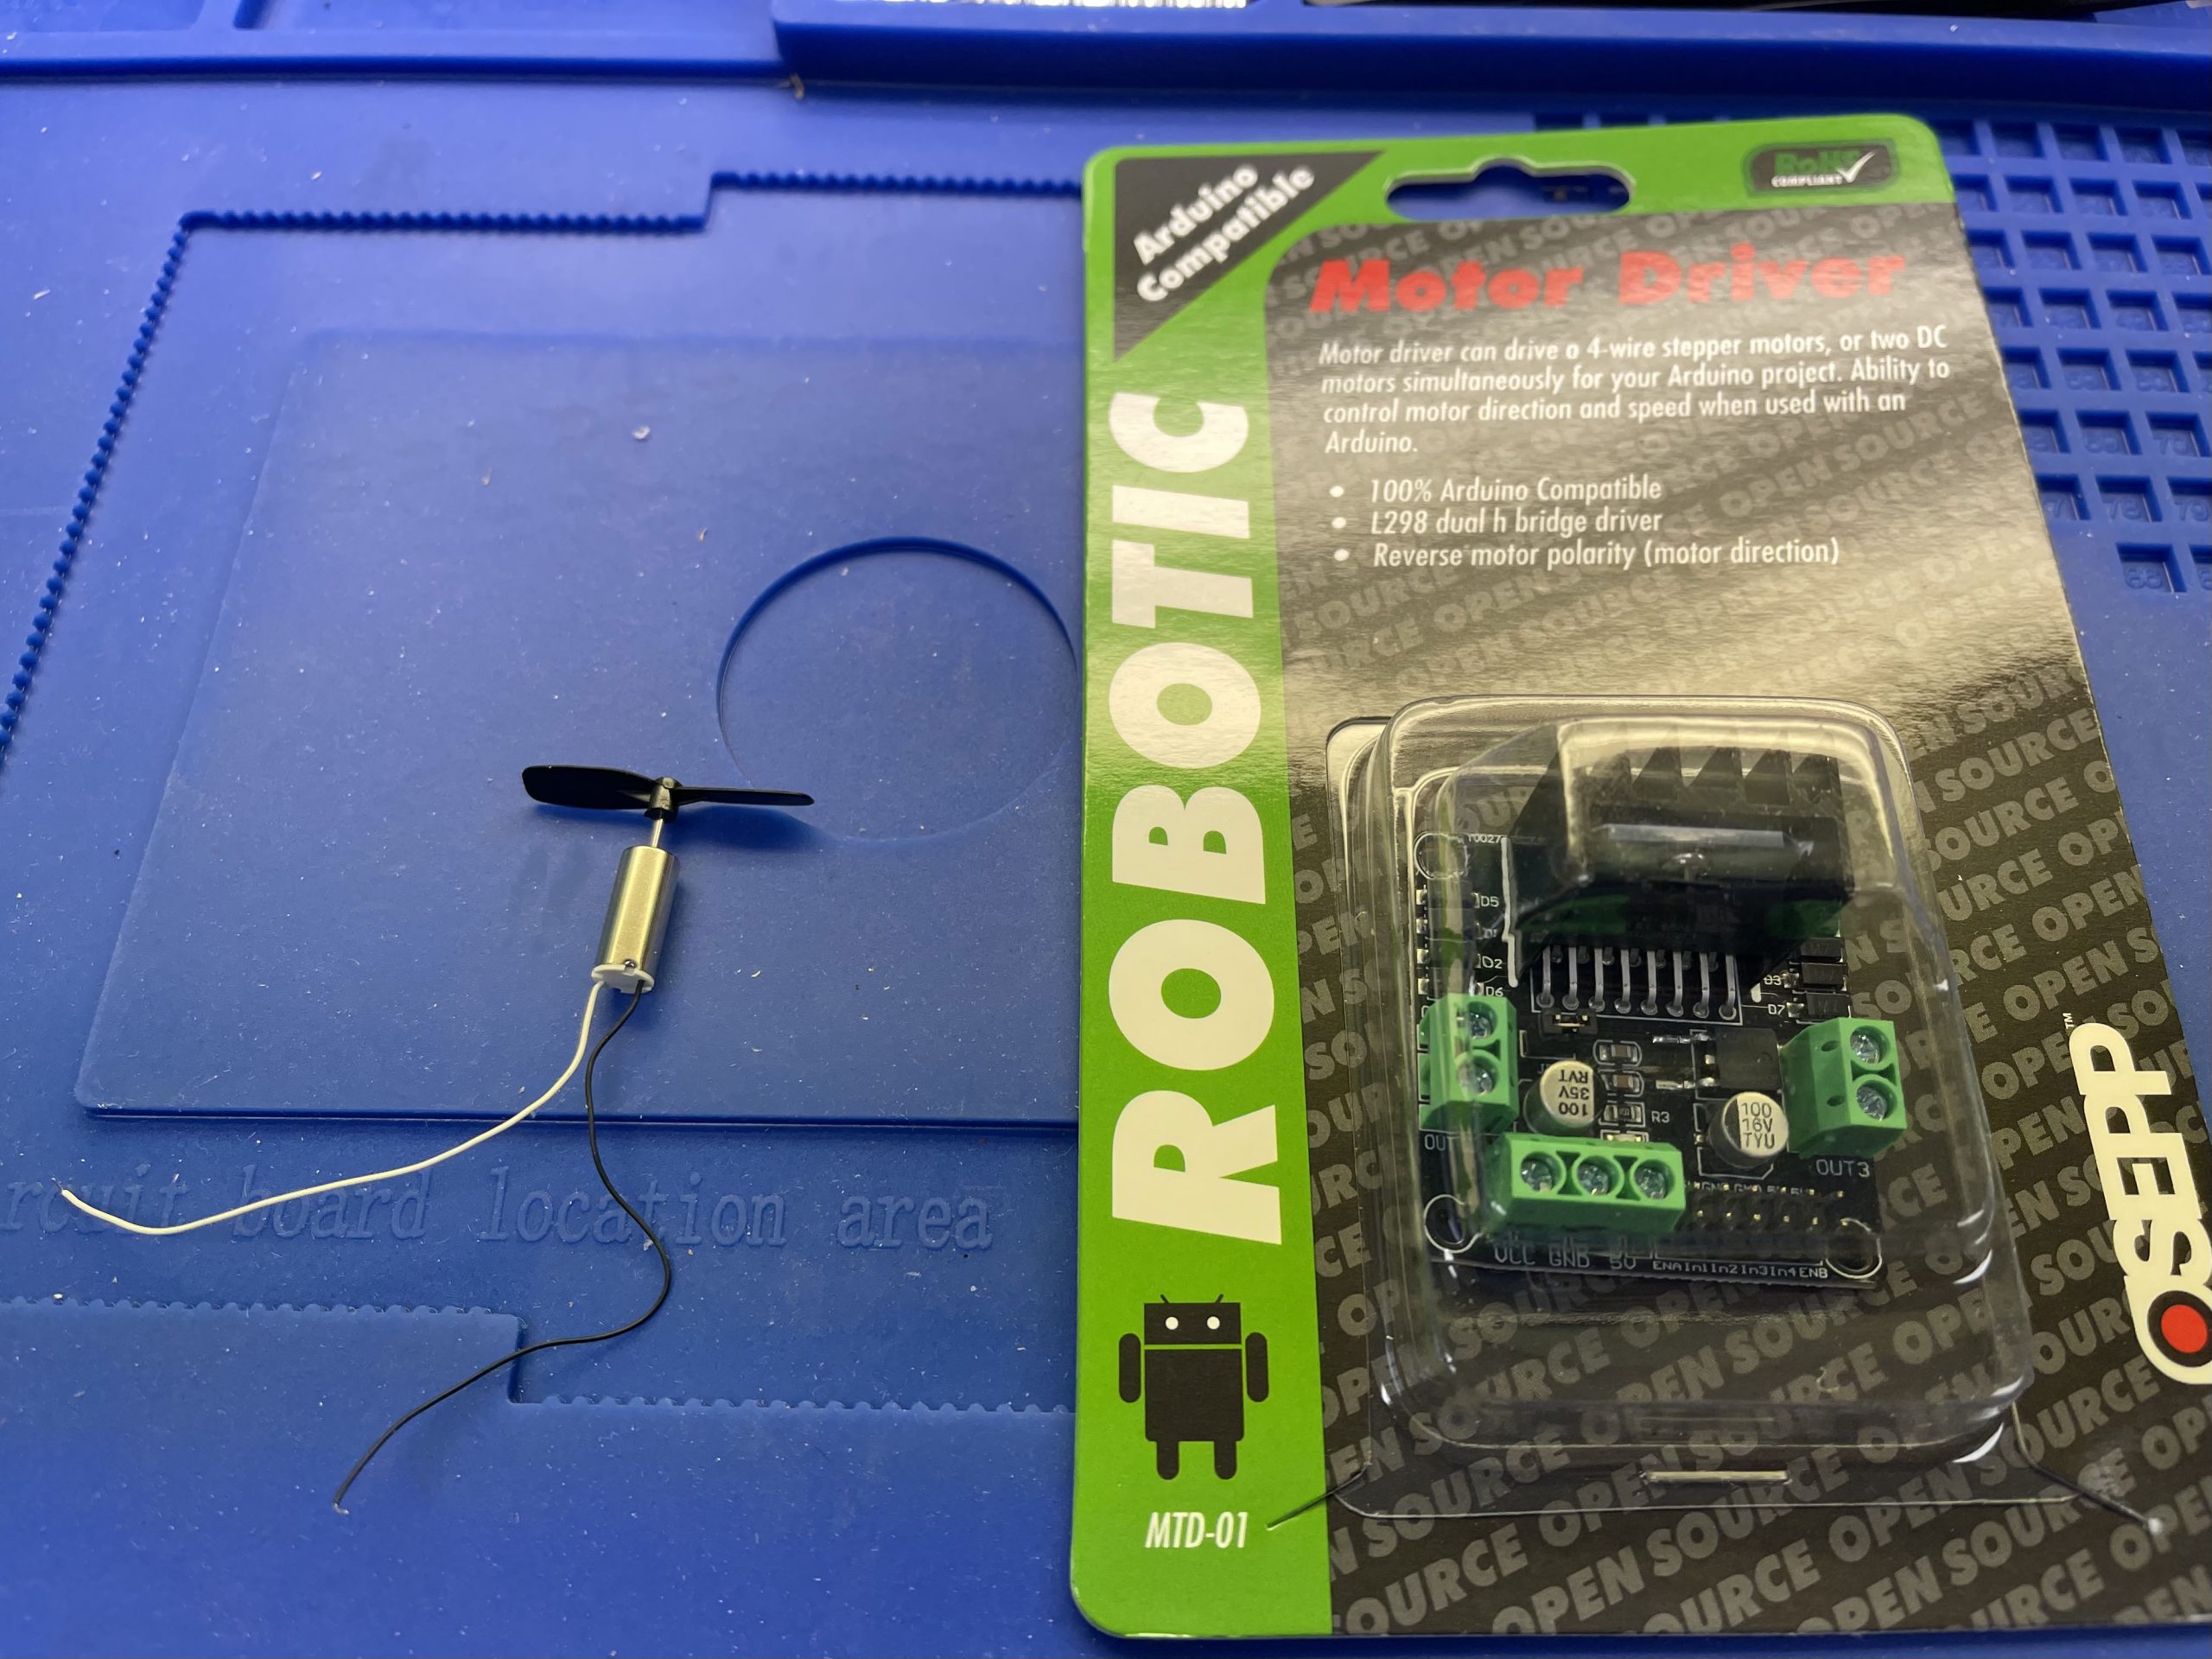
To demonstrate this idea, we will use the Reading Temperature (p.g.17) to show how we can read the outdoor environment and the smart house can make an efficient decision on how to control the AC. We will also add a popular OSEPP breakout board to the project, the Motor Driver Module. This board will enable us to control the DC motor in the AC.
Part List
ARD-02 Arduino Basics Starter Kit
Motor Driver Module
DC motor
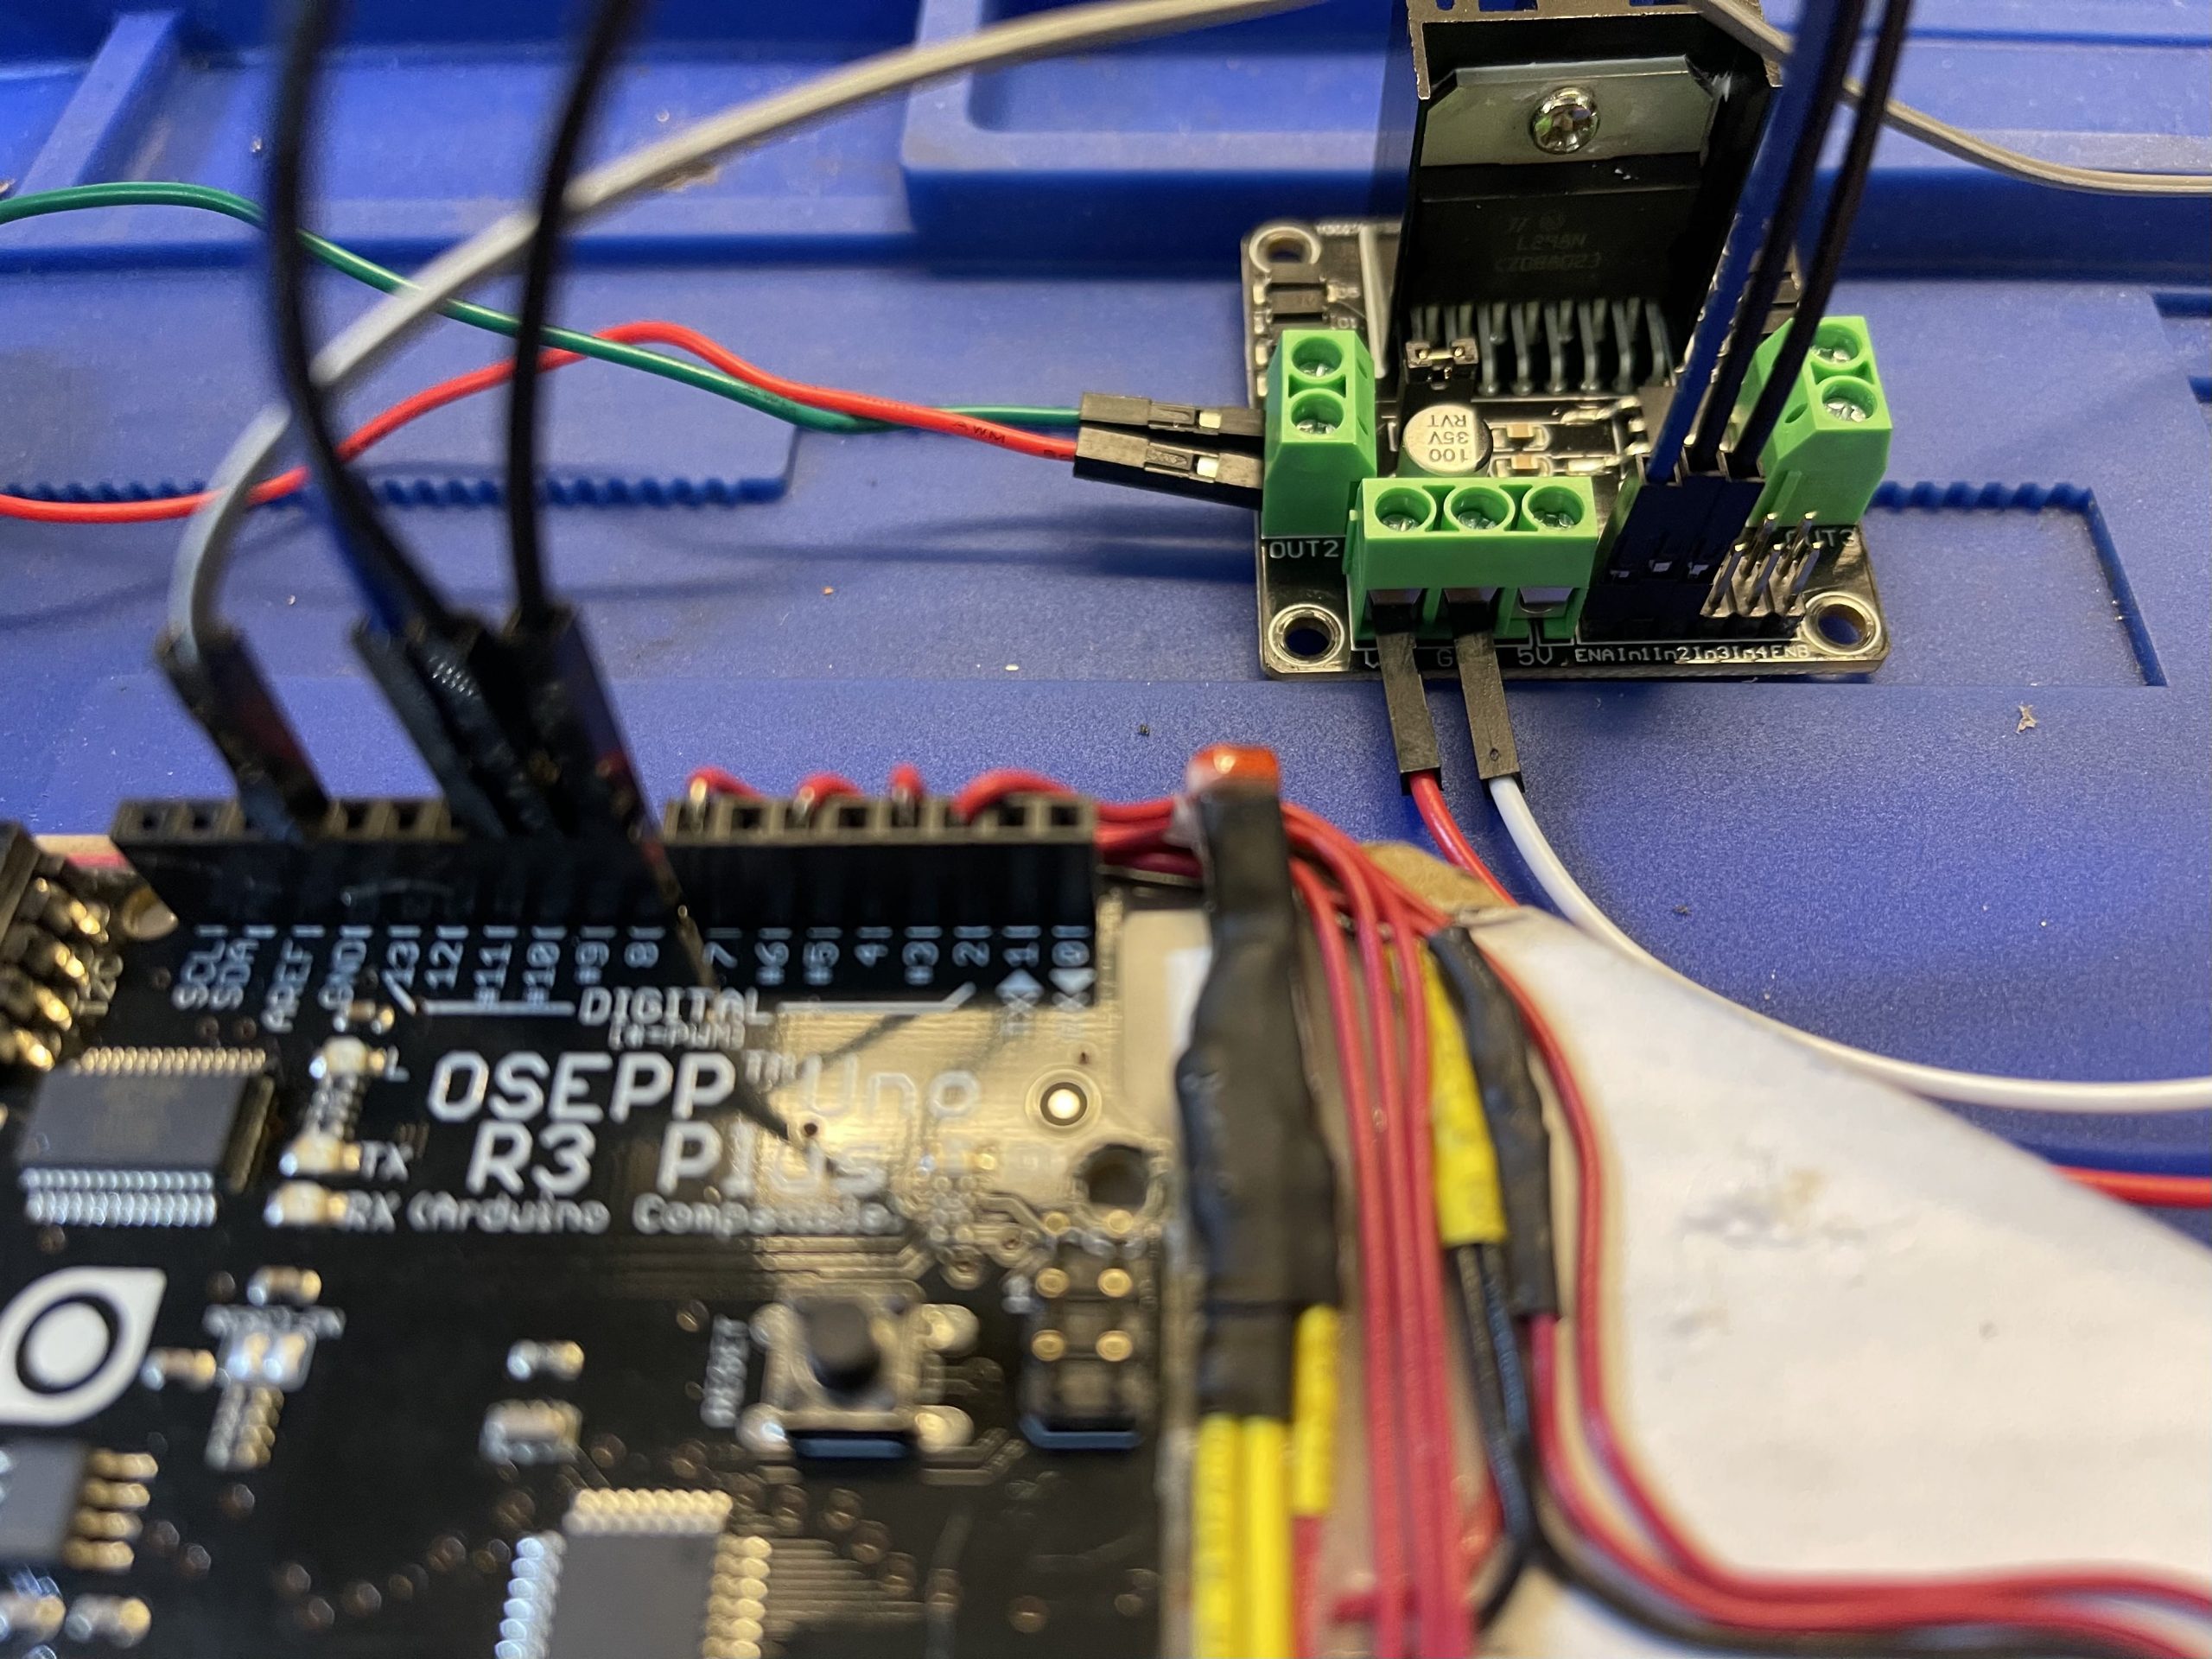
Wiring the DC Motor Driver Module
The wiring is fairly straightforward, since we only use one side of the controller we only need to wire EnA, In1, and In2.
- EnA —> Pin 10
- In1 —-> Pin 9
- In2 —-> Pin8
You can get more information from OSEPP here in the link below http://osepp.com/wp-content/uploads/2016/01/MOTOR-DRIVER.pdf
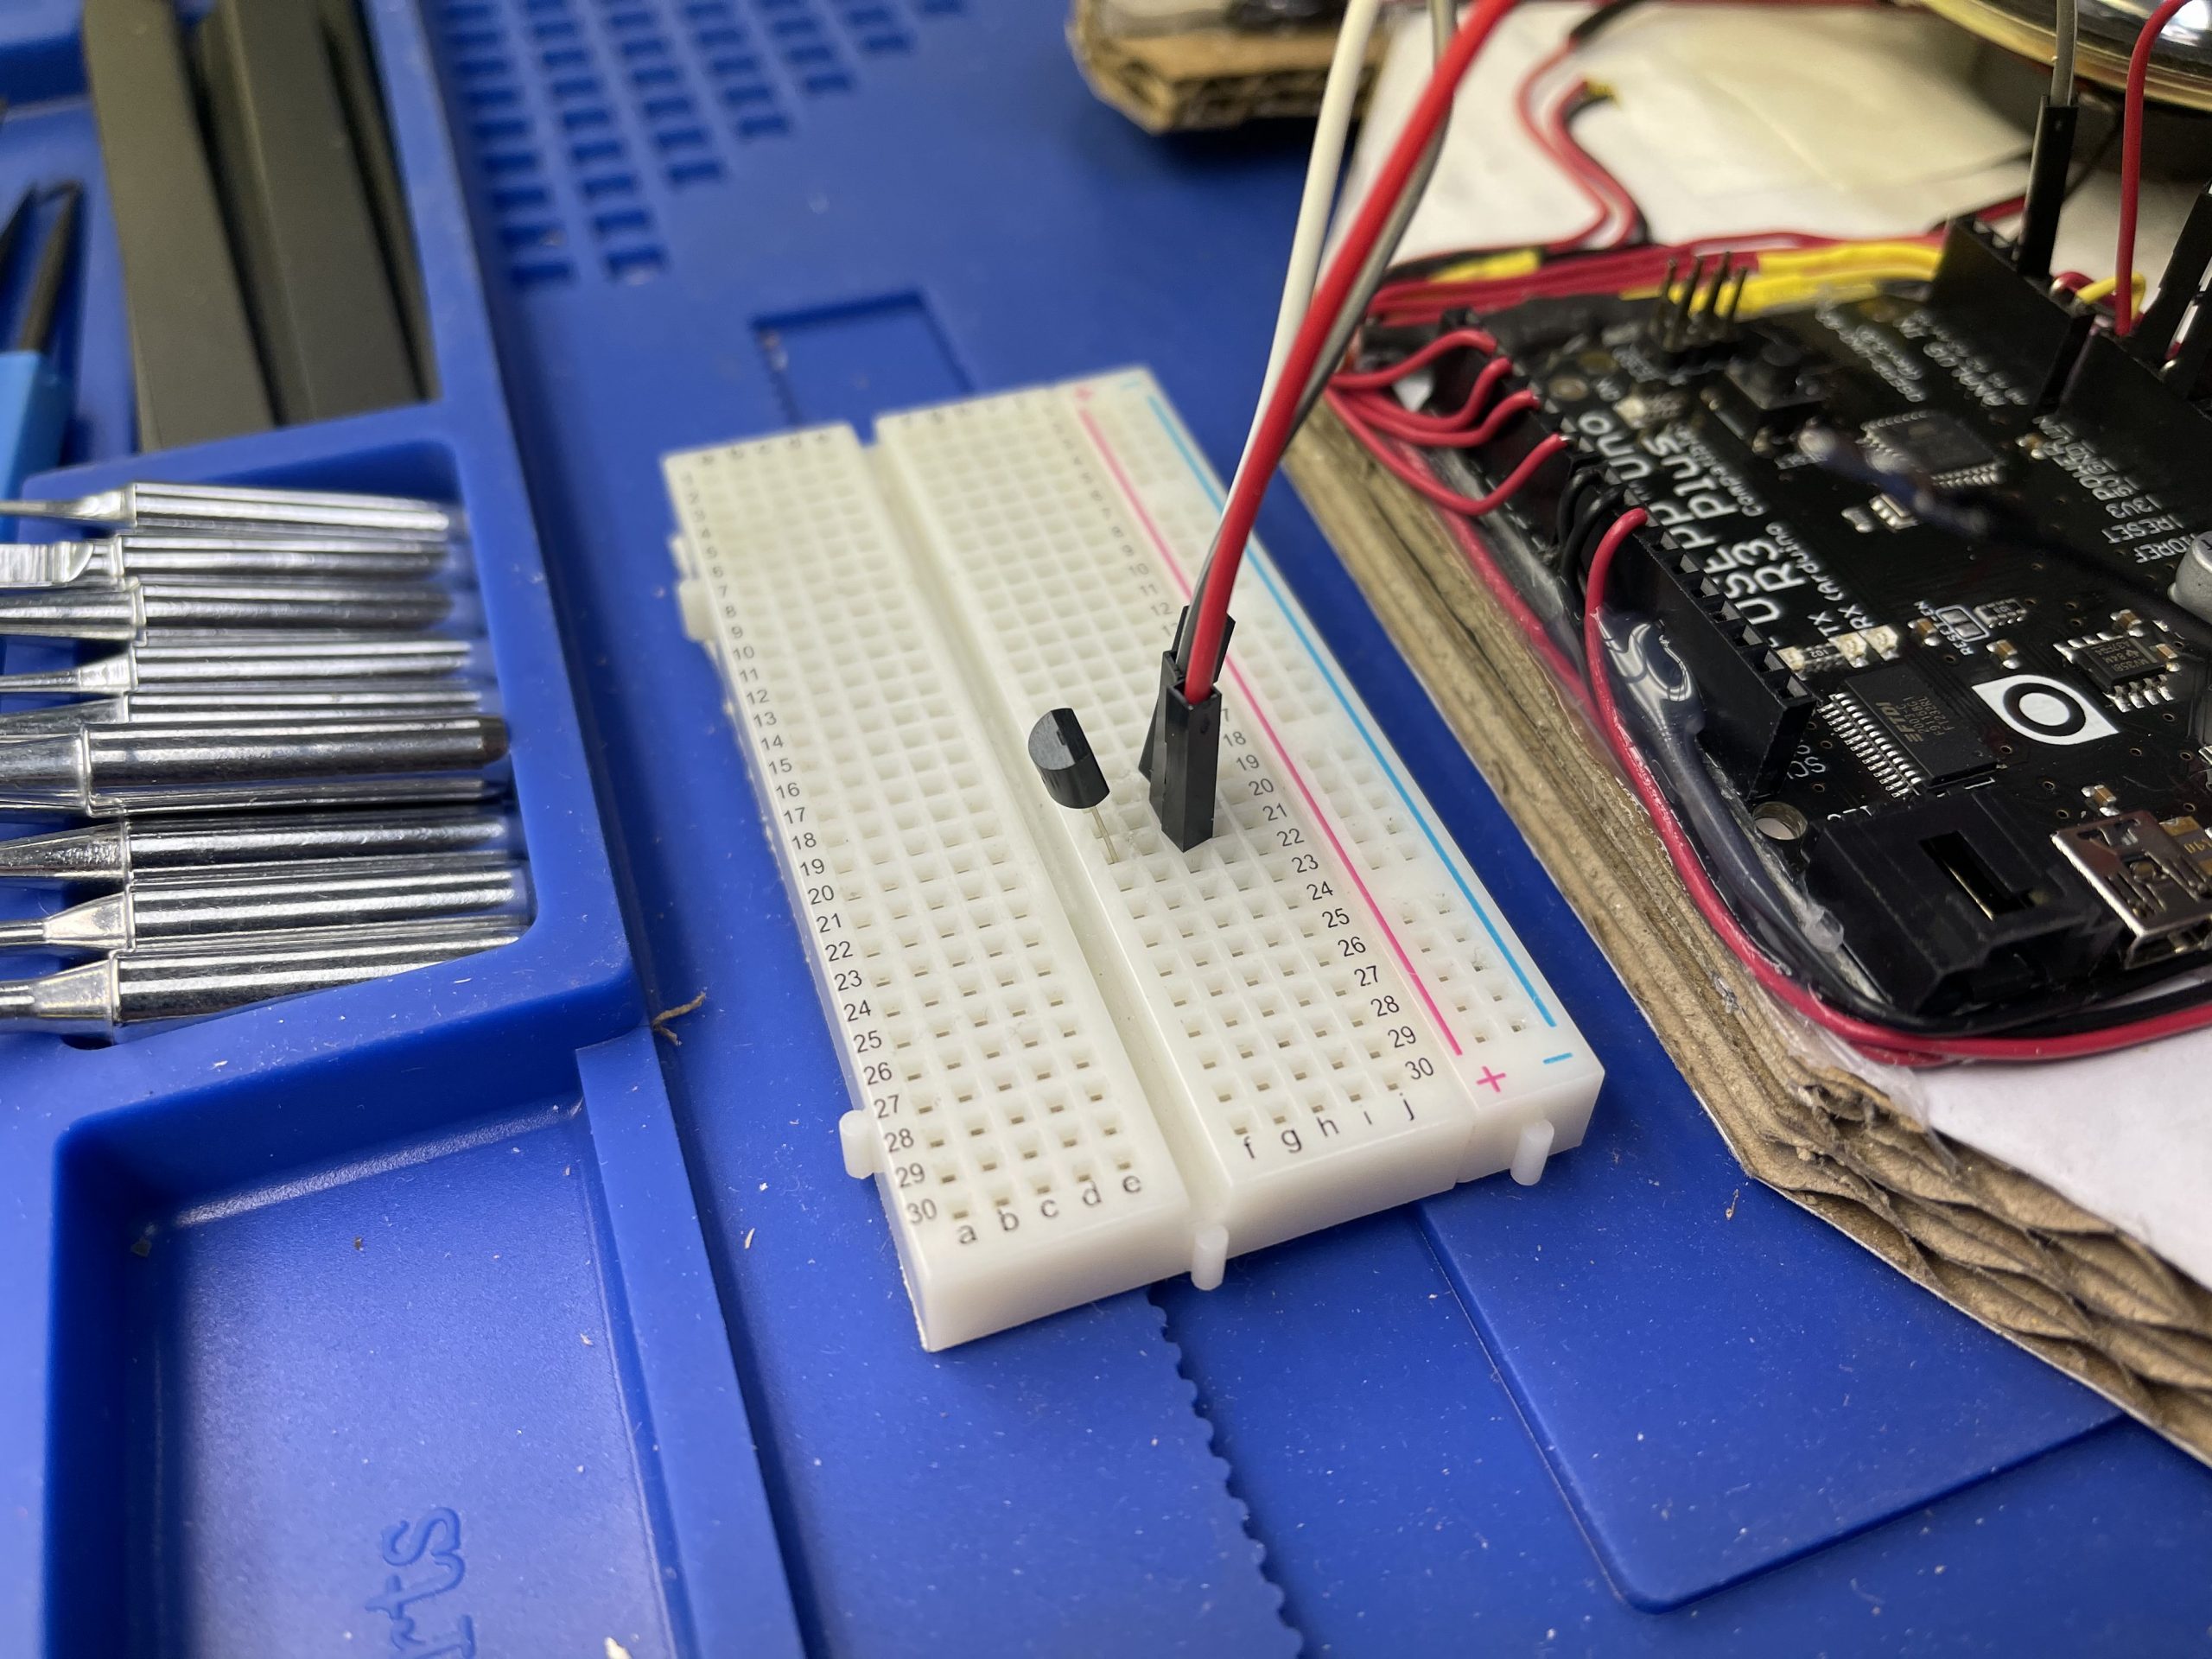
I used the provided code from OSEPP to test the motor driver to make sure the breakout board function abnormally.
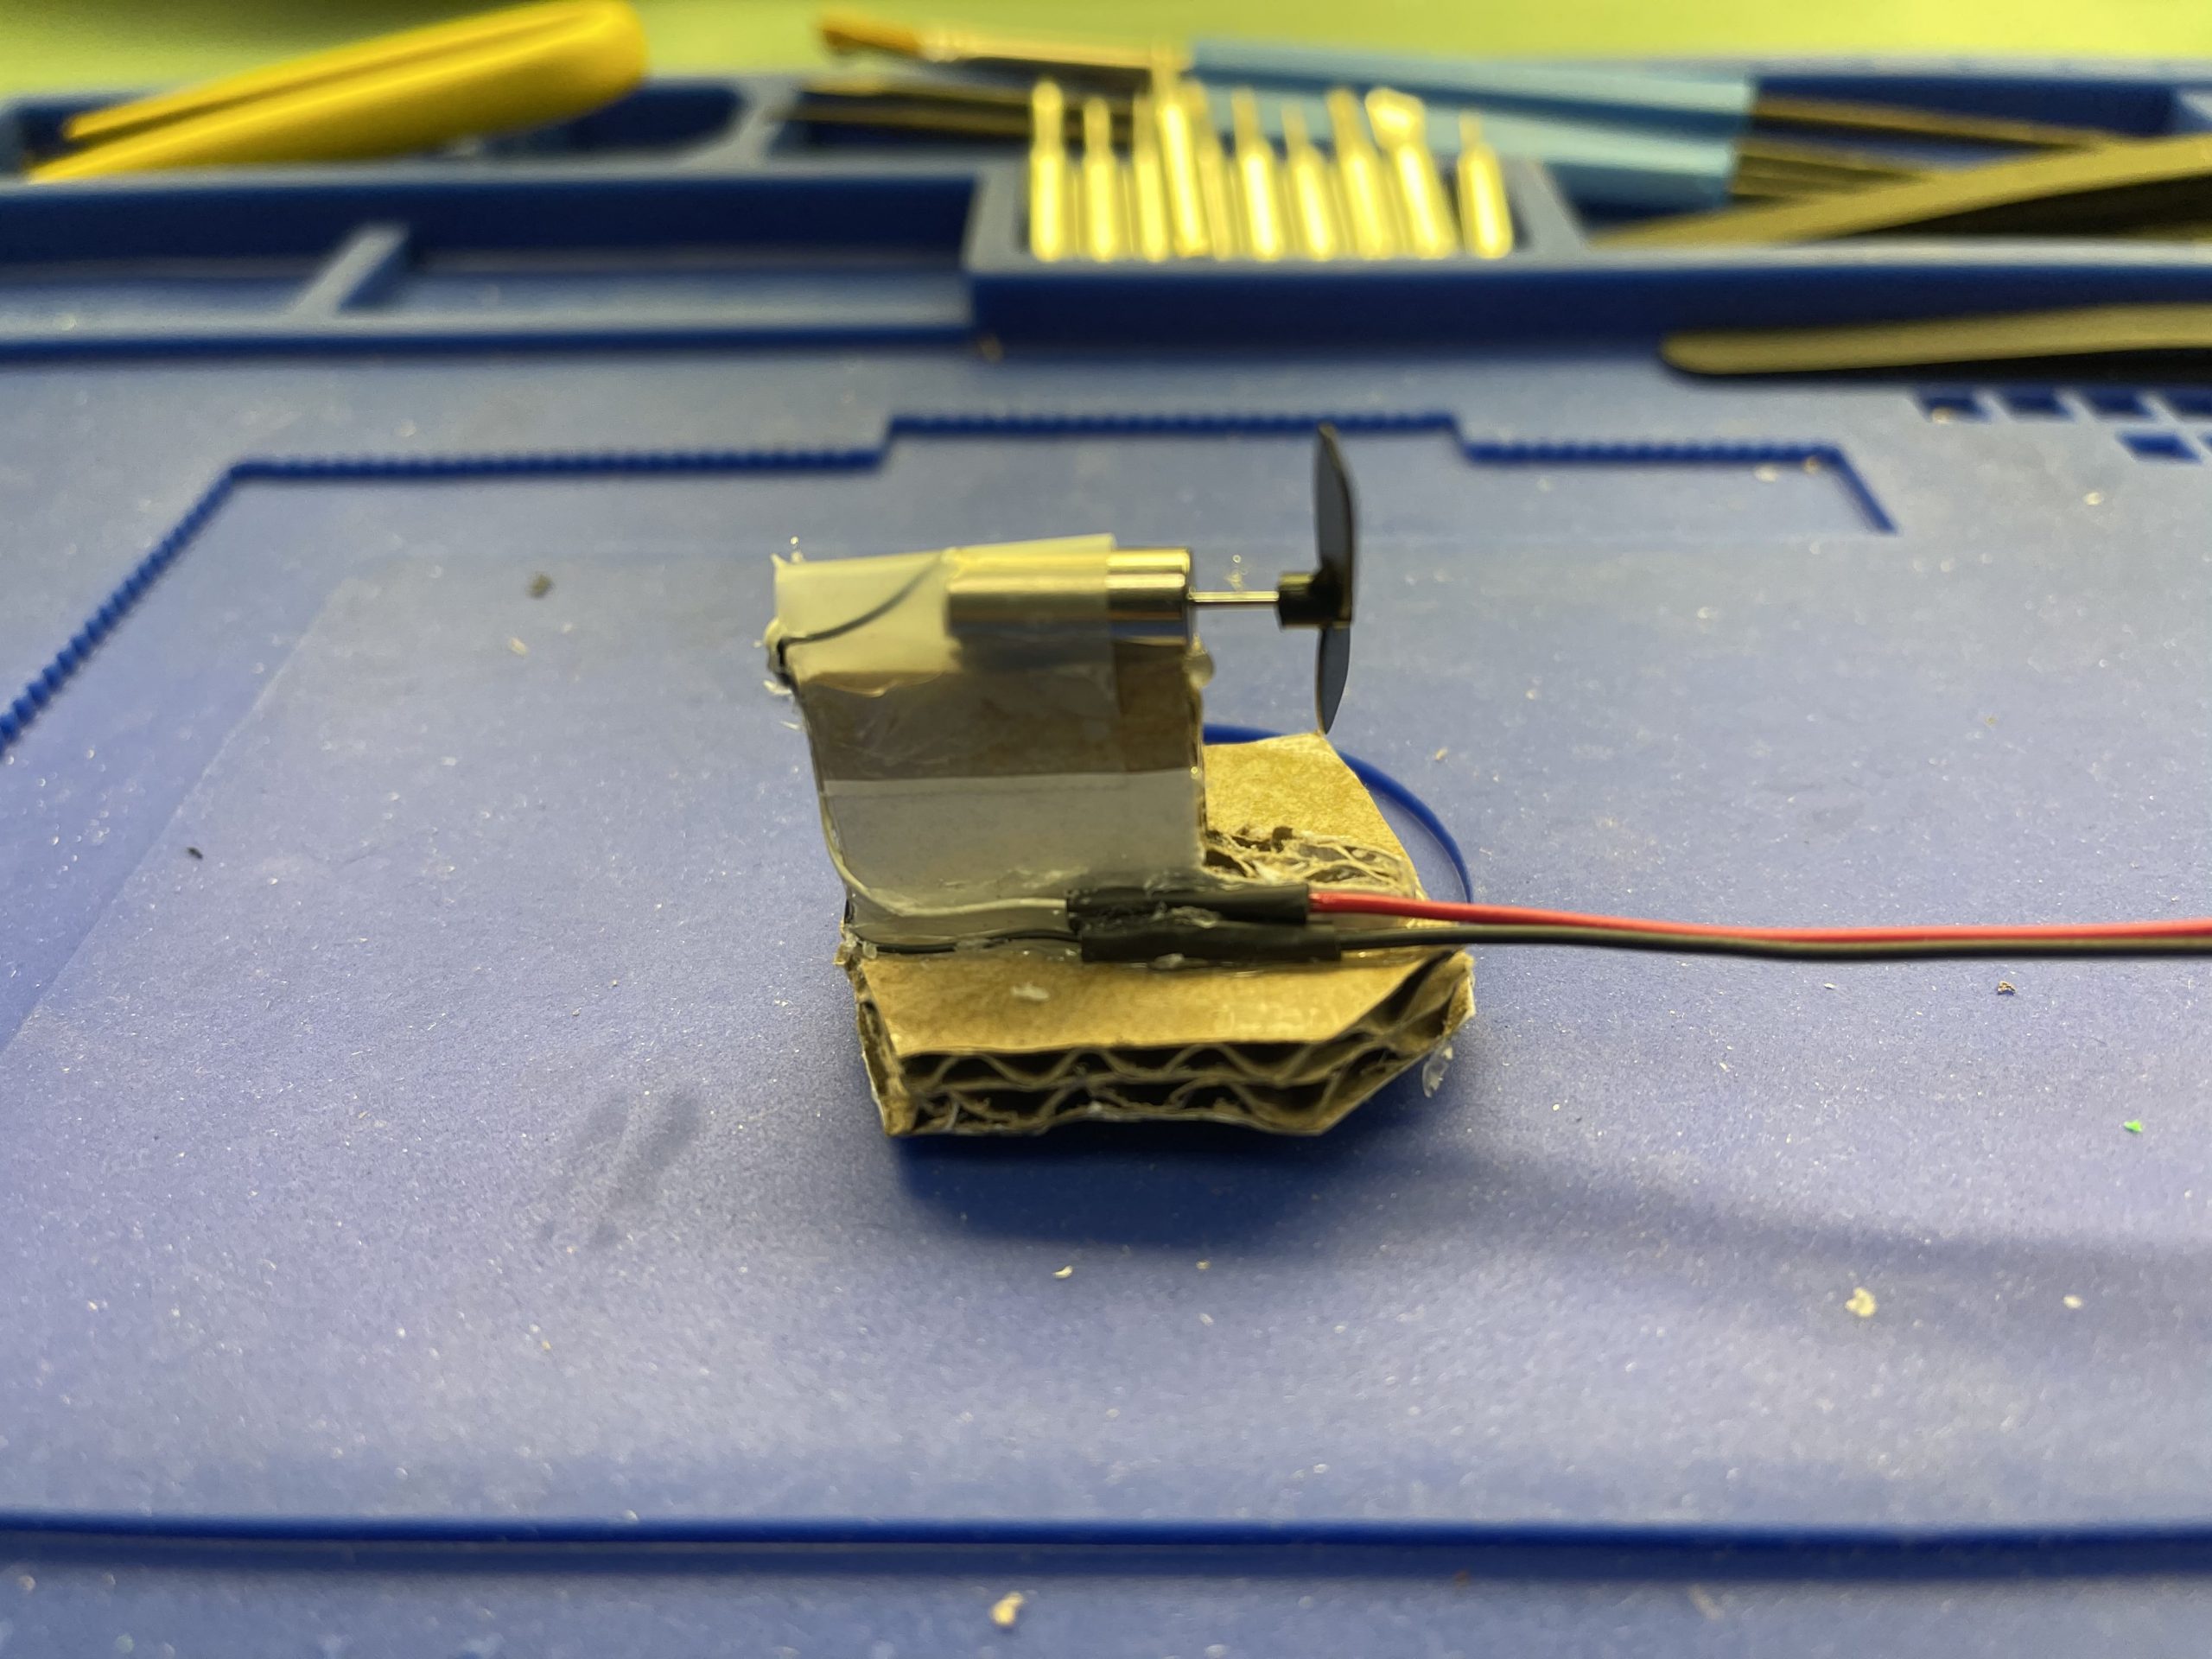
Now we need to build that AC unit.
Cut out an AC picture and glue it to a piece of cardboard.
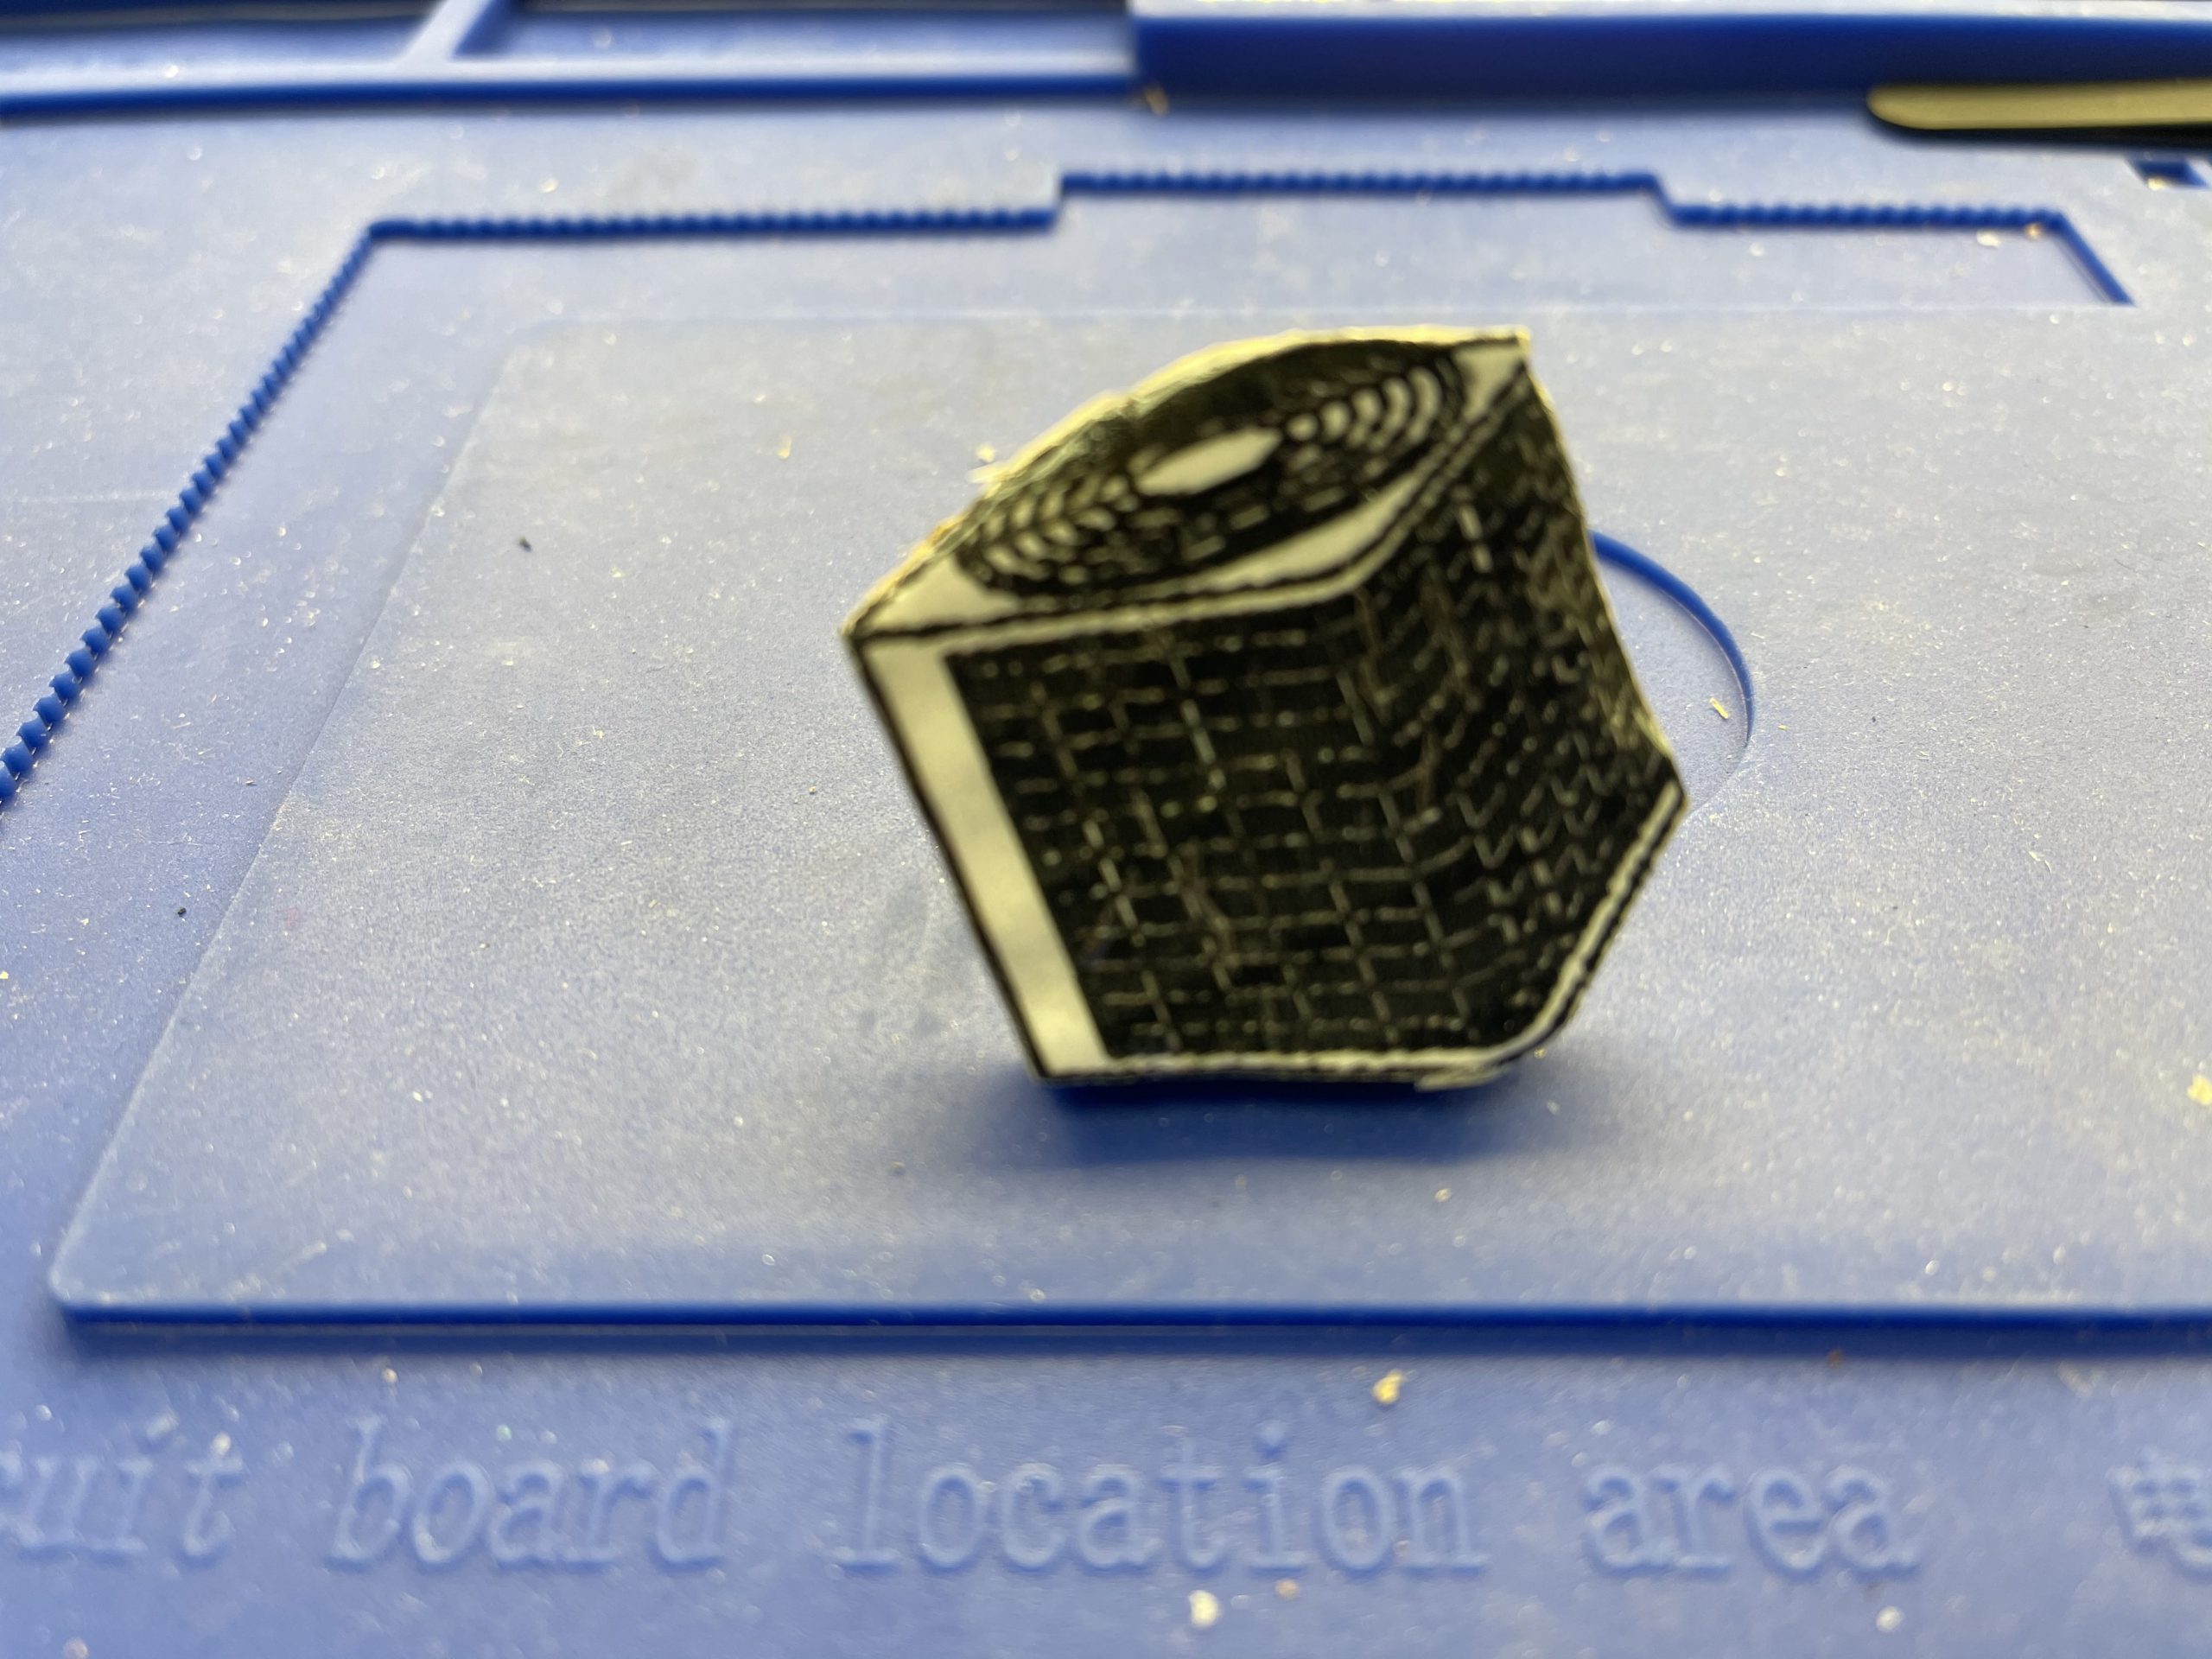
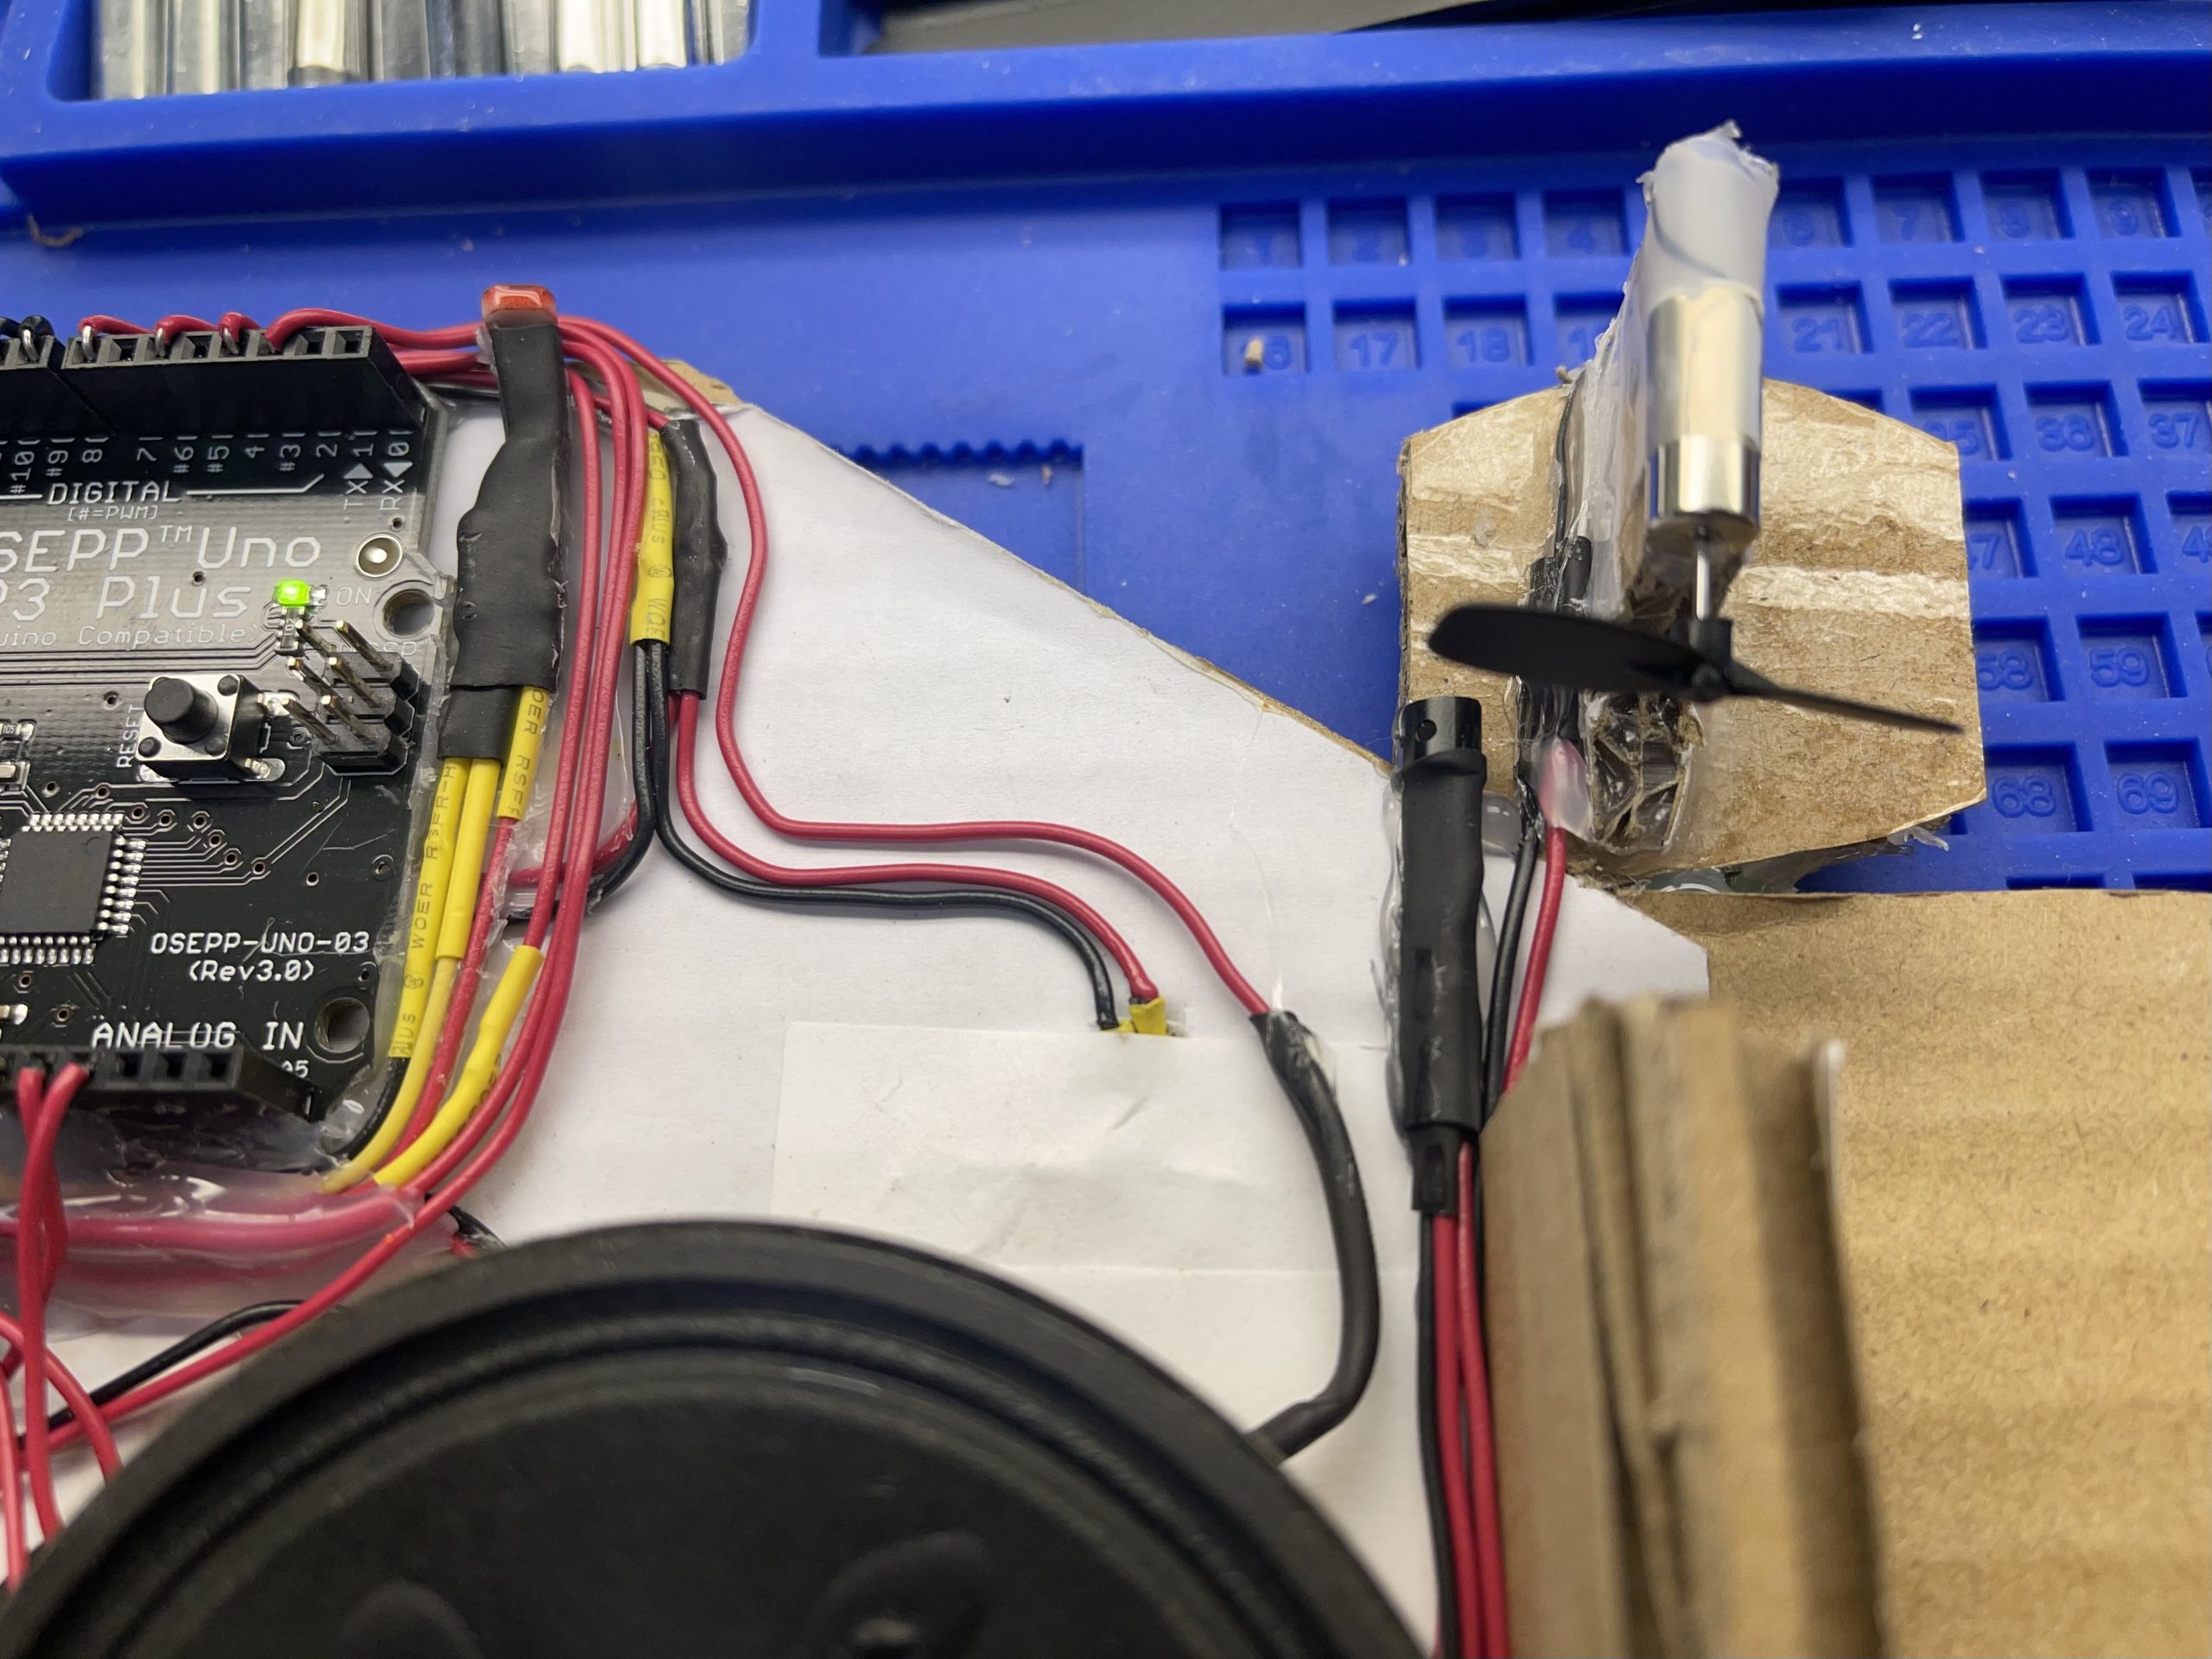
Build the motor mount and cut out the slot for the propeller.
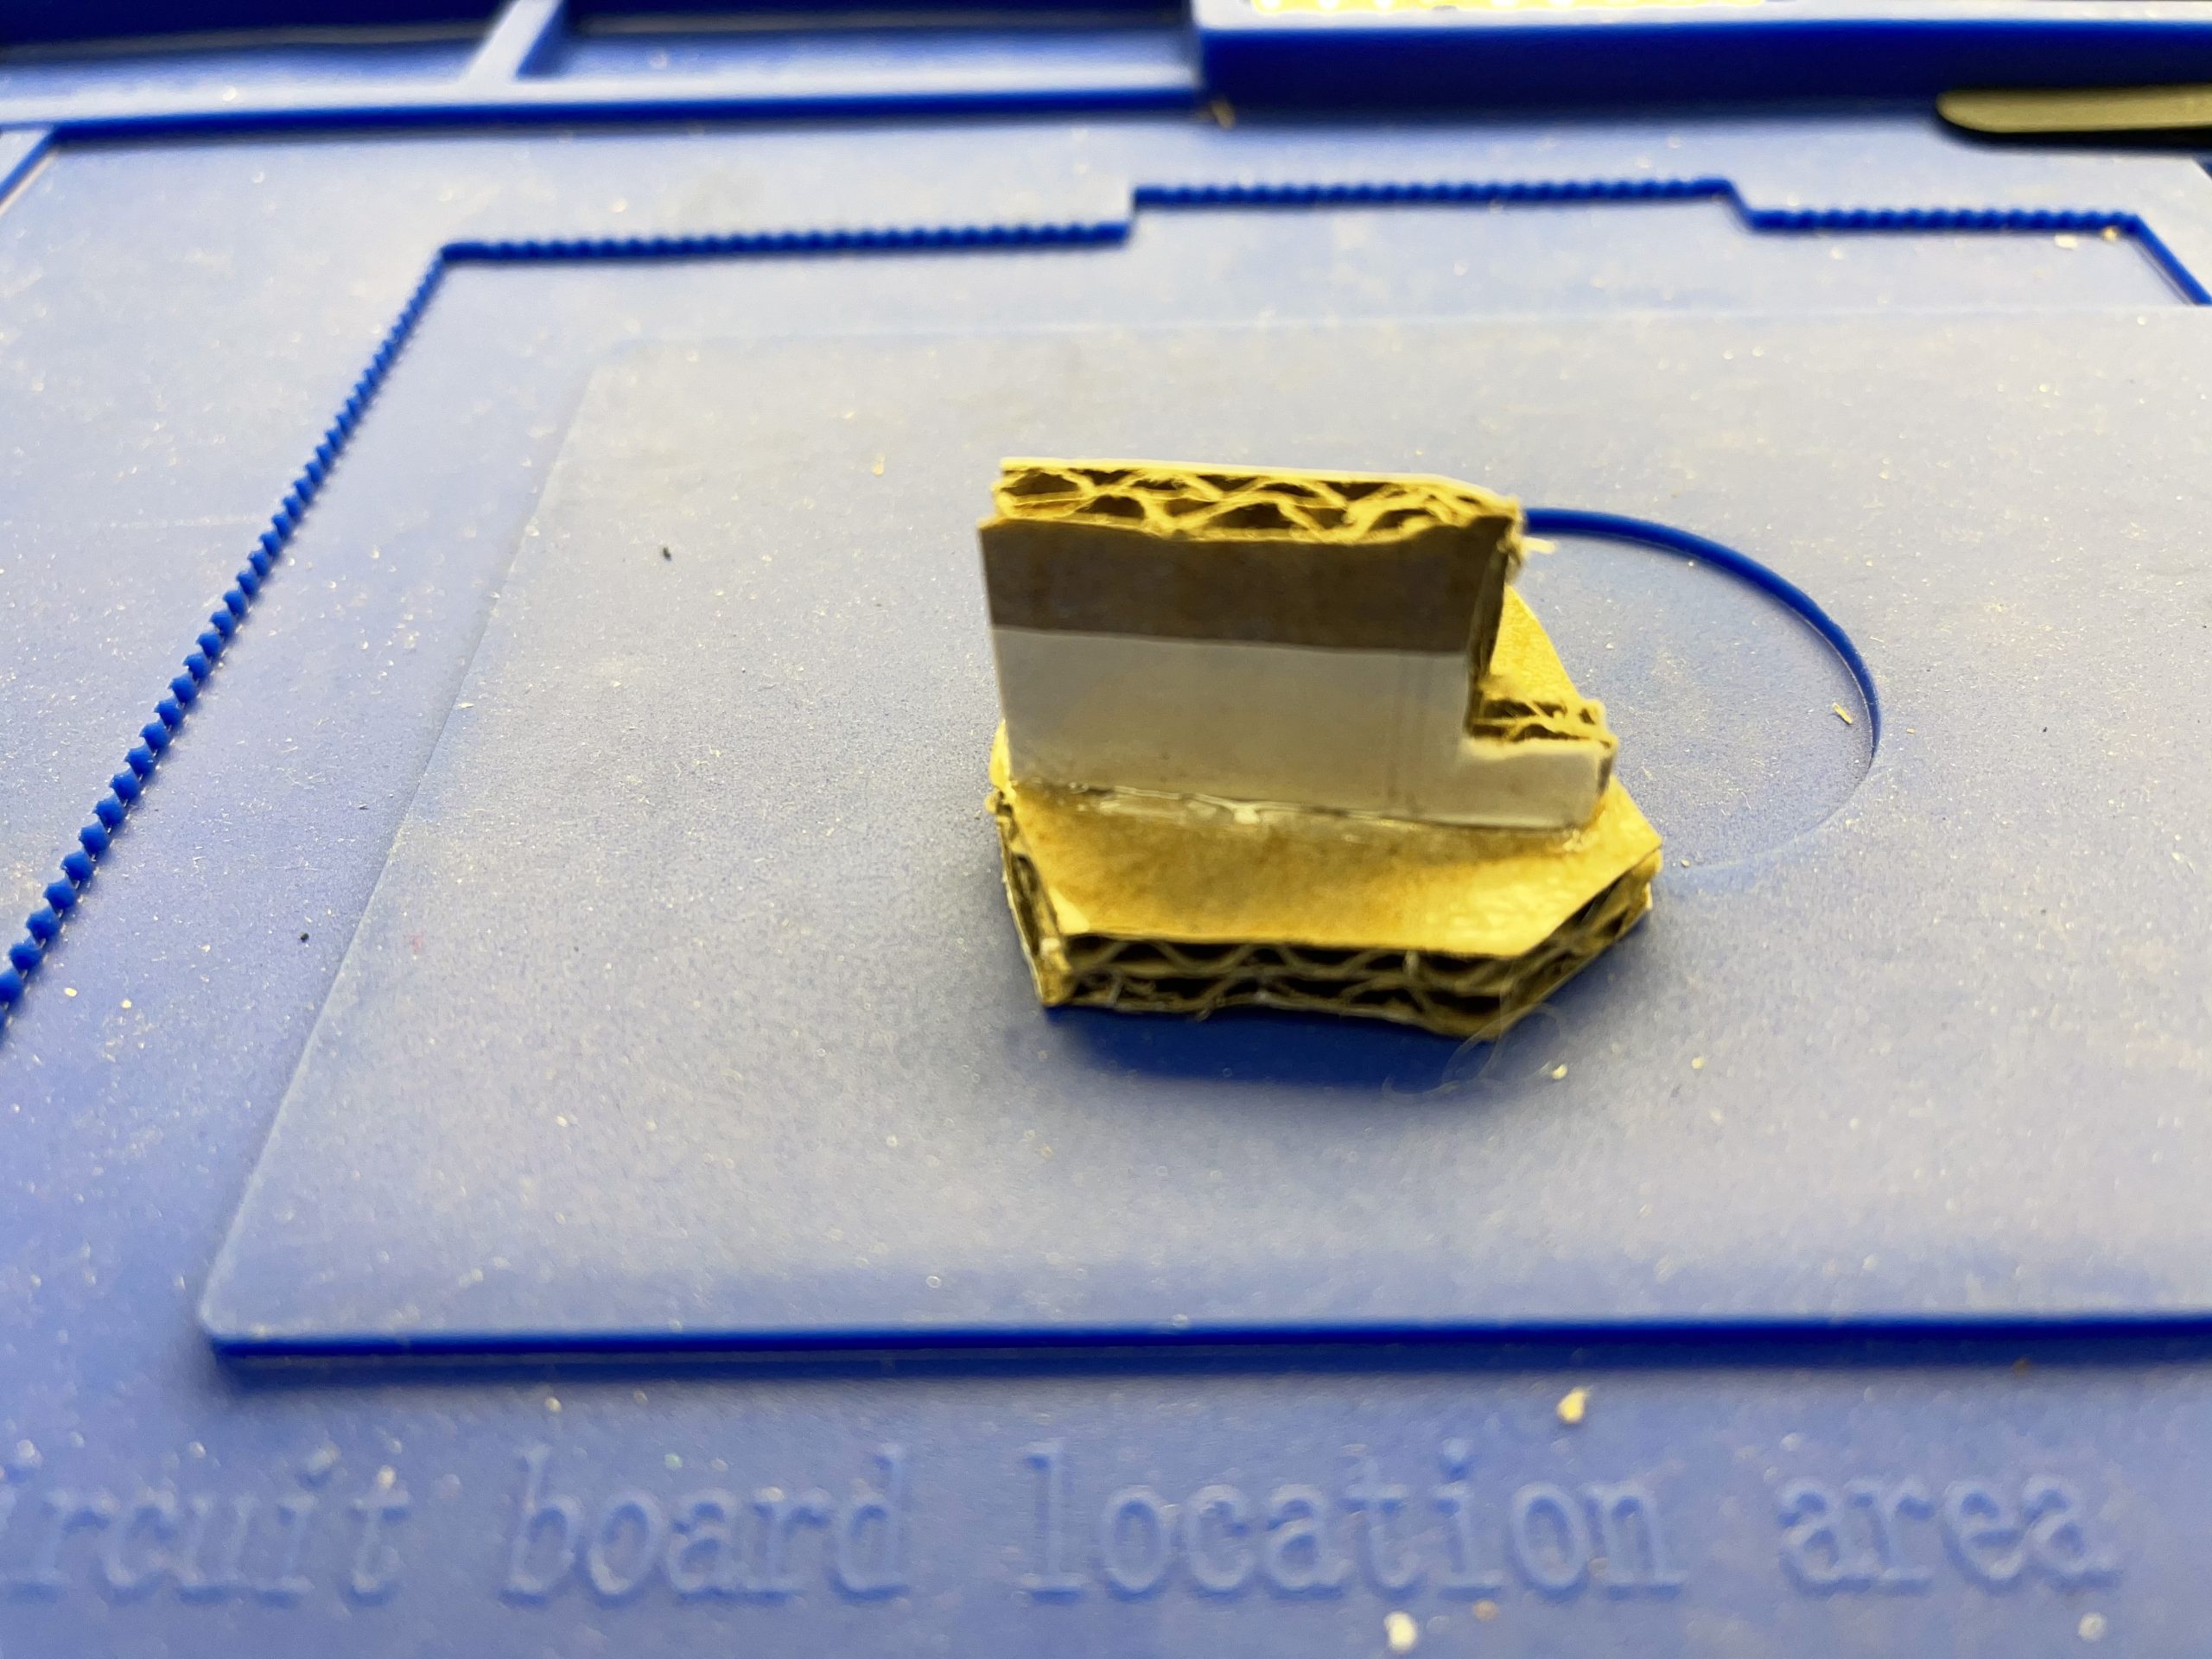
Glue the DC motor in place.
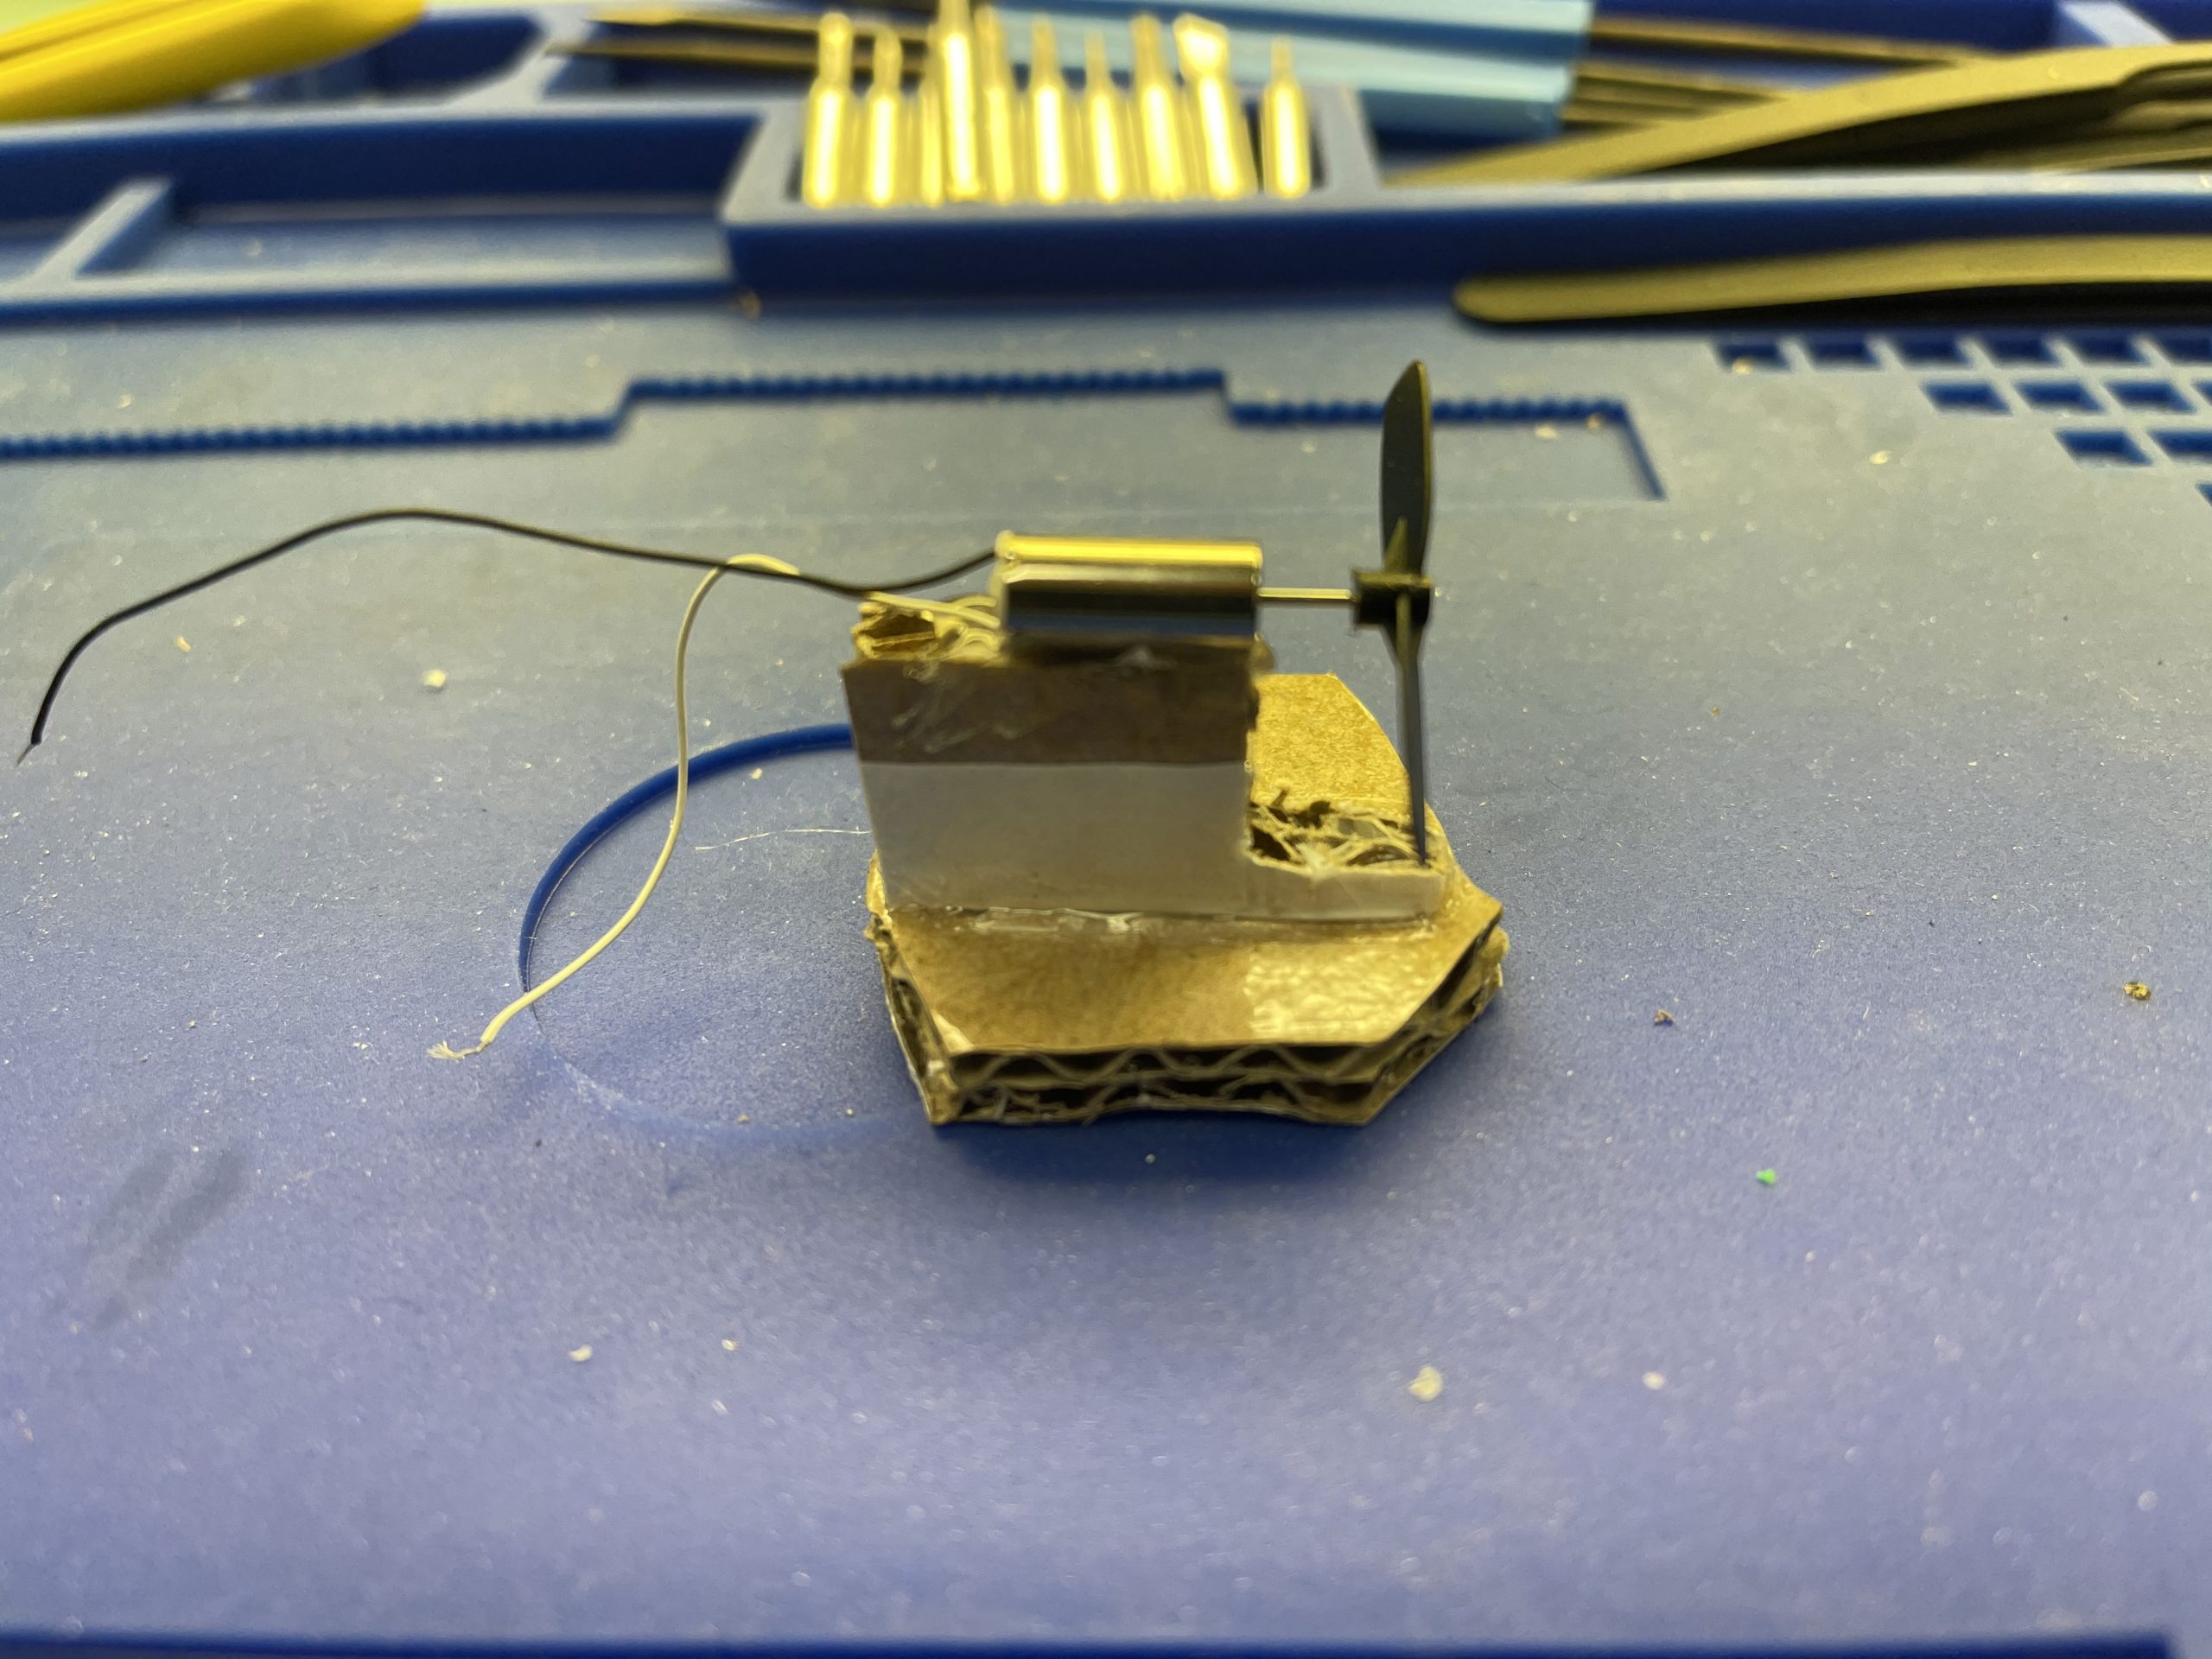
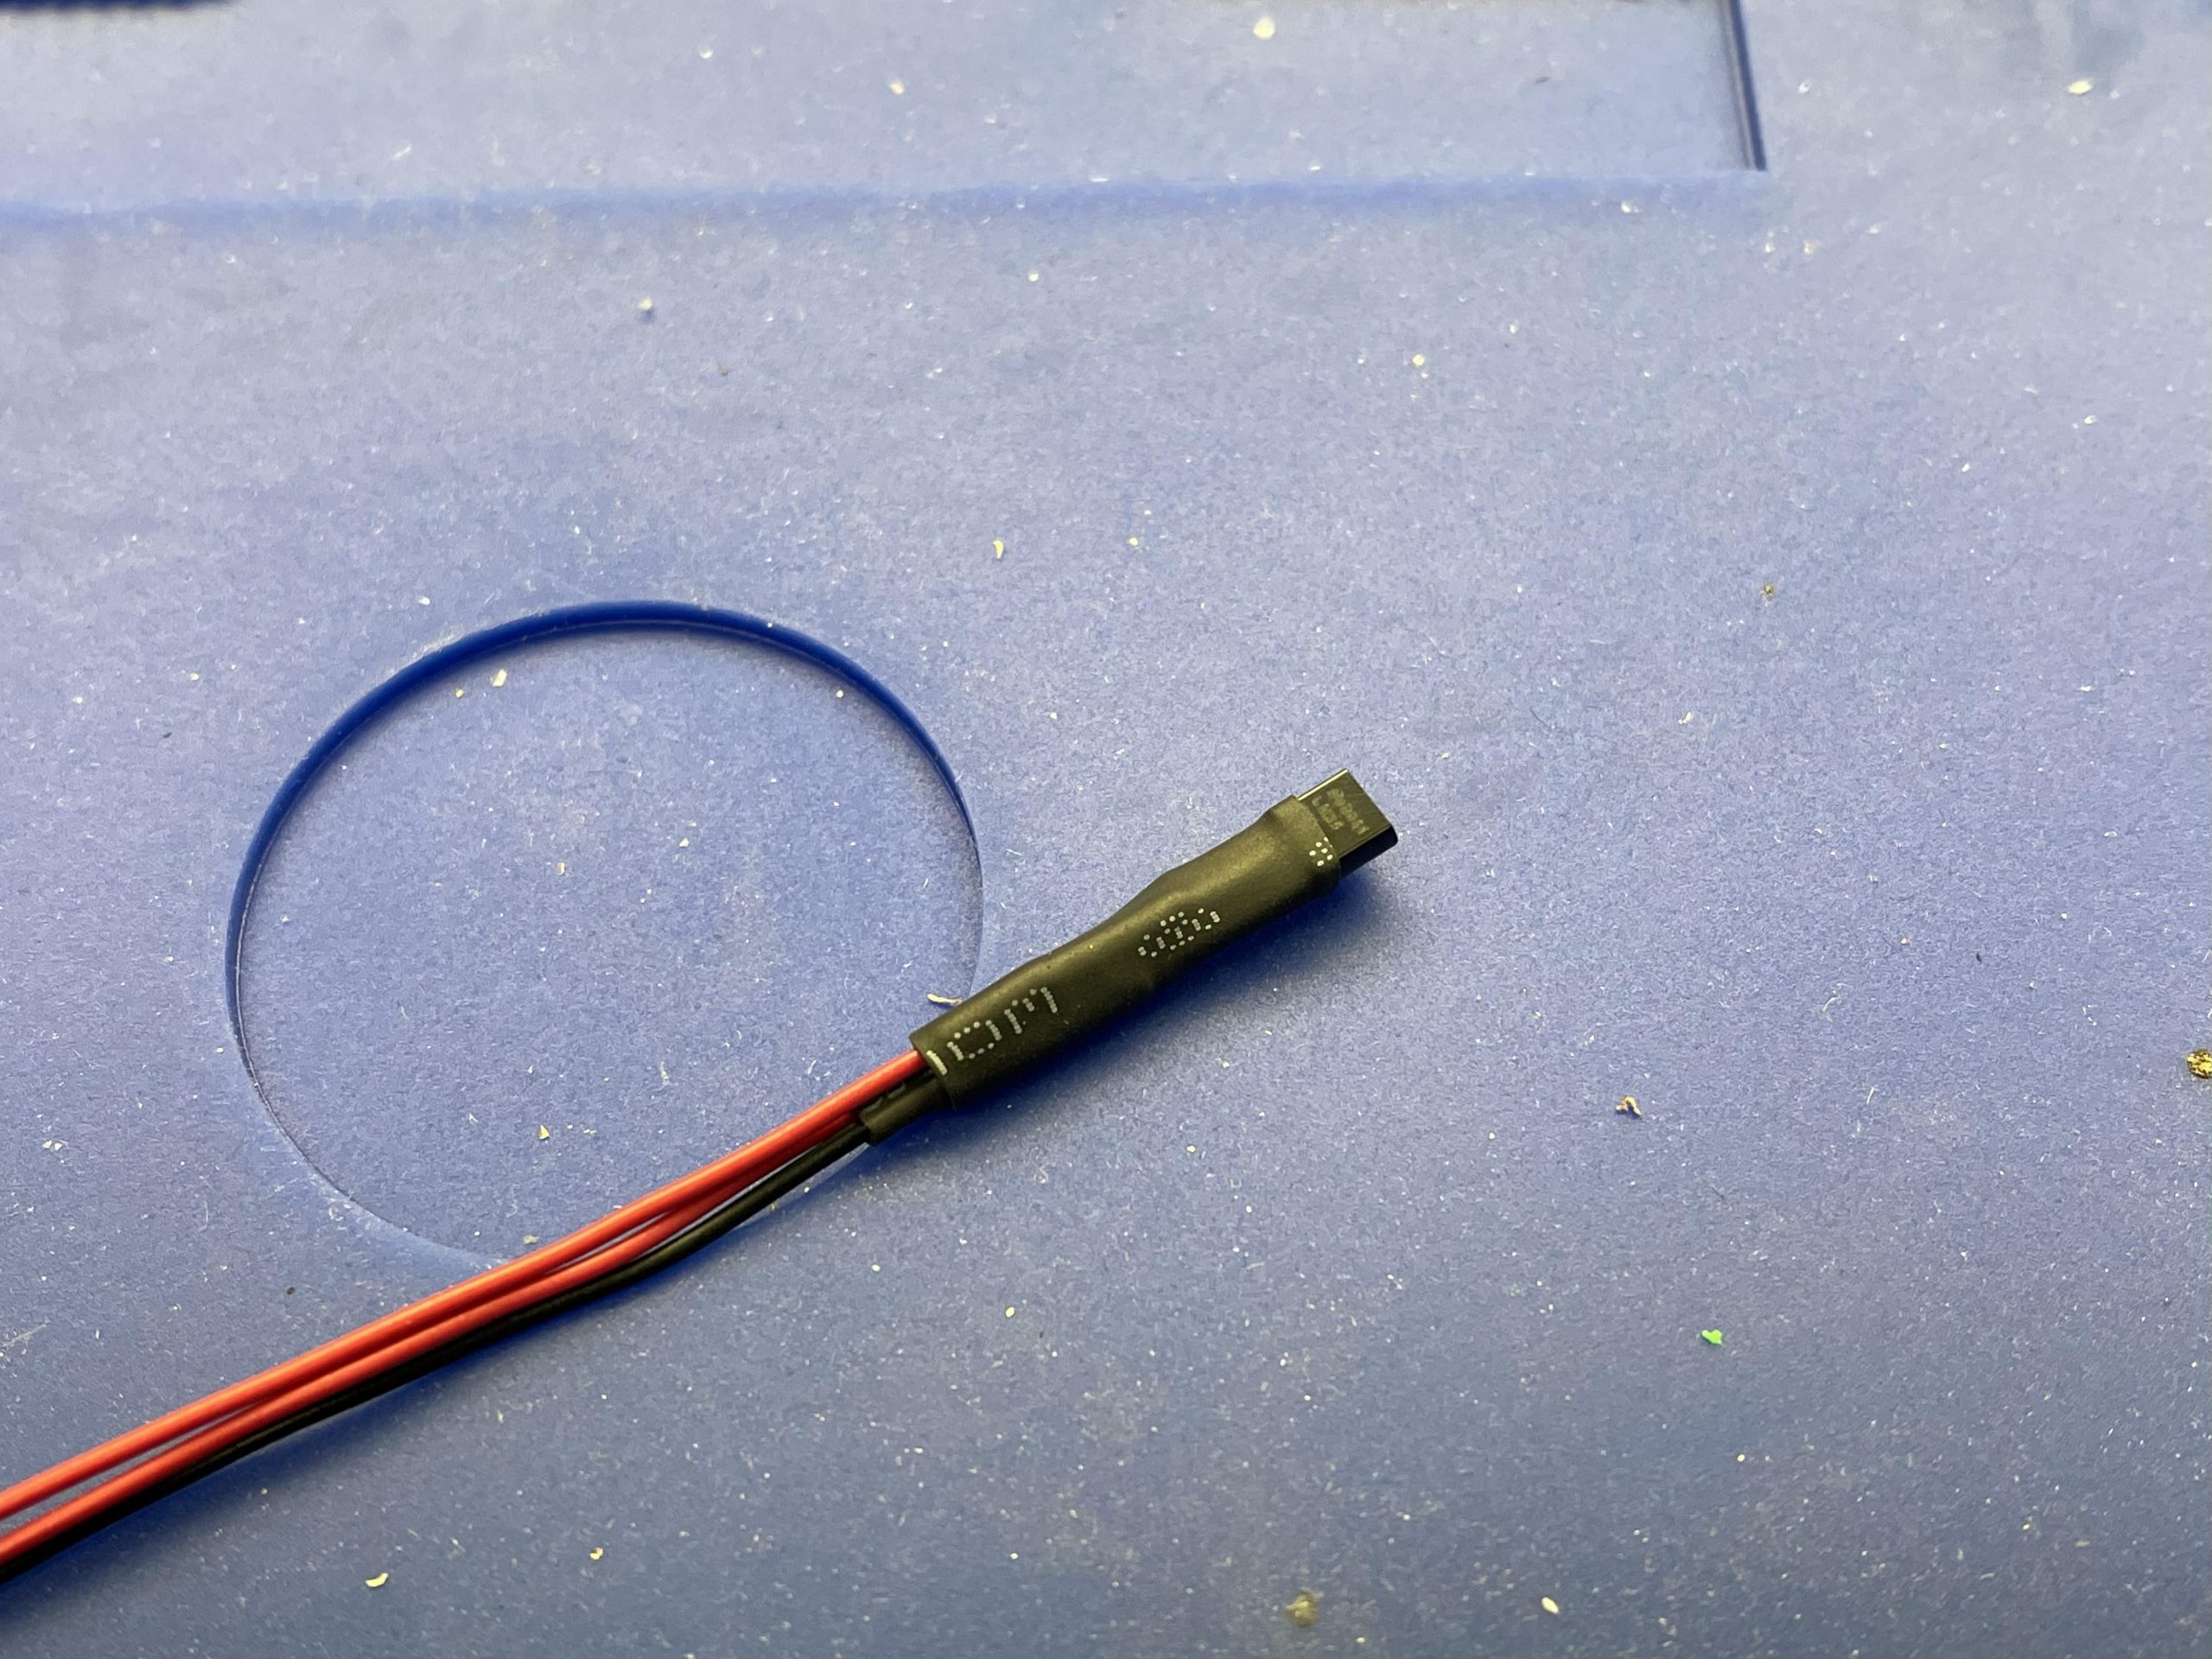
Solder the extension to the motor’s wires as shown in the picture below.
Solder the 3 signal wires to the Motor Driver Module.

Wiring Temperature Sensor
If you have the OSEPP handbook from the ARD-02 Arduino Basics Starter Kit, you can follow along on page 17.
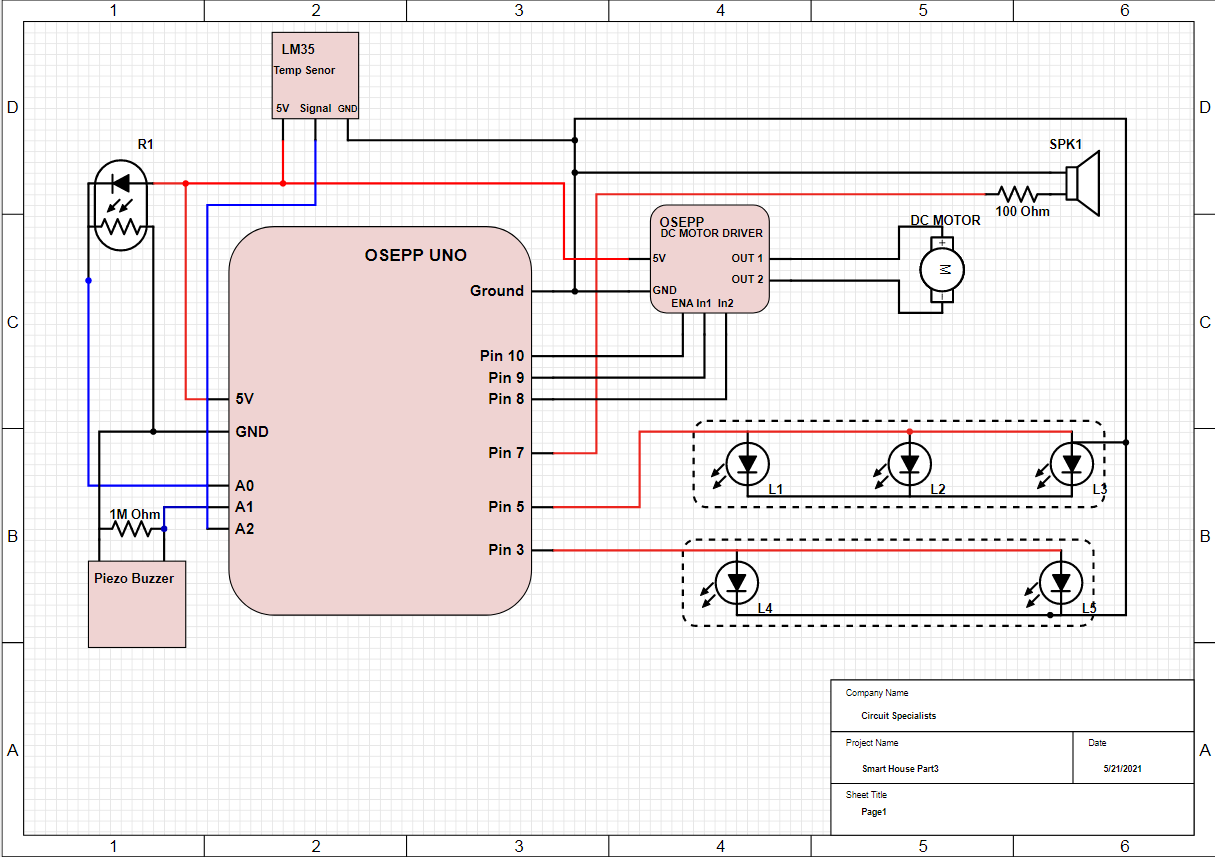
The LM35 is very user-friendly, just make sure the flat side facing you then the right pin is 5V, the left pin is 0V and, the middle pin is Signal.
I will attach a schematic below for reference.
Now, we need to make the temperature sensor compact for installation.
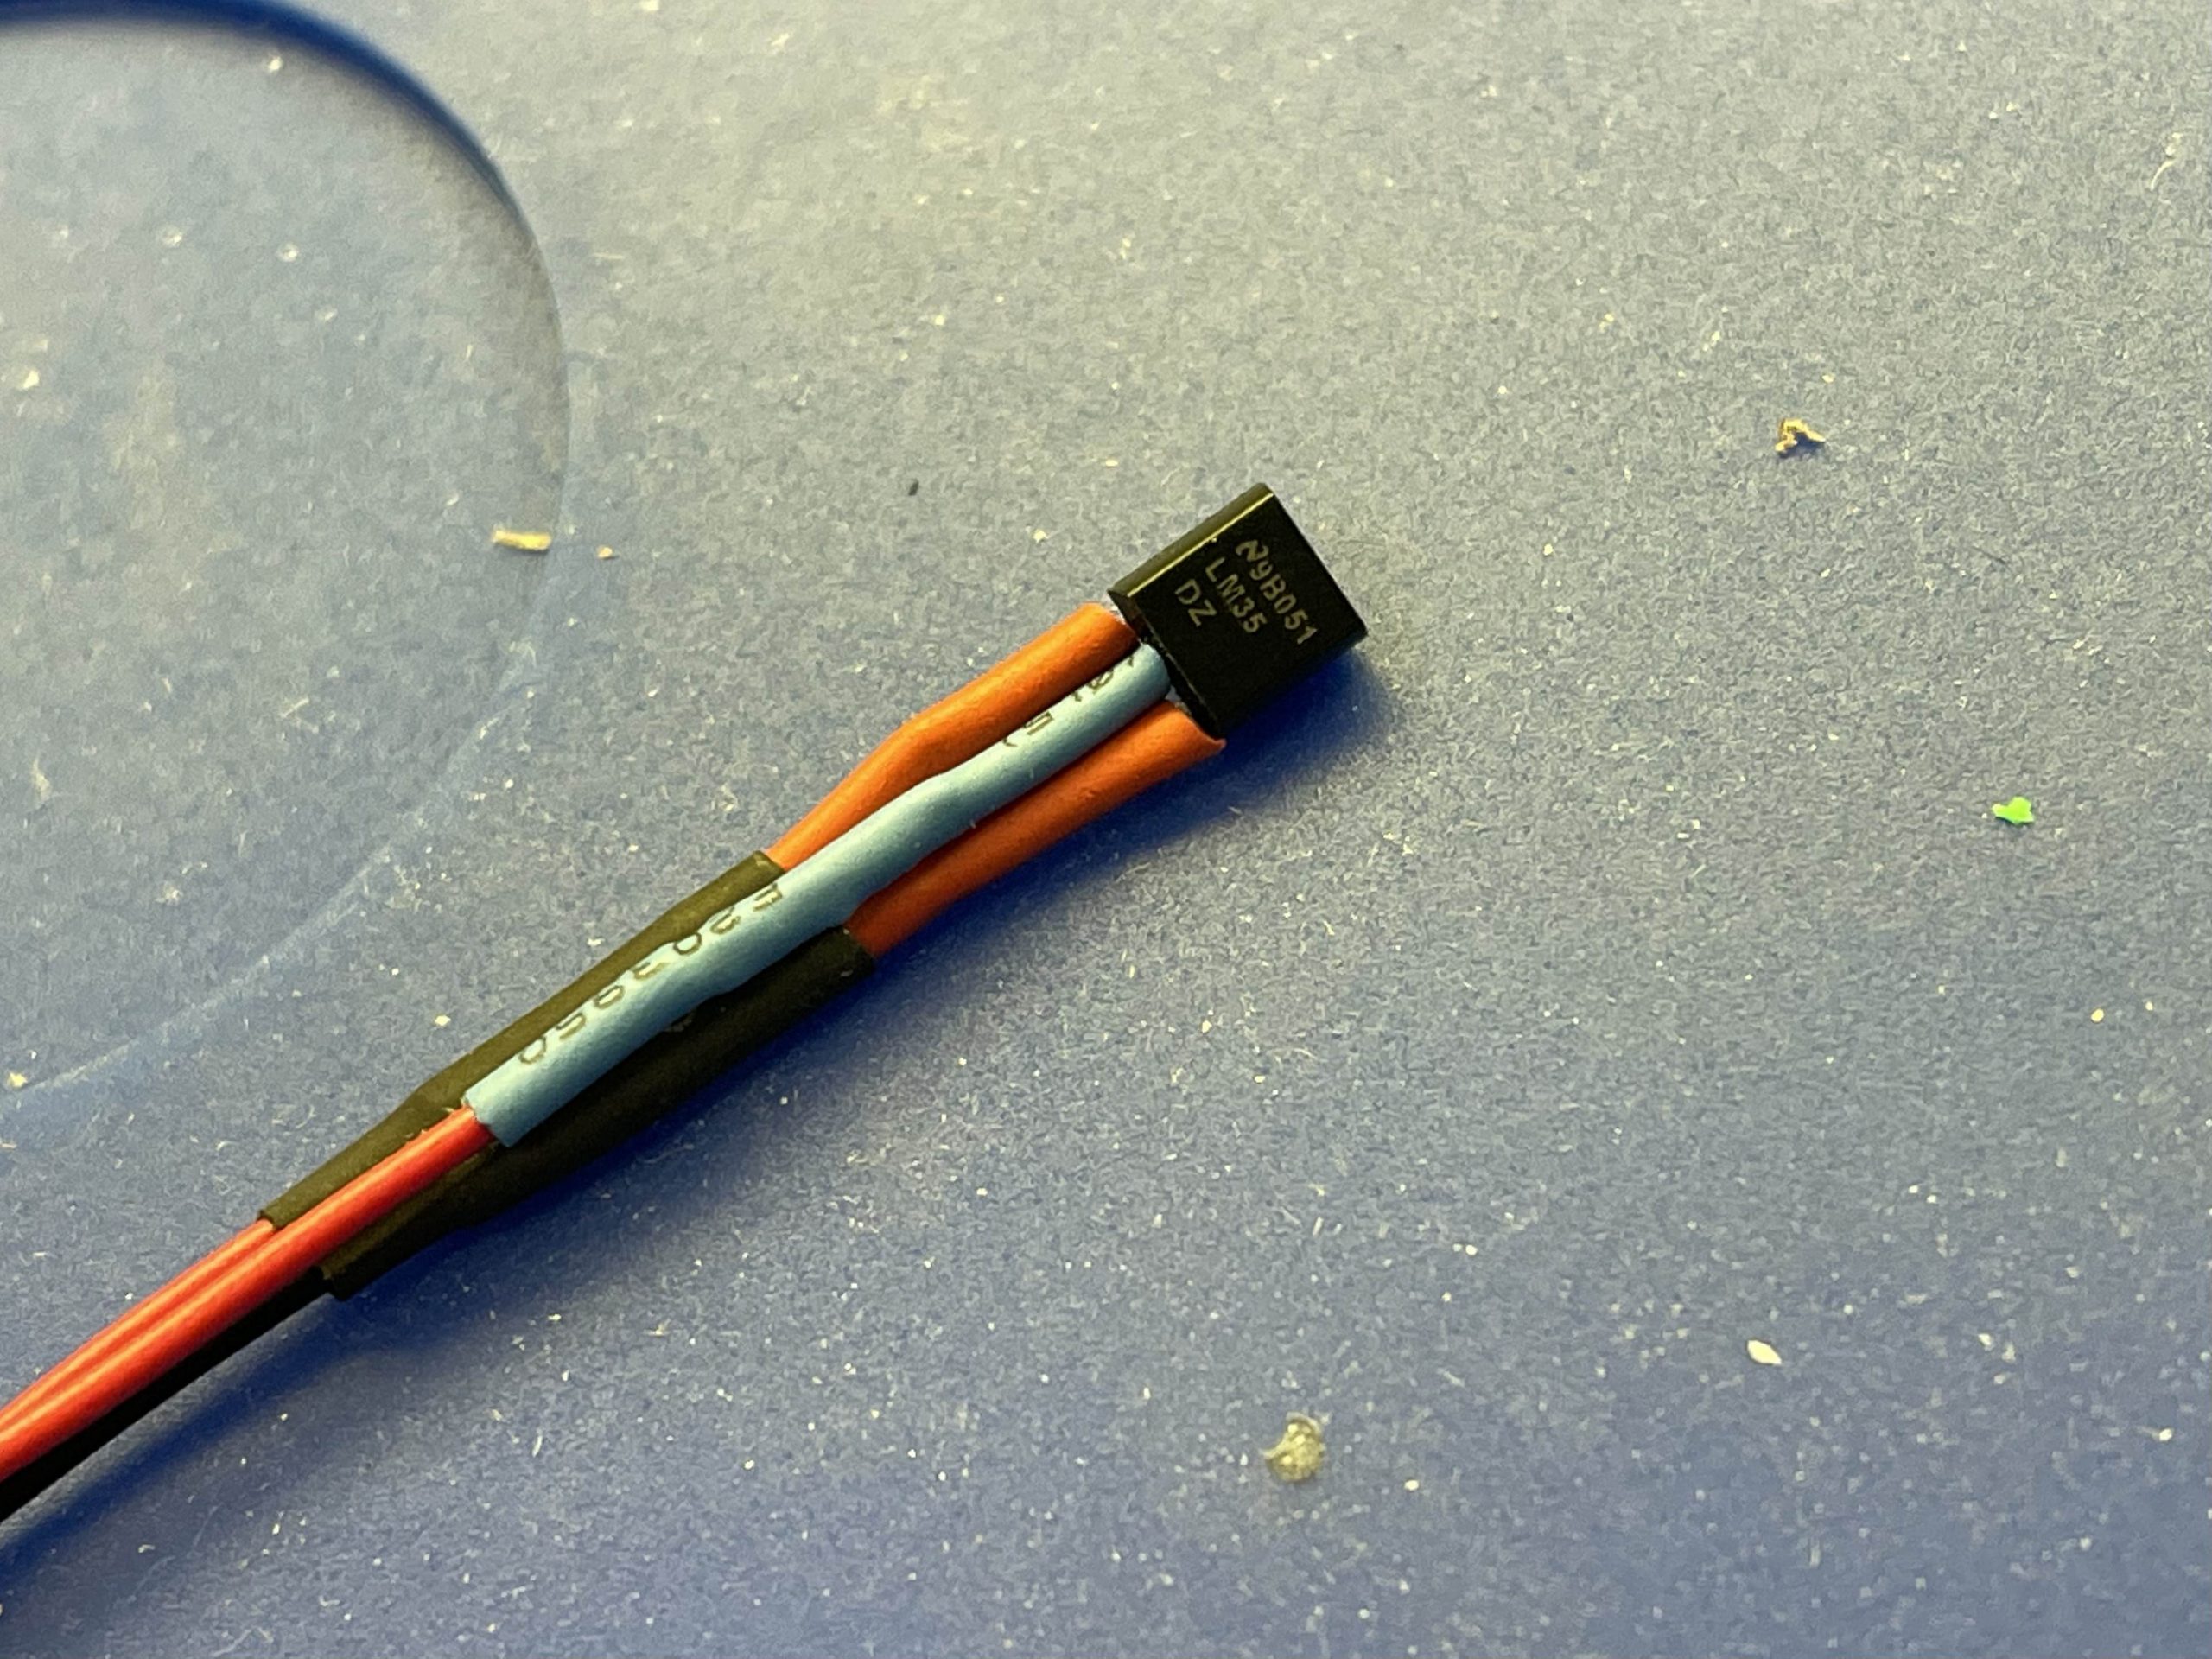
I used a heat shrink tube on an individual legs to increase the strength of the connection. Then I complete with another heat shrink on top, making sure you don’t cover the sensor.
The AC system and temperature sensor are ready to install. I want the temperature close to the fan so the wind that generates will cool the sensor down, this will simulate how the AC change according to the change in the temperature sensor.
The Code
First changes, this code block showing the new integer and the new lines in the void setup().
int IN1=8;
int IN2=9;
int ENA=10;


int analogValue;
float temperature;

void setup()
{
    // set up serial at 9600 baud
    Serial.begin(9600);
    pinMode(First_Floor_LED, OUTPUT);
    pinMode(Second_Floor_LED, OUTPUT);
    pinMode(Front_Door_LED, OUTPUT);
    pinMode(IN1,OUTPUT);
    pinMode(IN2,OUTPUT);
    WelcomeSong();
}
Another addition, this code block for reading the temperature and write it on the serial com.
void Read_Temp()
{
      analogValue = analogRead(lm35Pin);

    // convert the 10bit analog value to celcius
    temperature = float(analogValue) / 1023;
    temperature = temperature * 500;

    // print the temperature over serial
    Serial.print("Temp: ");
    Serial.print(temperature);
    Serial.println("C");
    delay(100);
}
Next, this code block for controlling the speed of the DC motor.
void AirCondition(int speedR)
{
 analogWrite(ENA, speedR);// motor speed
 digitalWrite(IN2,LOW);// rotate forward
 digitalWrite(IN1,HIGH);
 delay(500);
}
The full code
//Project: Smart House 05/20/2021

// include our list of note pitches

#include "pitches.h"

int Front_Door_LED = 2 ;
int First_Floor_LED = 3;
int Second_Floor_LED = 5;

int IN1=8;
int IN2=9;
int ENA=10;

// the photocell voltage divider pin
int photocellPin = A0;
int piezoPin = A1;
int lm35Pin = A2;

// the pin the speaker is attached to
int speakerPin = 7;


const int sensorMin = 0;
// sensor maximum, discovered through experiment
const int sensorMax = 800;
const int threshold = 10;

// the notes in our melody and their duration in fractions of a second
// e.g. quarter note = 4, eighth note = 8, etc.
const int melody[][2] =
{
    {NOTE_C4, 4},
    {NOTE_G3, 8},
    {NOTE_G3, 8},
    {NOTE_A3, 4},
    {NOTE_G3, 4},
    {NOTE_BLANK, 4},
    {NOTE_B3, 4},
    {NOTE_C4, 4}
};

    int analogValue;
    float temperature;


void setup()
{
    // set up serial at 9600 baud
    Serial.begin(9600);
    pinMode(First_Floor_LED, OUTPUT);
    pinMode(Second_Floor_LED, OUTPUT);
    pinMode(Front_Door_LED, OUTPUT);
    pinMode(IN1,OUTPUT);
    pinMode(IN2,OUTPUT);
    WelcomeSong();
}

void loop()
{
 //LightSensor();
 //Alarm_System();
 Read_Temp();
 if (temperature >27)
 {
 AirCondition(100);
 }
 if(temperature <=27q)
 {
  AirCondition(0);
}

}
void AirCondition(int speedR)
{
 analogWrite(ENA, speedR);// motor speed
 digitalWrite(IN2,LOW);// rotate forward
 digitalWrite(IN1,HIGH);
 delay(500);
}
void Read_Temp()
{
      analogValue = analogRead(lm35Pin);

    // convert the 10bit analog value to celcius
    temperature = float(analogValue) / 1023;
    temperature = temperature * 500;

    // print the temperature over serial
    Serial.print("Temp: ");
    Serial.print(temperature);
    Serial.println("C");
    delay(100);
}
void Alarm_System()
{
   int analogValue;

    // read the sensor and store it in the variable sensorReading:
    analogValue = analogRead(piezoPin);

    Serial.print ("Soud= ");Serial.println(analogValue);

    // if the sensor reading is greater than the threshold:
    if (analogValue > threshold)
    {
        // send the string "Knock!" back to the computer, followed by newline
        //Serial.println("Knock!");
    for(int i = 0; i<10; i++)
    {
    alarm_sound();
    LightControl(5);
    delay(10);
    }

    }
        digitalWrite(First_Floor_LED, LOW);
        digitalWrite(Second_Floor_LED, LOW);
    // delay to avoid overloading the serial port buffer
    delay(10);
}
void alarm_sound()
{
         // figure out the number of notes in our melody
    int numberOfNotes = sizeof(melody) / sizeof(melody[0]);

    // iterate over the notes of the melody
    for (int thisNote = 0; thisNote < numberOfNotes; thisNote++)
    {
        // grab our note and note duration from our array
        int thisNoteTone = melody[thisNote][0];
        int thisNoteDuration = melody[thisNote][1];

        // to calculate the note duration in ms
        int noteDurationMS = 100 / thisNoteDuration;

        // play the note
        tone(speakerPin, thisNoteTone, noteDurationMS);

        // to distinguish the notes, set a minimum time between them.
        // the note's duration + 30% seems to work well:
        delay(noteDurationMS * 1.30);
    }
}

int WelcomeSong()
{
    int numberOfNotes = sizeof(melody) / sizeof(melody[0]);
    for (int thisNote = 0; thisNote < numberOfNotes; thisNote++)
    {
        int thisNoteTone = melody[thisNote][0];
        int thisNoteDuration = melody[thisNote][1];
        int noteDurationMS = 1000 / thisNoteDuration;
        // play the note
        tone(speakerPin, thisNoteTone, noteDurationMS);
        delay(noteDurationMS * 1.30);
    }
}

void LightSensor()
{
     int analogValue;
    int range;

analogValue = analogRead(photocellPin);
Serial.print("photocellPin= ");Serial.println(analogValue);

range = map(analogValue, sensorMin, sensorMax, 0, 3);

// do something different depending on the
// range value
switch (range)
{
    // Dark turn on the light
    case 0:
        Serial.println("dark");
        LightControl(5);
//        digitalWrite(First_Floor_LED, HIGH);
//        digitalWrite(Second_Floor_LED, HIGH);
        break;
    // Dim turn on the light
    case 1:
        Serial.println("dim");
        LightControl(5);
//        digitalWrite(First_Floor_LED, HIGH);
//        digitalWrite(Second_Floor_LED, HIGH);
        break;
    // Medium turn off the ligh
    case 2:
        Serial.println("medium");
        LightControl(0);
//        digitalWrite(First_Floor_LED, LOW);
//        digitalWrite(Second_Floor_LED, LOW);
        break;
    // Bright Turn off the ligh
    case 3:
        Serial.println("bright");
        LightControl(0);
//        digitalWrite(First_Floor_LED, LOW);
//        digitalWrite(Second_Floor_LED, LOW);
        break;
}

// wait 0.25s before reading the photocell again
delay(25);
}

void LightControl(int LightLevel)
{
  int Light = map(LightLevel,0,5,0,250);

    analogWrite(First_Floor_LED, Light);
    analogWrite(Second_Floor_LED,Light);
    analogWrite(Front_Door_LED,Light);


}
Conclusion
The Smart House of the future not only provides the occupants with comfort, security, and convenience but also operates with the surrounding environment. With solar energy becoming more and more accessible, a power management system will be a crucial part of the Smart House of the future, where it representing the House Health Status. In the final chapter of the Smart House series project, we will add some more motion control such as controlling the servo motor. A Smart House should be able to recognize its owner where it should be able to open the garage door when the occupant’s vehicle is in the parkway. We can use a servo motor to demonstrate this idea in the next Smart House project.