
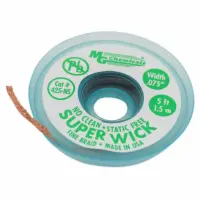
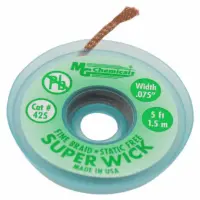
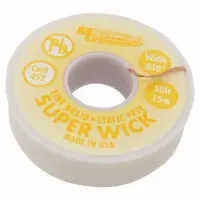
Desoldering Braid
Filters
Filters
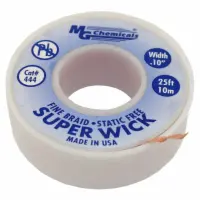
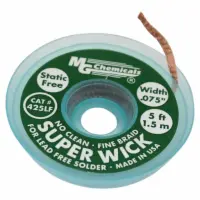
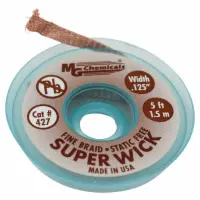
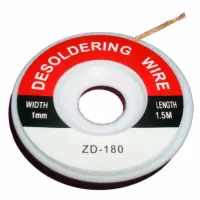

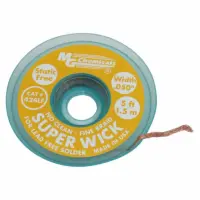
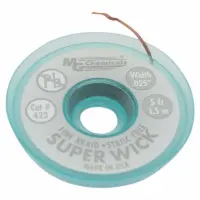
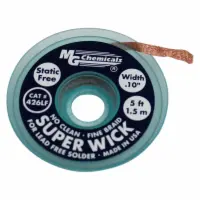
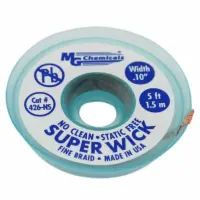
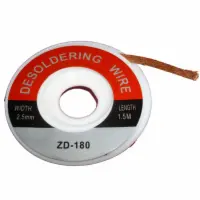
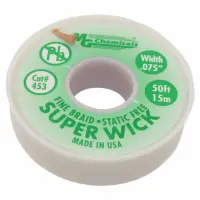
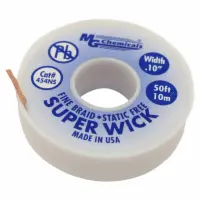
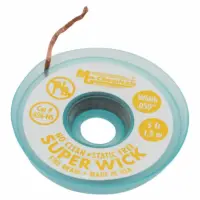
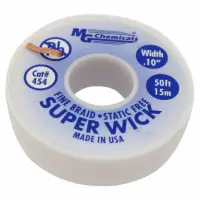
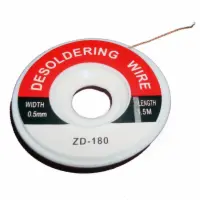
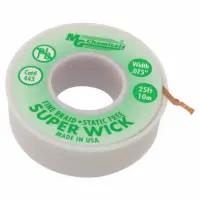
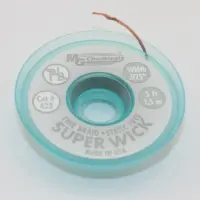
Browse affordable desoldering braids, also called solder wicks or desoldering wicks, in different sizes in rolls up to fifty feet. Our desoldering wicks remove both traditional leaded and lead-free solder and feature pure, oxide-free copper braid construction.
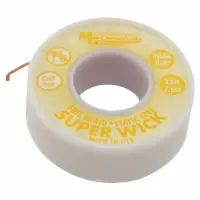
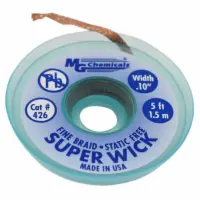
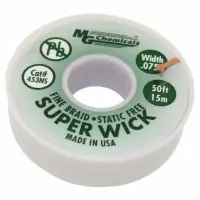
Circuit Specialists' super wick desoldering braid is designed to leave an environmentally-safe residue. No-clean and static-free desoldering braid available.
What Is a Solder Wick?
A solder wick is a braided copper wire that can be used to remove excess solder from a PCB’s surface. When solder is melted or liquified near the desoldering braid, the solder naturally wicks into the braided copper material through capillary action.
Soldering wicks are one of the most affordable and effective forms of fixing solder bridges or removing poor solder joints and excess solder from printed circuit boards (PCBs).
Desoldering braids come in various sizes, depending on the amount of solder that needs to be removed and are usually coated in flux.
Solder wicks may also be called a desoldering wick, soldering wick, or desoldering braid.
How Does a Solder Wick Work?
Desoldering braids are made out of thin copper statins. When the braided material it is heated up, it absorbs the solder through the natural process of capillary action. Here’s how it works:
The end of the desoldering wick is placed over the unwanted solder. Then, the soldering iron tip is placed on top of the braid, heating and melting the solder just below the braided copper wire. The melted solder naturally “wicks” into the desoldering braid through capillary action. Additional flux or solder might be used to facilitate the desoldering process.
How to Use a Solder Wick
To desolder using your soldering wick, you’ll need the following materials:
- Solder wick
- Soldering Iron
- Wire cutters (to trim solder wick)
- Extra flux (if needed)
- Extra solder (if needed)
- Prep your workspace. Set up your soldering work station as you would before any project, putting out your smoke absorber and plugging in and heating your soldering iron. Don’t forget to tin your iron tip!
- Place the solder wick over the unwanted solder. Carefully unroll a few inches of the wick and layer over solder you wish to remove. Try to use a soldering wick size similar to the size of the solder you’ll be wicking away.
- Gently place the heated iron tip over the wick. The heat from the iron tip will cause the solder to melt. Hold the iron and count to 2 as the liquified solder wicks into the braid.
- Remove and trim solder wick. After a couple seconds of wicking the solder, remove the iron tip and desoldering braid from the PCB. Wait for the solder to harden on the soldering wick and then trim off the used braided wick.
- Repeat as needed. Continue to use the desoldering braid until all of the solder you wish to remove is gone. Use additional solder flux for better results picking up solder. You can also add a little extra solder around the solder you wish to remove—sometimes, the solder wicks better if there’s a little more around it.
- Remove excess flux. As you would after any project involving flux, be sure to use flux remover to clean any excess flux residue. Some soldering wicks come with no-clean flux, so you might be able to skip this step.
The final step: Revel in your success! Even if the desoldering didn’t quite go as planned, take a moment to admire (or learn from) your work. Desoldering can be a tricky process, even for seasoned solderers.
Keep practicing and learning what works and doesn’t work. If you’re having trouble picking up all the solder, the next section can give a few tips.
Solder Wick Not Working—Now What?
Add more flux. Most soldering wicks come pre-fluxed (and unless you have a good reason not to, we highly recommend only using fluxed wicks!). However, a little extra liquid flux can improve the wicking effect of the desoldering braid, especially if you’re using older solder wicks where the flux coating might have worn down or the wire was contaminated with other substances.
Add extra solder. Sometimes “wetting” the area with a little extra solder can help along the capillary action of the solder you’re trying to remove. Use lead solder, which melts at much lower temperatures, among other advantages.
Turn up the heat. The iron may not be hot enough to liquify the solder. If removing lead-free solder, keep in mind that unleaded solders usually require temperatures over 217°C or 422°F to melt, and even then there’s usually a small window of plasticity between solid and liquid states where the solder might have trouble wicking because it's not completely melted.
Use a different size desoldering braid. Soldering wicks can come in sizes ranging from 1.5mm to 2.0mm. Try to use a size that’s roughly the same size as the solder joint you’re working on.
Try a different soldering iron tip. The problem might not be the braided copper, but the soldering iron you’re using to heat it. Consider using a wide-bladed hoof or chisel iron tip, which can quickly distribute heat—the larger the iron tip, the better. Don’t forget to tin the iron!
Keep practicing! It can take a few tries to get used to desoldering with a solder wick.
Try another desoldering tool. Some desoldering projects require a slightly different approach than what a desoldering braid can offer. The following section will touch on a few other desoldering tools you can use instead (or in tandem) with desoldering wicks.
Other Desoldering Tools
The following desoldering tools can also remove solder:
Hot Air Rework Stations use incredibly hot air, usually dispersed via an attached heat gun or hot air wand, to heat, melt, and remove solder. Hot air rework stations offer the added bonus of being able to both desolder and solder SMDs. Hot air stations are ideal for people who plan to desolder PCBs on a regular basis, particularly if you plan on reworking or resoldering immediately after.
Desoldering Stations tend to be less expensive and more compact in size compared to hot air rework stations. The stations use a desoldering gun, which heat and melts solder and then uses vacuum suction to remove the molten solder. Unlike hot air rework stations, desoldering guns can only remove solder—it can’t be used to rework or solder components after the fact. A separate iron must be used.
Solder Suckers, formally called a desoldering pump, are ideal for smaller desoldering jobs. A soldering iron is used to melt the unwanted solder, and then the solder sucker uses vacuum suction to suck up the solder. While lightweight and affordable, solder suckers can be a bit clunky to work with, especially if you have to wield a separate soldering iron to heat the solder. Powered soldering pumps, which both heat and remove the solder, are a nice middle ground between cheaper solder suckers and more expensive desoldering stations.
FAQ
Are you supposed to cut off the solder wick before or after you use it?
Solder wicks should be trimmed after each use so that any used portions of the braided copper aren’t accidentally used to desolder again. Whether before or after your desoldering project, promptly cut used solder wicks from the spool.
Can you use solder wick without flux?
Flux improves the wettability of melted solder while also deoxidizing surfaces for better conductivity. Just as you can choose to use flux-free solder (which we don’t recommend!), you can forgo using pre-fluxed solder wicks; you’ll just need to use separate liquid solder to keep surfaces free of oxides and help the solder flow.
Can you desolder without solder wicks?
Along with solder wicks, you can remove solder using a desoldering station, hot air rework station (or a heat gun designed for desoldering), or solder sucker. Soldering wicks tends to be the easiest and more affordable option compared to hot air or desoldering stations.
What is desoldering braid made of?
Desoldering braids or solder wicks are made from braided copper wire coated in rosin flux.