
Soldering Irons
Filters
Filters


Browse Circuit Specialists for an electric soldering iron or a gas soldering iron. These are available with variable temperature control and thermal balancing. You can also shop cordless soldering irons and our premiere soldering stations if you’re looking for a little more functionality.
Don't forget that with your purchase of soldering irons, if your order is over $50 you are eligible for a free gift!
What is a Soldering Iron?
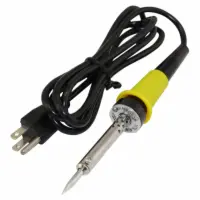
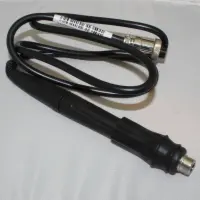
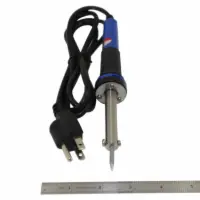
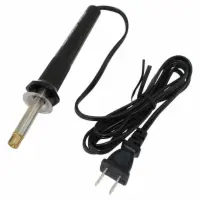
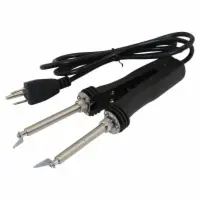
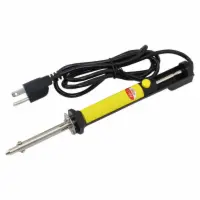
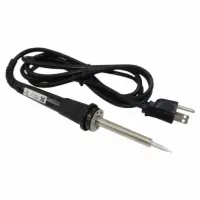
A soldering iron is a hand tool that supplies heat to melt solder. The wand-shaped tool has a metal tip and a heat-resistant handle to protect the user from high temperatures.
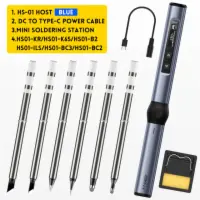
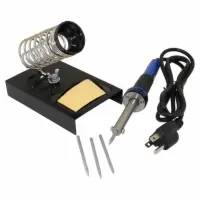
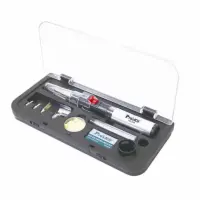
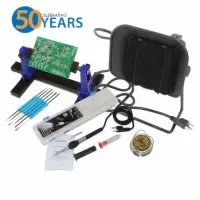
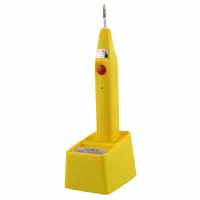
Soldering irons can come both corded or cordless, and some soldering irons include temperature control. A typical soldering iron kit will also include a soldering stand for convenience and safety reasons.
What is a Soldering Iron used for?
Soldering is used for a variety of applications, such as PCB assembly, soldering pipes in plumbing or creating permanent connections between electronic components and PCB boards (electronics soldering).
Soldering irons are also used to help create stained glass, and some artists have found unique ways to sculpt solder into a unique artform.
Soldering Irons vs. Soldering Gun Vs. Soldering Station
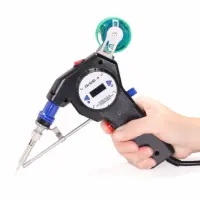
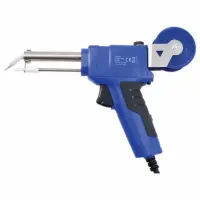
The difference between soldering irons and soldering gun might appear slight, but both have unique advantages and disadvantages. You might first notice a difference in appearance: while soldering irons are long and wand-like, soldering guns resemble a pistol.
Soldering guns typically have more power than soldering irons and are useful for both heavy electrical connections as well as metal work requiring a lighter touch.
One disadvantage of using a soldering gun is that the copper wire loop that forms the gun’s tip gradually dissolves and must be replaced frequently. Soldering guns are also heavier than irons, potentially causing strain and limiting your ability to solder cleanly.
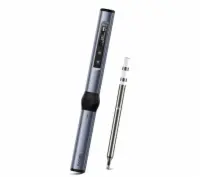
Soldering irons are much lighter than guns, making them easier to work with — especially over long periods. A soldering iron provides flexibility in that there are a wide variety of sizes to choose from; small irons are best for light electronics projects while larger irons are better for heavy-duty jobs.
Soldering irons, however, are less effective when working on heavier jobs because irons have less voltage than soldering guns, making them more appropriate for light, low-power jobs.
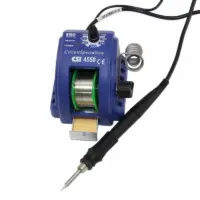
Soldering station provides the necessary power to the soldering iron according to the actual temperature of the soldering iron. This will ensure that the soldering iron temperature would be stable and consistent with the setting during operation.
Furthermore, an advanced soldering station also provides setting memories, sleep mode, and other features.
How to Choose a Soldering Iron
Your soldering iron might come with a few bells and whistles (like an automatic solder wire feeder or iron tip cleaner), but the most important features to consider before your purchase are the soldering iron’s wattage, voltage, temperature control, and overall size.
Wattage
A standard soldering iron with no temperature control uses about 30 to 60 watts, an ideal wattage for most soldering projects. If you’re working on more delicate projects, like PCB boards, you might want to invest in a more expensive soldering station with temperature hold and control.
Voltage
The standard voltage output in the United States is 120V AC (in the UK, it’s 230V AC). Usually, you can still use 230V soldering irons on lower voltages like 120V, but it may take longer to heat up or not reach higher temperatures and is not recommended for a soldering station.
Temperature Control
Traditional soldering irons have no temperature control but instead rely on air cooling to regulate temperature.
However, it’s worth investing in a soldering iron with temperature control, like the Premiere 3-Channel Programable Soldering Iron Station, which offers more temperature precision and often better results. This iron also happens to have three user-set heat settings so you can save your preferred temperature for later.
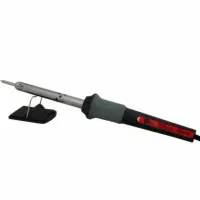
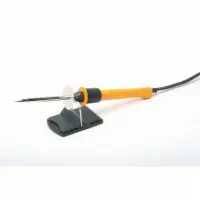
Size and Shape
Soldering irons are roughly the size and shape of a screwdriver. However, your soldering iron kit as a whole might be larger if it includes a station for temperature control (and other features) or a built-in soldering wire feeder.
Most importantly, you’ll want to pay attention to the most are the iron tips, which will change depending on the project you’re using it for. For example, conical iron tips are great for a variety of applications. On the other hand, needle or I-Series Tips are ideal for detailed work, like soldering components.
How to Use a Soldering Iron
The basic steps to using most soldering irons are as follows:
-
Tin and clean the soldering iron tip.
Tinning the iron tip removes oxidation and improves conductivity.
-
Determine the desired temperature the iron needs to heat to.
Make sure to do this before turning on your iron.
-
Plug in and heat your soldering iron.
-
With one hand, hold the soldering iron. Have the solder ready in the other hand.
-
Using the iron, heat the surface of the object you intend to solder. Don’t heat the solder itself.
-
Once the surface is sufficiently heated, apply the solder.
The solder will melt and flow into the areas you’ve heated, filling important gaps and crevices. Avoid touching the solder with the iron tip—this could cause cold joint.
-
Turn off the iron, careful to let it fully cool down before storing. Allow the solder to cool.
How to Clean and Tin a Soldering Iron
To maintain and increase the lifespan of your soldering iron, it’s important to regularly clean and re-tin the iron tips.
The cleaning process is relatively simple: first, apply a little water to a clean sponge and gently remove any immediate residue or build-up on the iron tip.
Then, remove tough stains and rust with a ball of slightly damp steel wool. Once the tip is bright and shining again (or close to it), your next step is to tin the iron tip, which will help prevent rust and protect the tip from other contaminants.
Once you’re ready to tin the tip, put on your safety glasses (this is VERY important). Then, heat your soldering iron to operating temperature and apply a small amount of solder to the tip. Allow the solder to melt until it coats the surface.