OSEPP LED Hourglass
The OSEPP LED Hourglass is a great soldering kit for electrical engineer that wants to fine-tune their soldering skill. The kit comes with everything you need for a LED Hourglass with IC and all the components (batteries not included). This is not a beginner soldering kit so we think this instruction would help you along the way. Furthermore, OSEPP also did a step-by-step instruction here. If you are looking for a beginner soldering kit, we highly recommend the Solder Practice Kit.
Equipment Parts List:
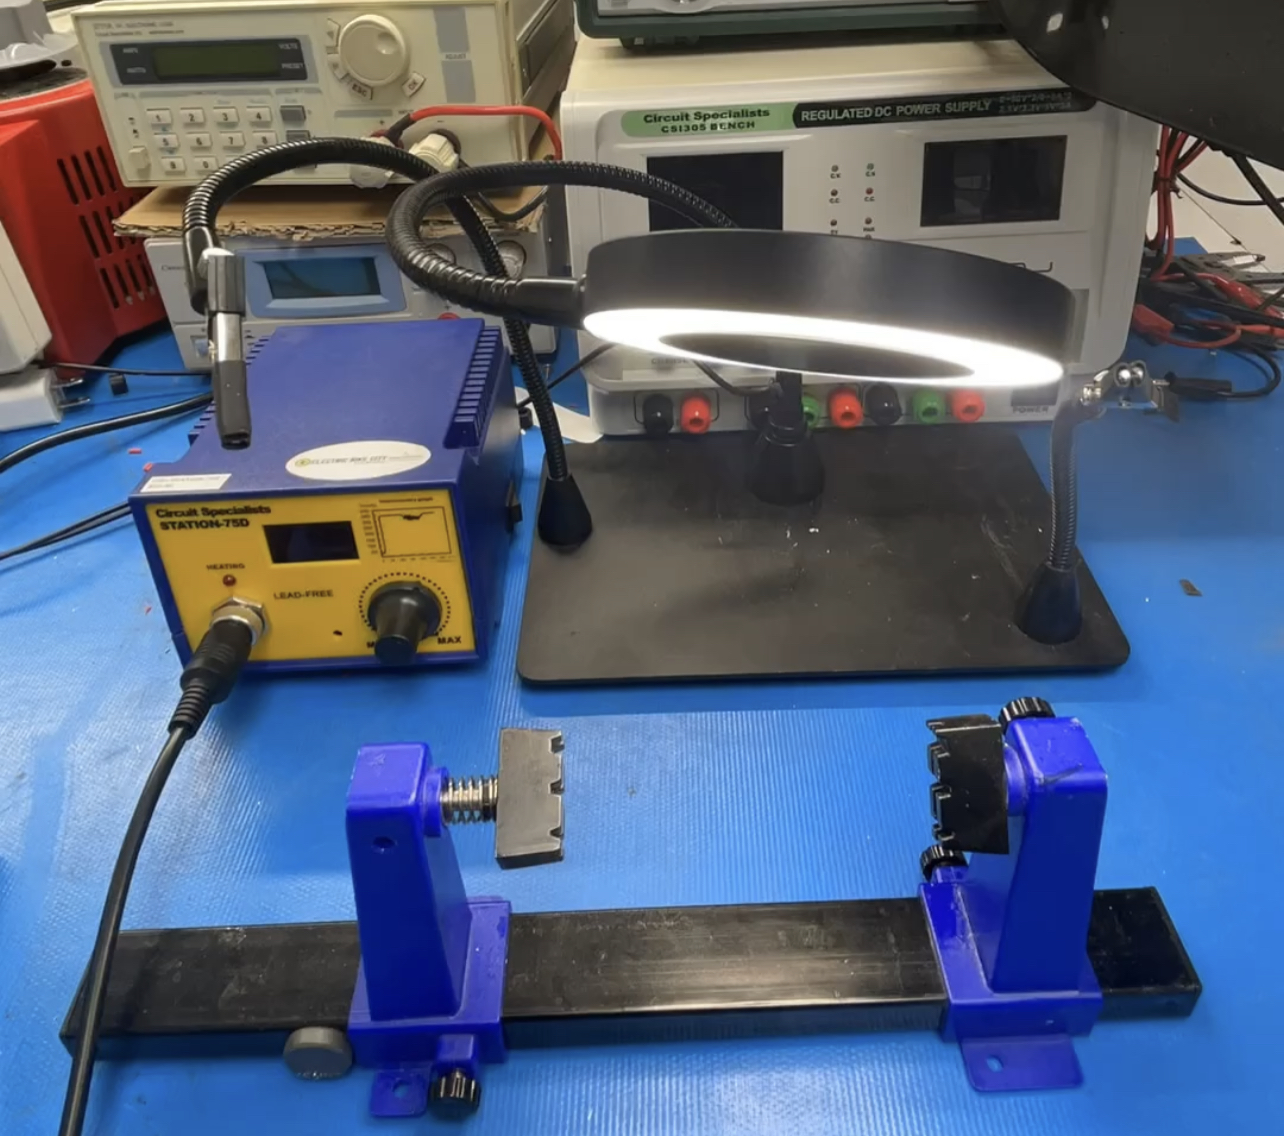
Step1: Prepare the work area
Step 2: Inventory all the parts that come with the kit.
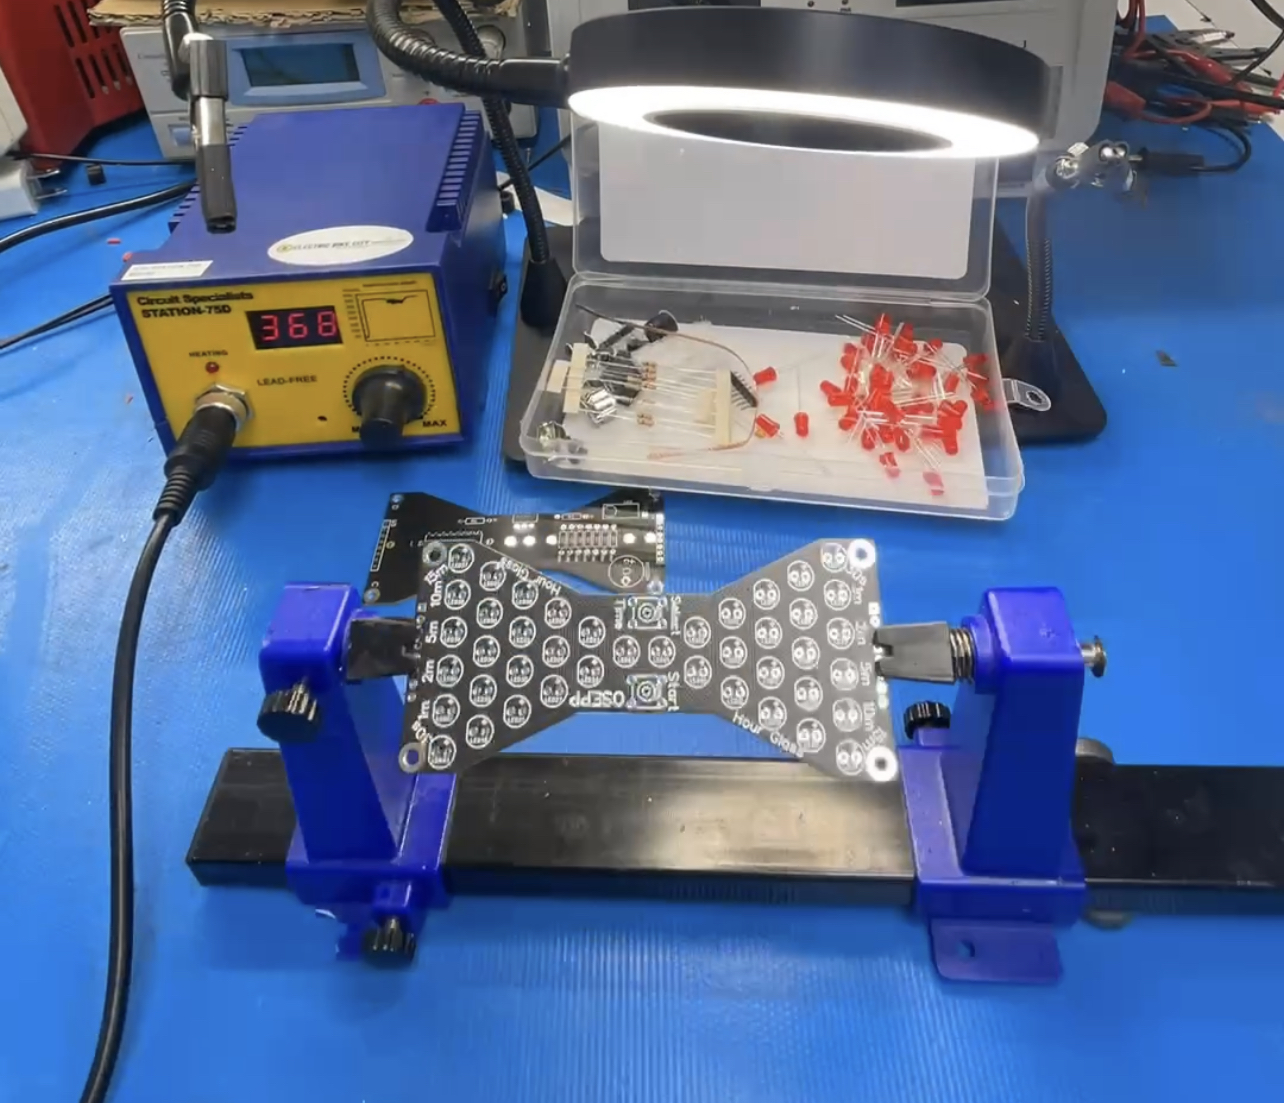
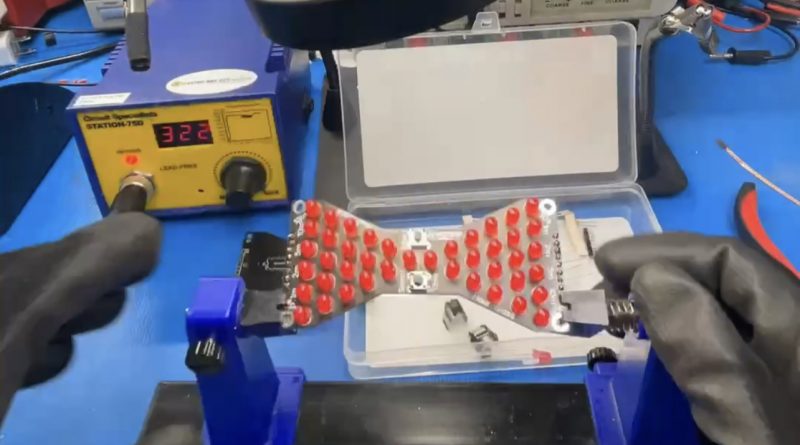
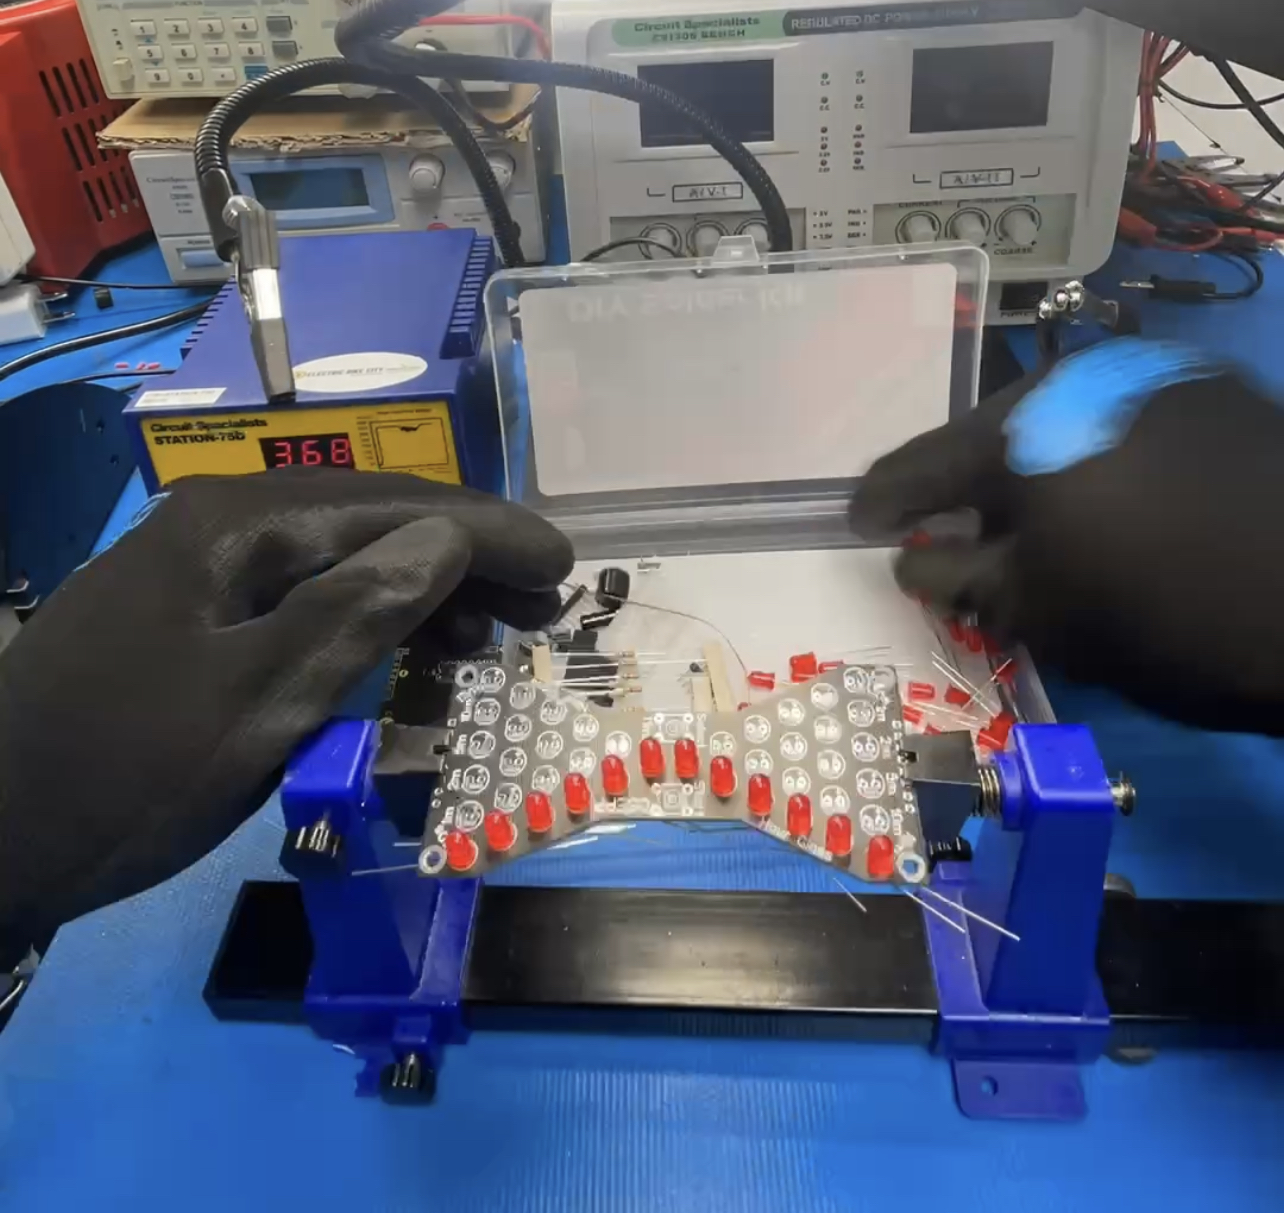
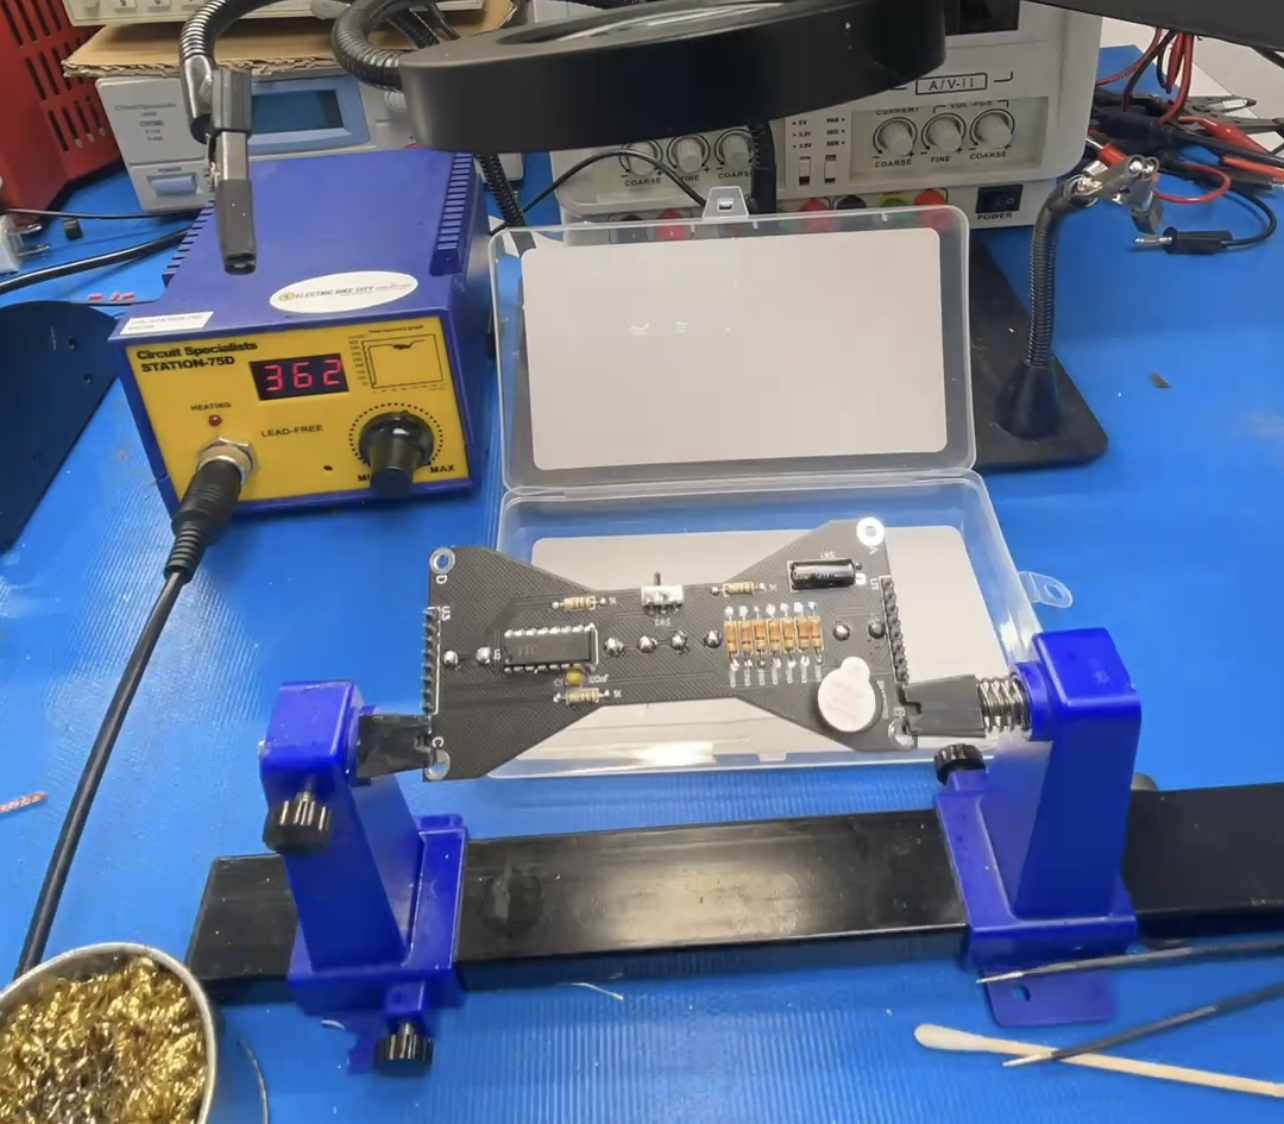
Then on, step 3: LED placement (x42)
The kit comes with extra LEDs in case of defects or misplacement. When placing components with longer leads, it is helpful
to bend the lead to hold the component in place while soldering.
The ‘longer’ lead from the LED is positive (+).
Step 4: Finish each roll before moving on.
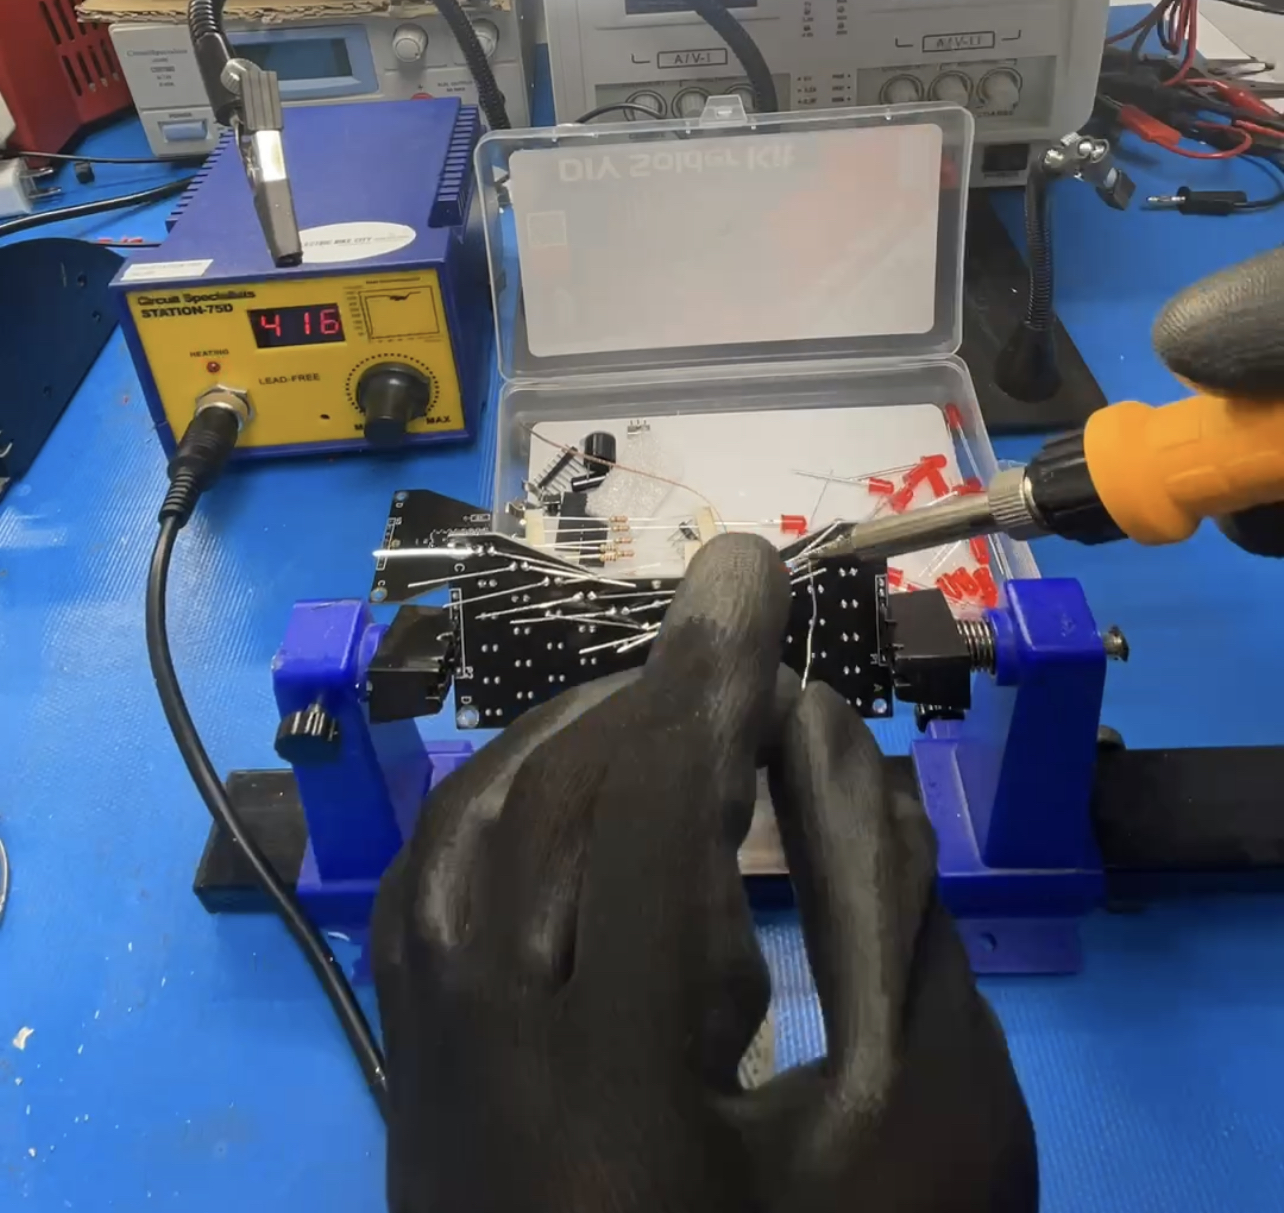
Step 5: Solder the rest of the components onto the board and Use a diagonal clipper to cut off the lead once soldering has been completed.
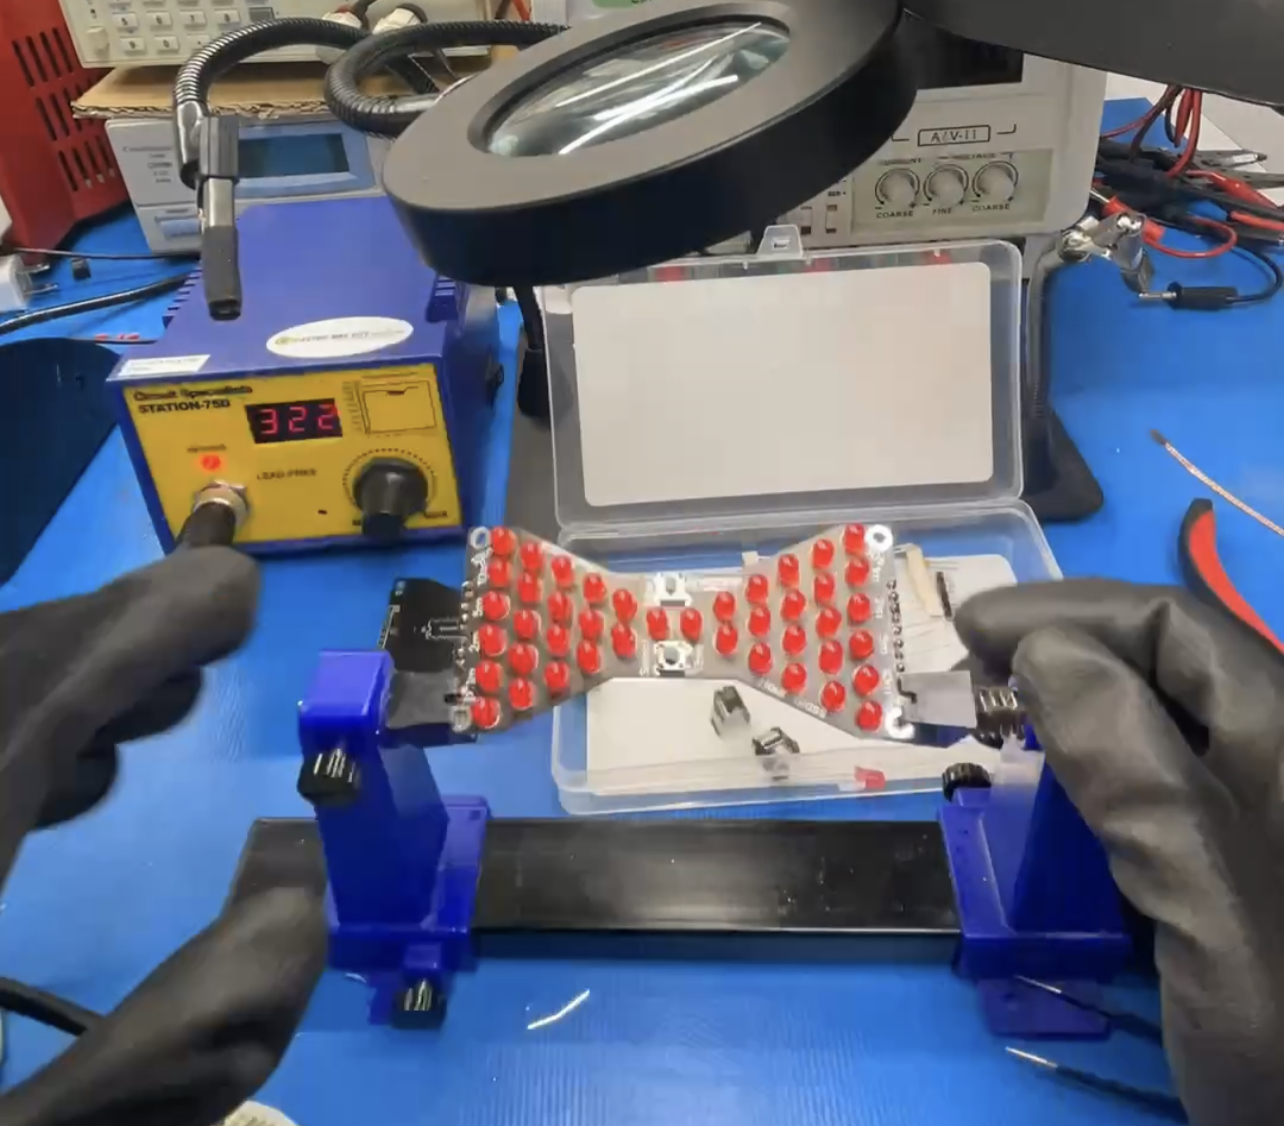
Step 6: Place and solder all the resistor
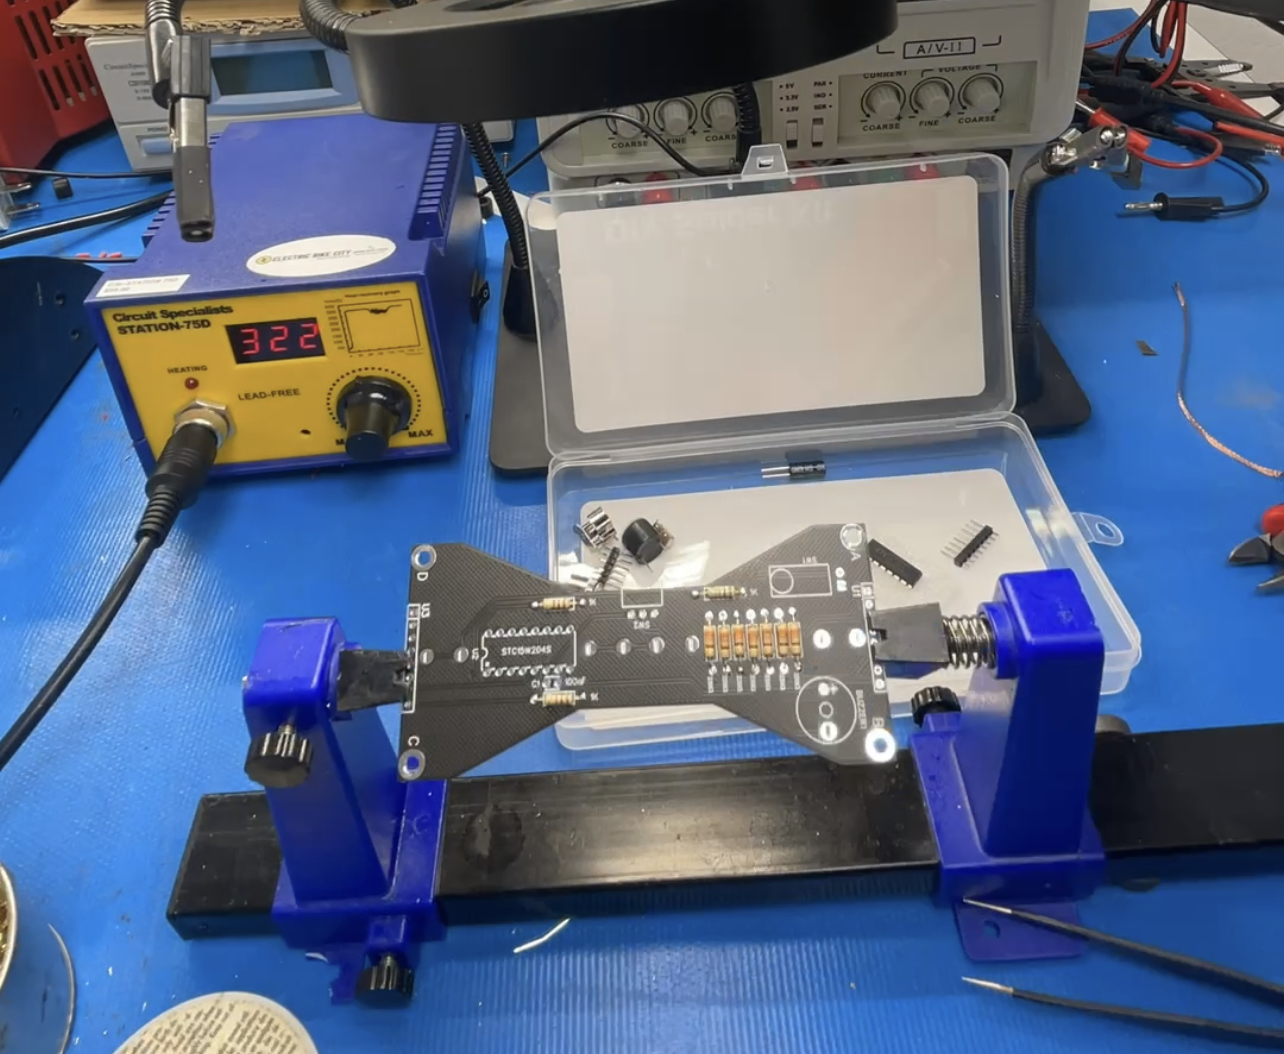
Step 7: Place and solder IC into place.
- Match the ‘notch’ on the IC to the notch on the silkscreen image.
Finally: Solder the rest of the components
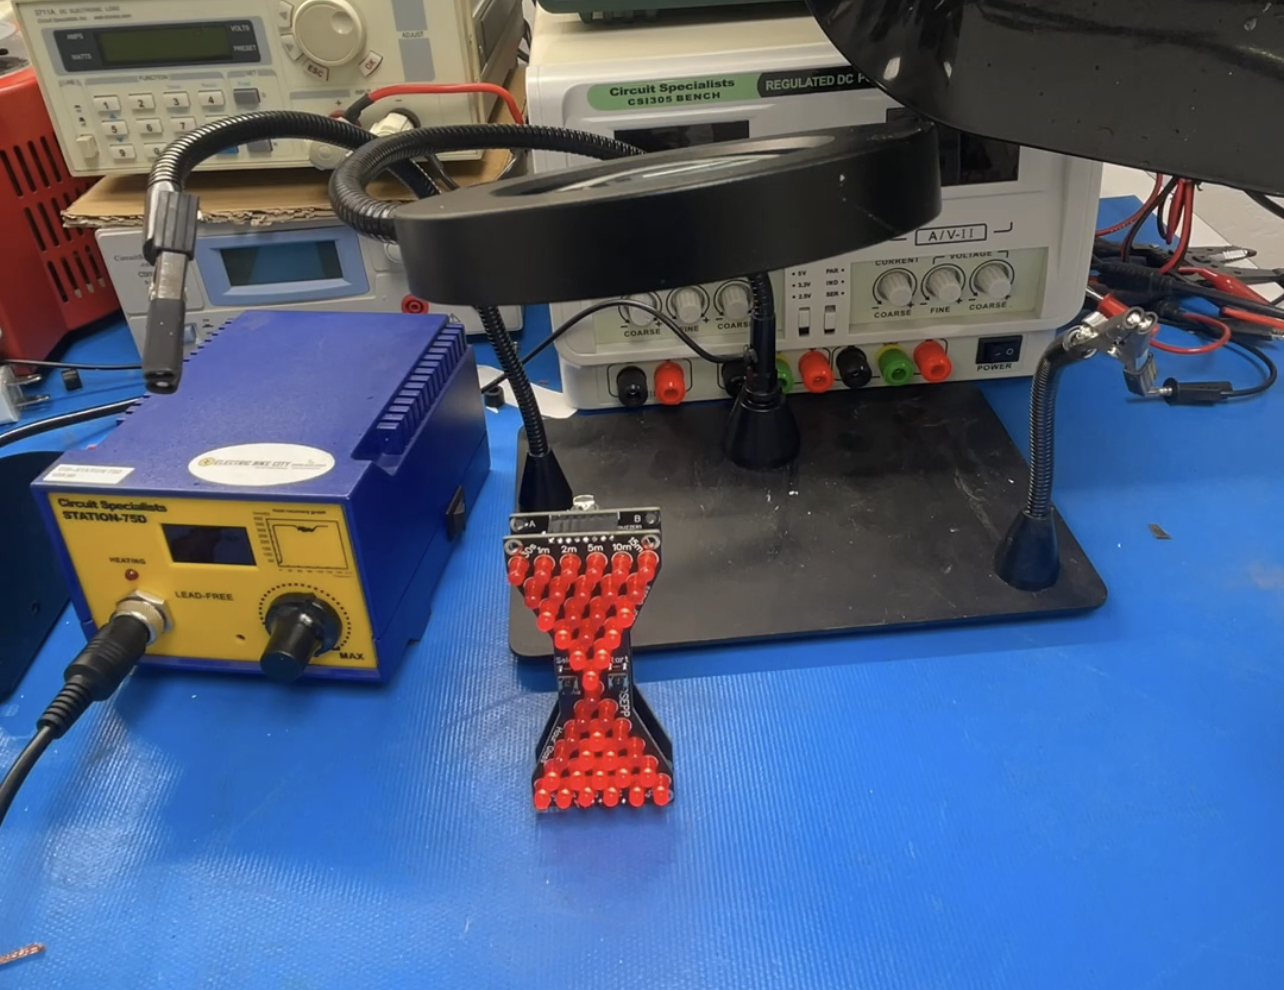
Now enjoy the fruit of your hardwork.